In due time, I wondered which ceiling option would be best for my home – plasterboard or stretch ceiling? I immediately ruled out the plastered ceiling due to the impossibility of concealing all my utilities beneath it. Choosing between these two options turned out to be more complicated.
On one hand, a plasterboard ceiling seemed more durable and easier to repair, but in the end, I opted for a fabric stretch ceiling, and here’s why.
Pros and Cons of Fabric Stretch Ceilings
To be honest, at first, I didn’t even consider installing a stretch ceiling myself. I didn’t even know it was an option. I was counting on companies that provide installation services for such ceilings. However, as it turned out, the cost of such ceilings was unreasonably high. And I had mentally prepared myself for a plasterboard ceiling.
But then, I accidentally learned about a stretch ceiling made of regular fabric, which is installed without a thermal gas gun and is simply painted with regular water-emulsion latex paint.
This type of ceiling has several advantages:
- The most affordable ceiling option;
- Can be done solo;
- Very simple and fast installation within a few hours;
- Suitable for any type of room, whether it’s unheated spaces, bathrooms, or kitchens;
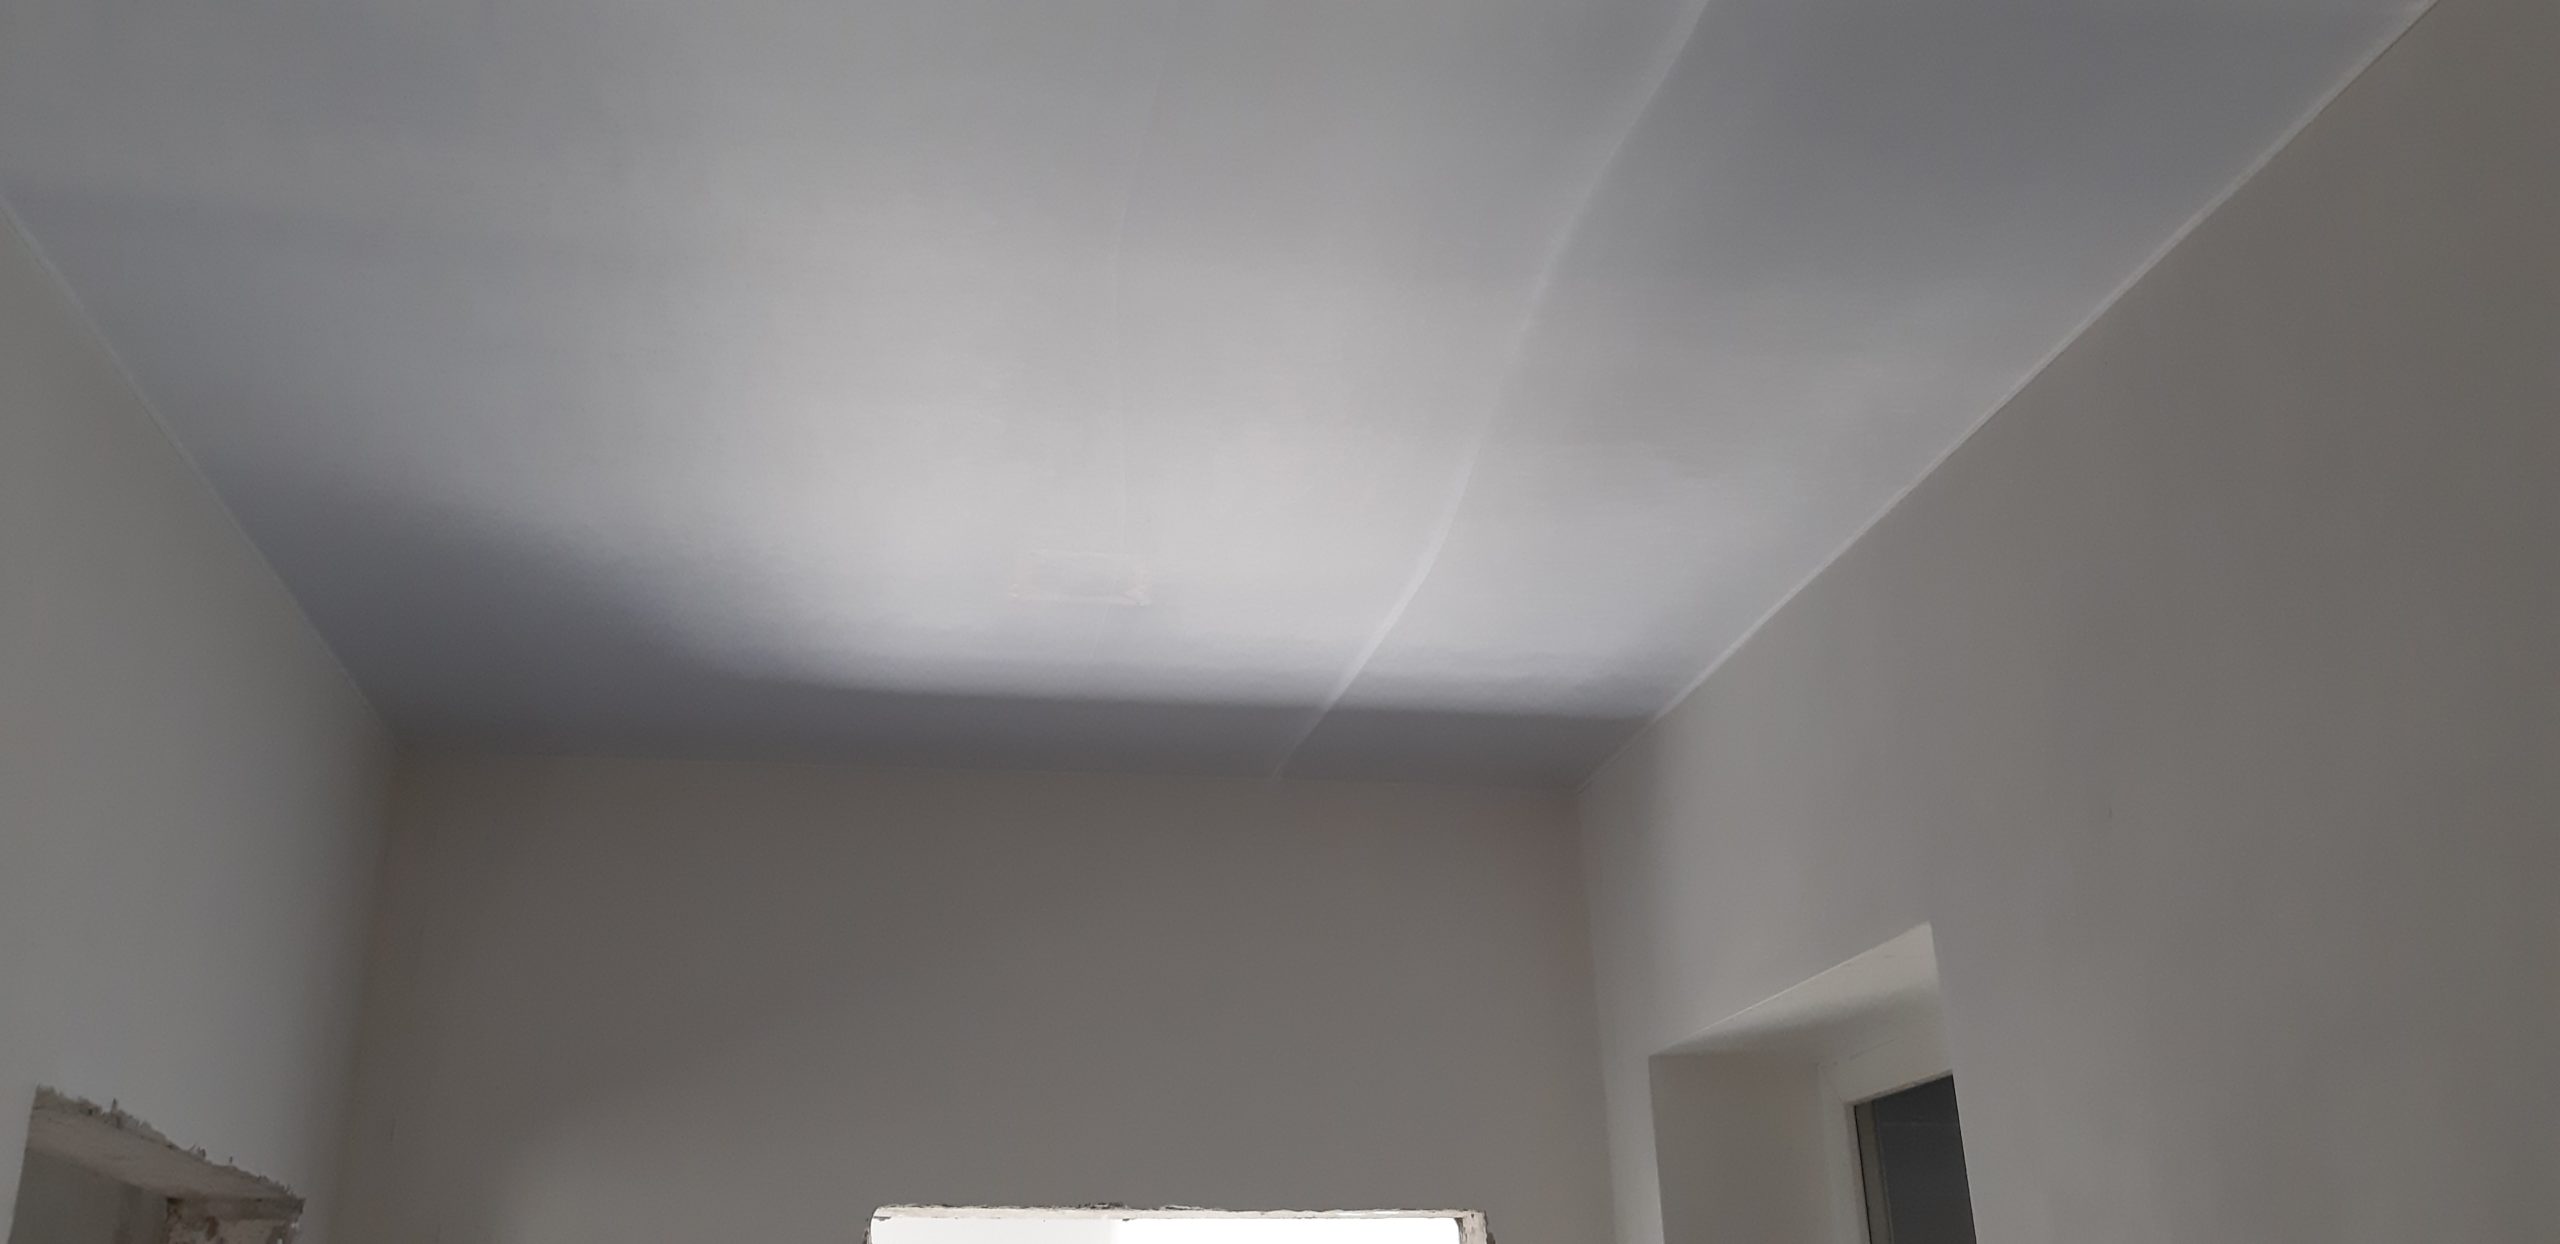
- Extremely smooth;
- Conceals all utilities;
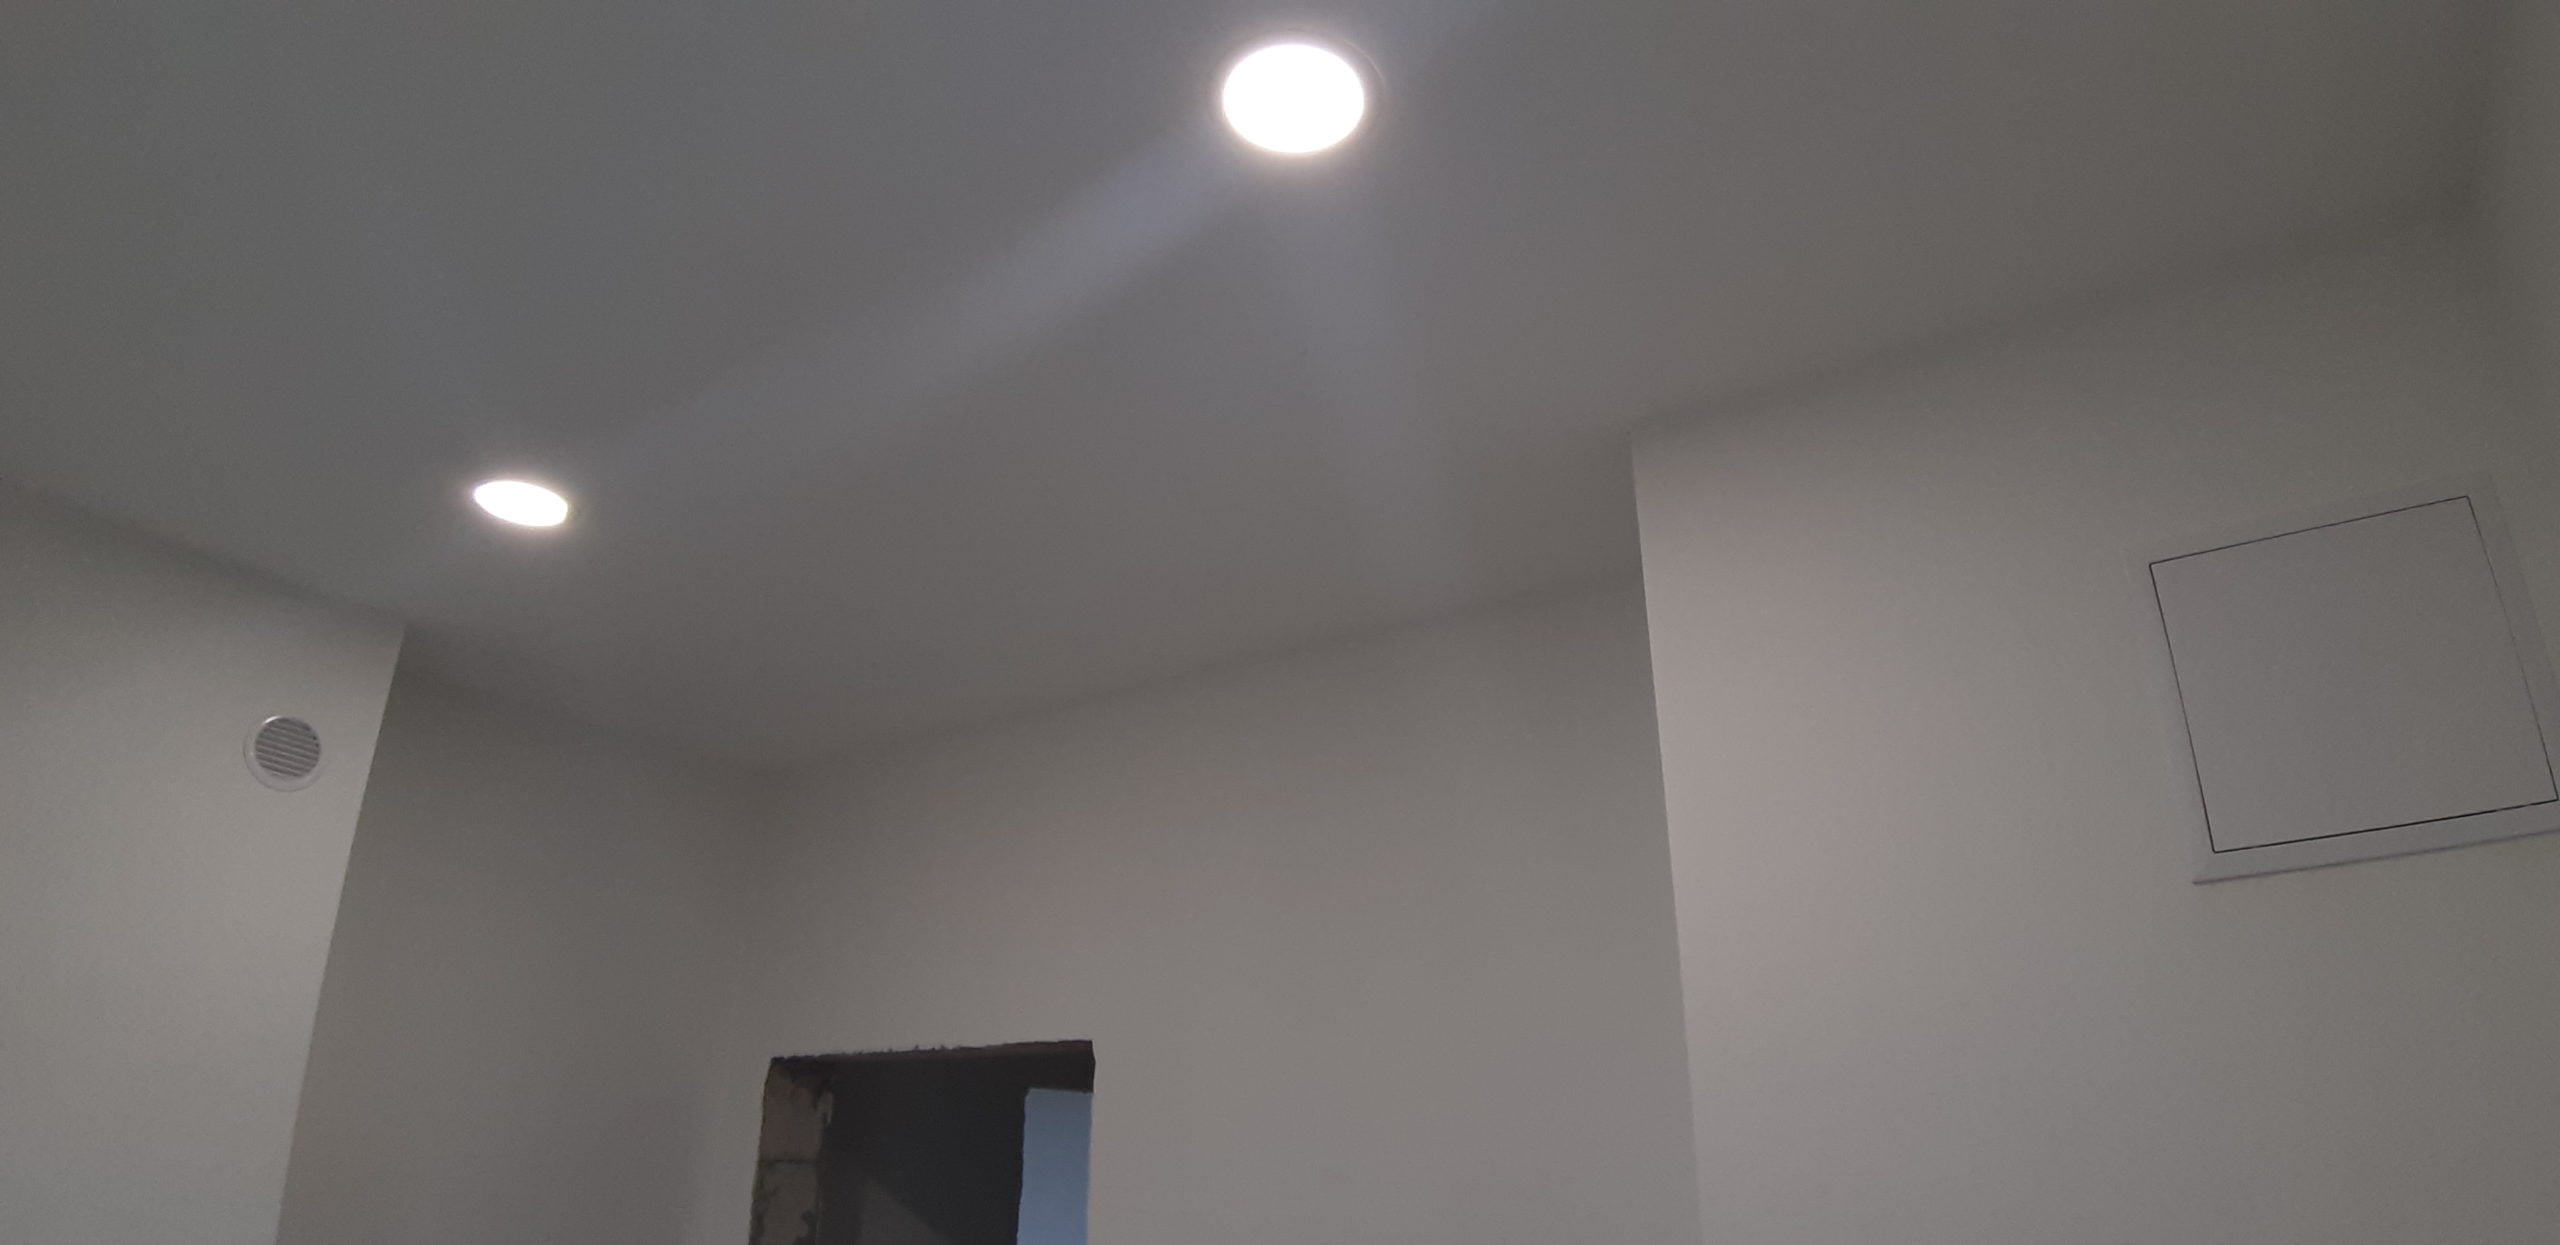
- Can incorporate lighting BEHIND the ceiling (looks aesthetically pleasing and is only possible with this type of ceiling);
- No dust or mess like with plasterboard plastering, and no need to lift heavy plasterboard sheets;
- Quite durable and easy to clean;
- Unlike plasterboard, it doesn’t crack;
- Easy to dismantle, and you can install a new one right away within a couple of hours.
As you can see, there are many advantages, but there are also a few downsides to such ceilings. These drawbacks might be critical for you. Take a look:
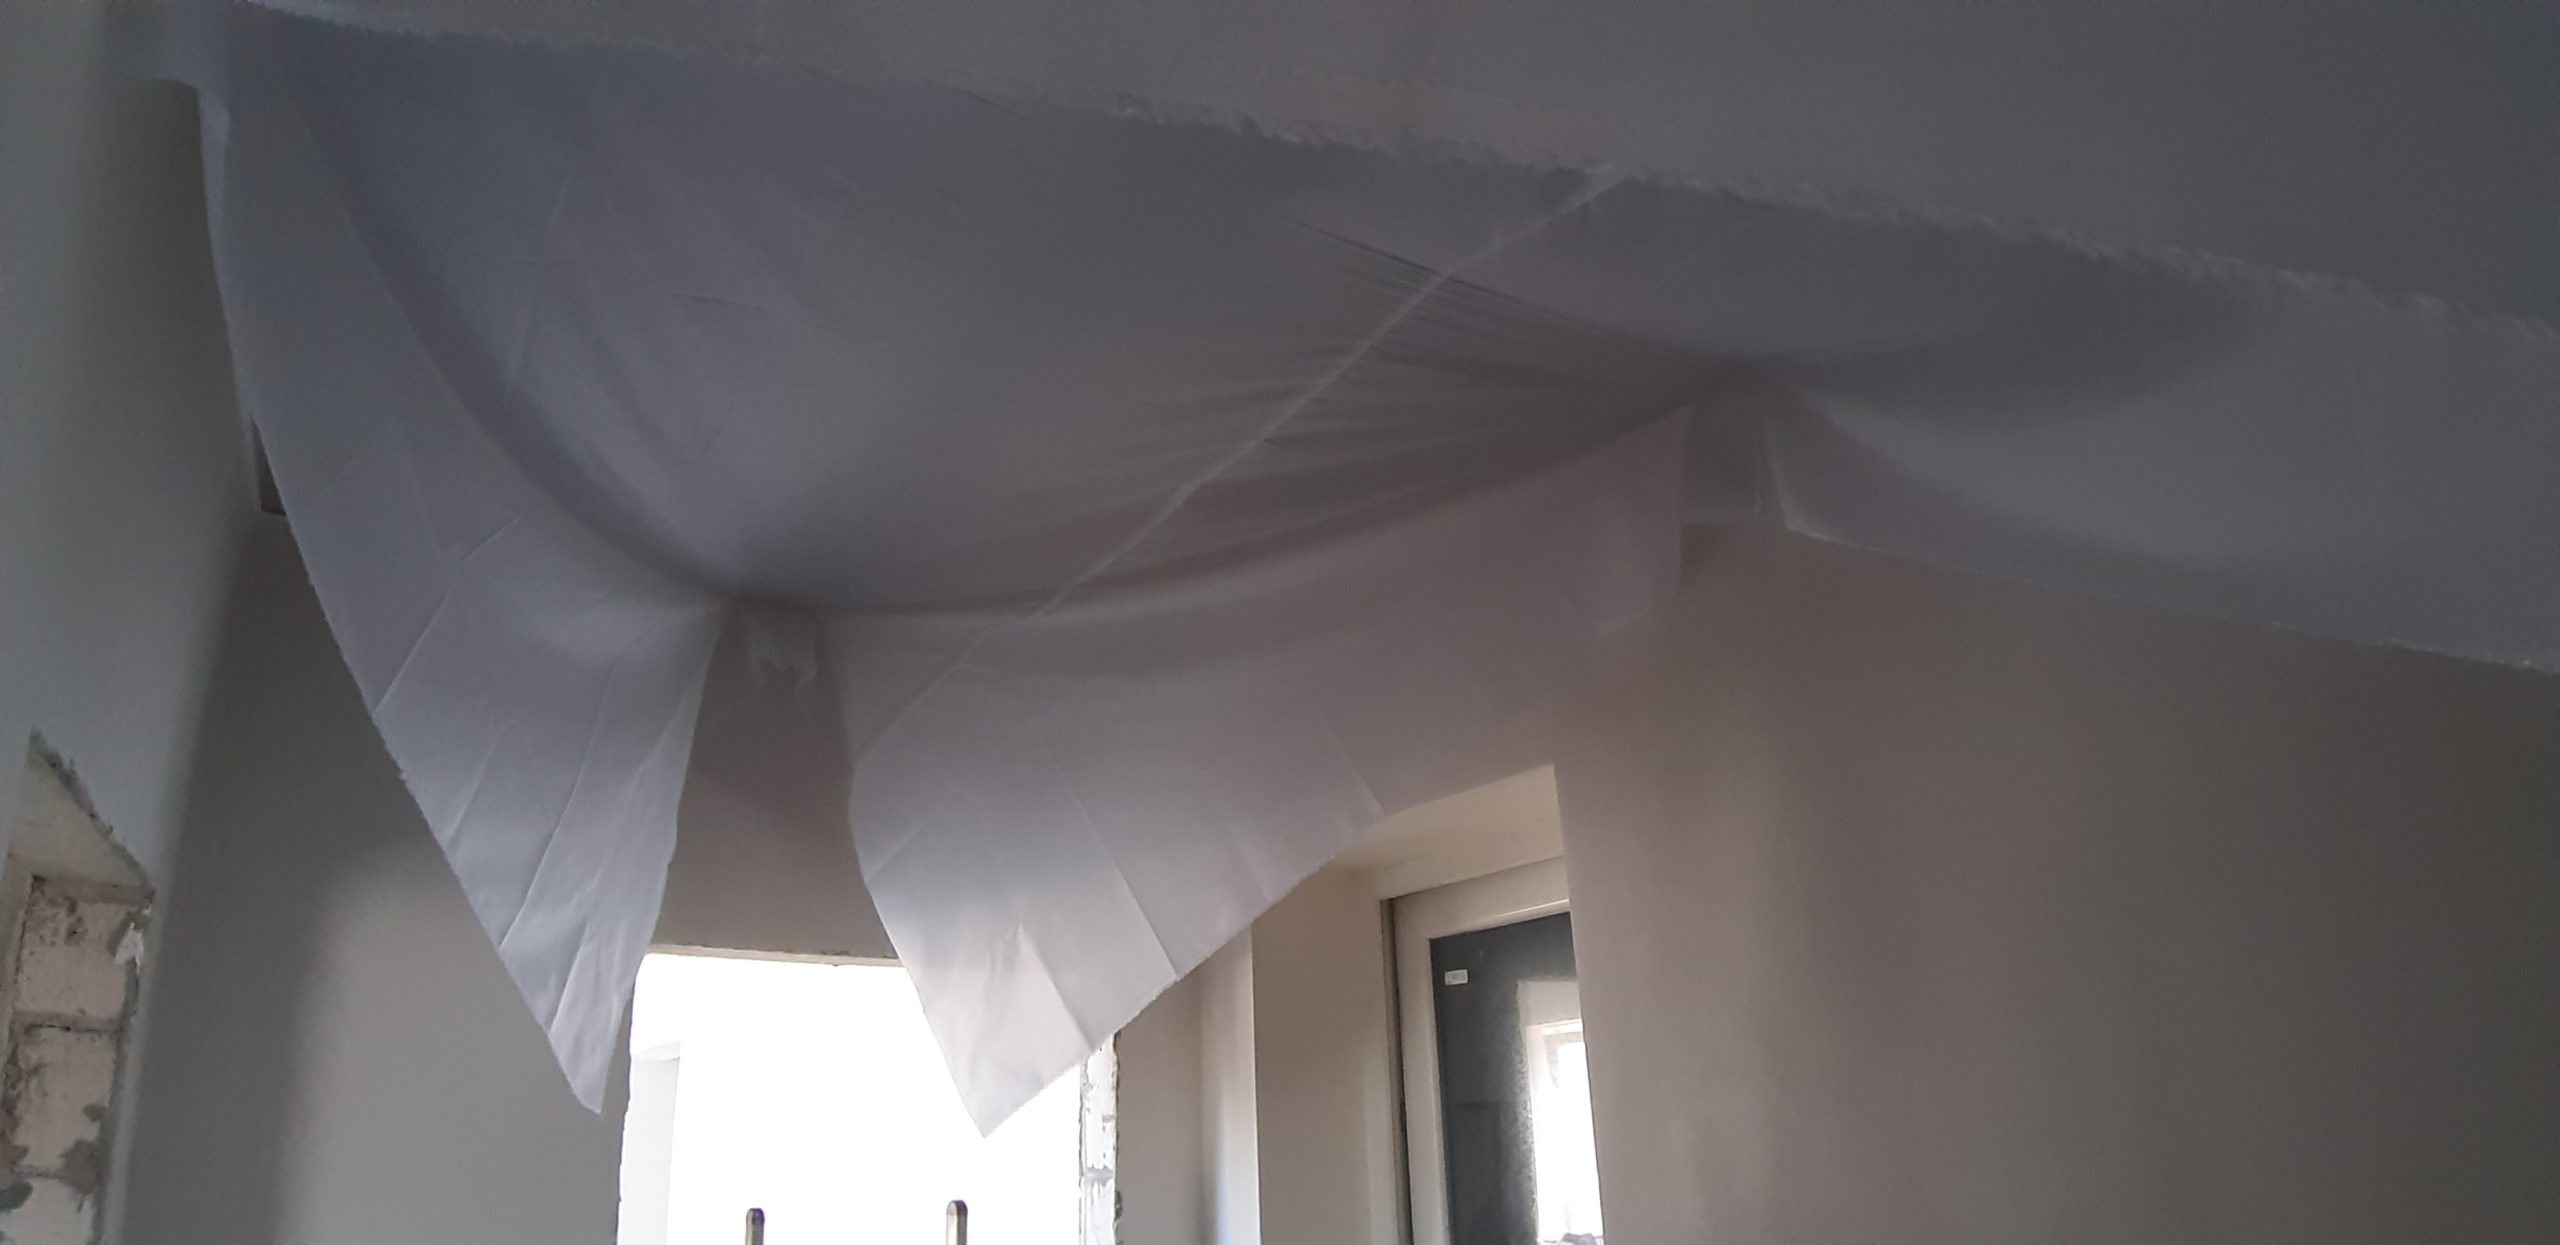
- In a cold drafty room, folds can form, but they smooth out on their own after eliminating the draft;
- It can be easily cut by sharp objects, and it’s challenging to repair it effectively (it can withstand impacts, but, for example, it’s nearly impossible to pierce it with a champagne cork);
- Only matte or semi-gloss finishes are possible; a mirrored ceiling isn’t achievable due to the type of paint used;
- If the ceiling gets damaged, it’s challenging to repair it locally with high quality;
- You can’t bypass columns and heating pipes without additional boxes and beams;
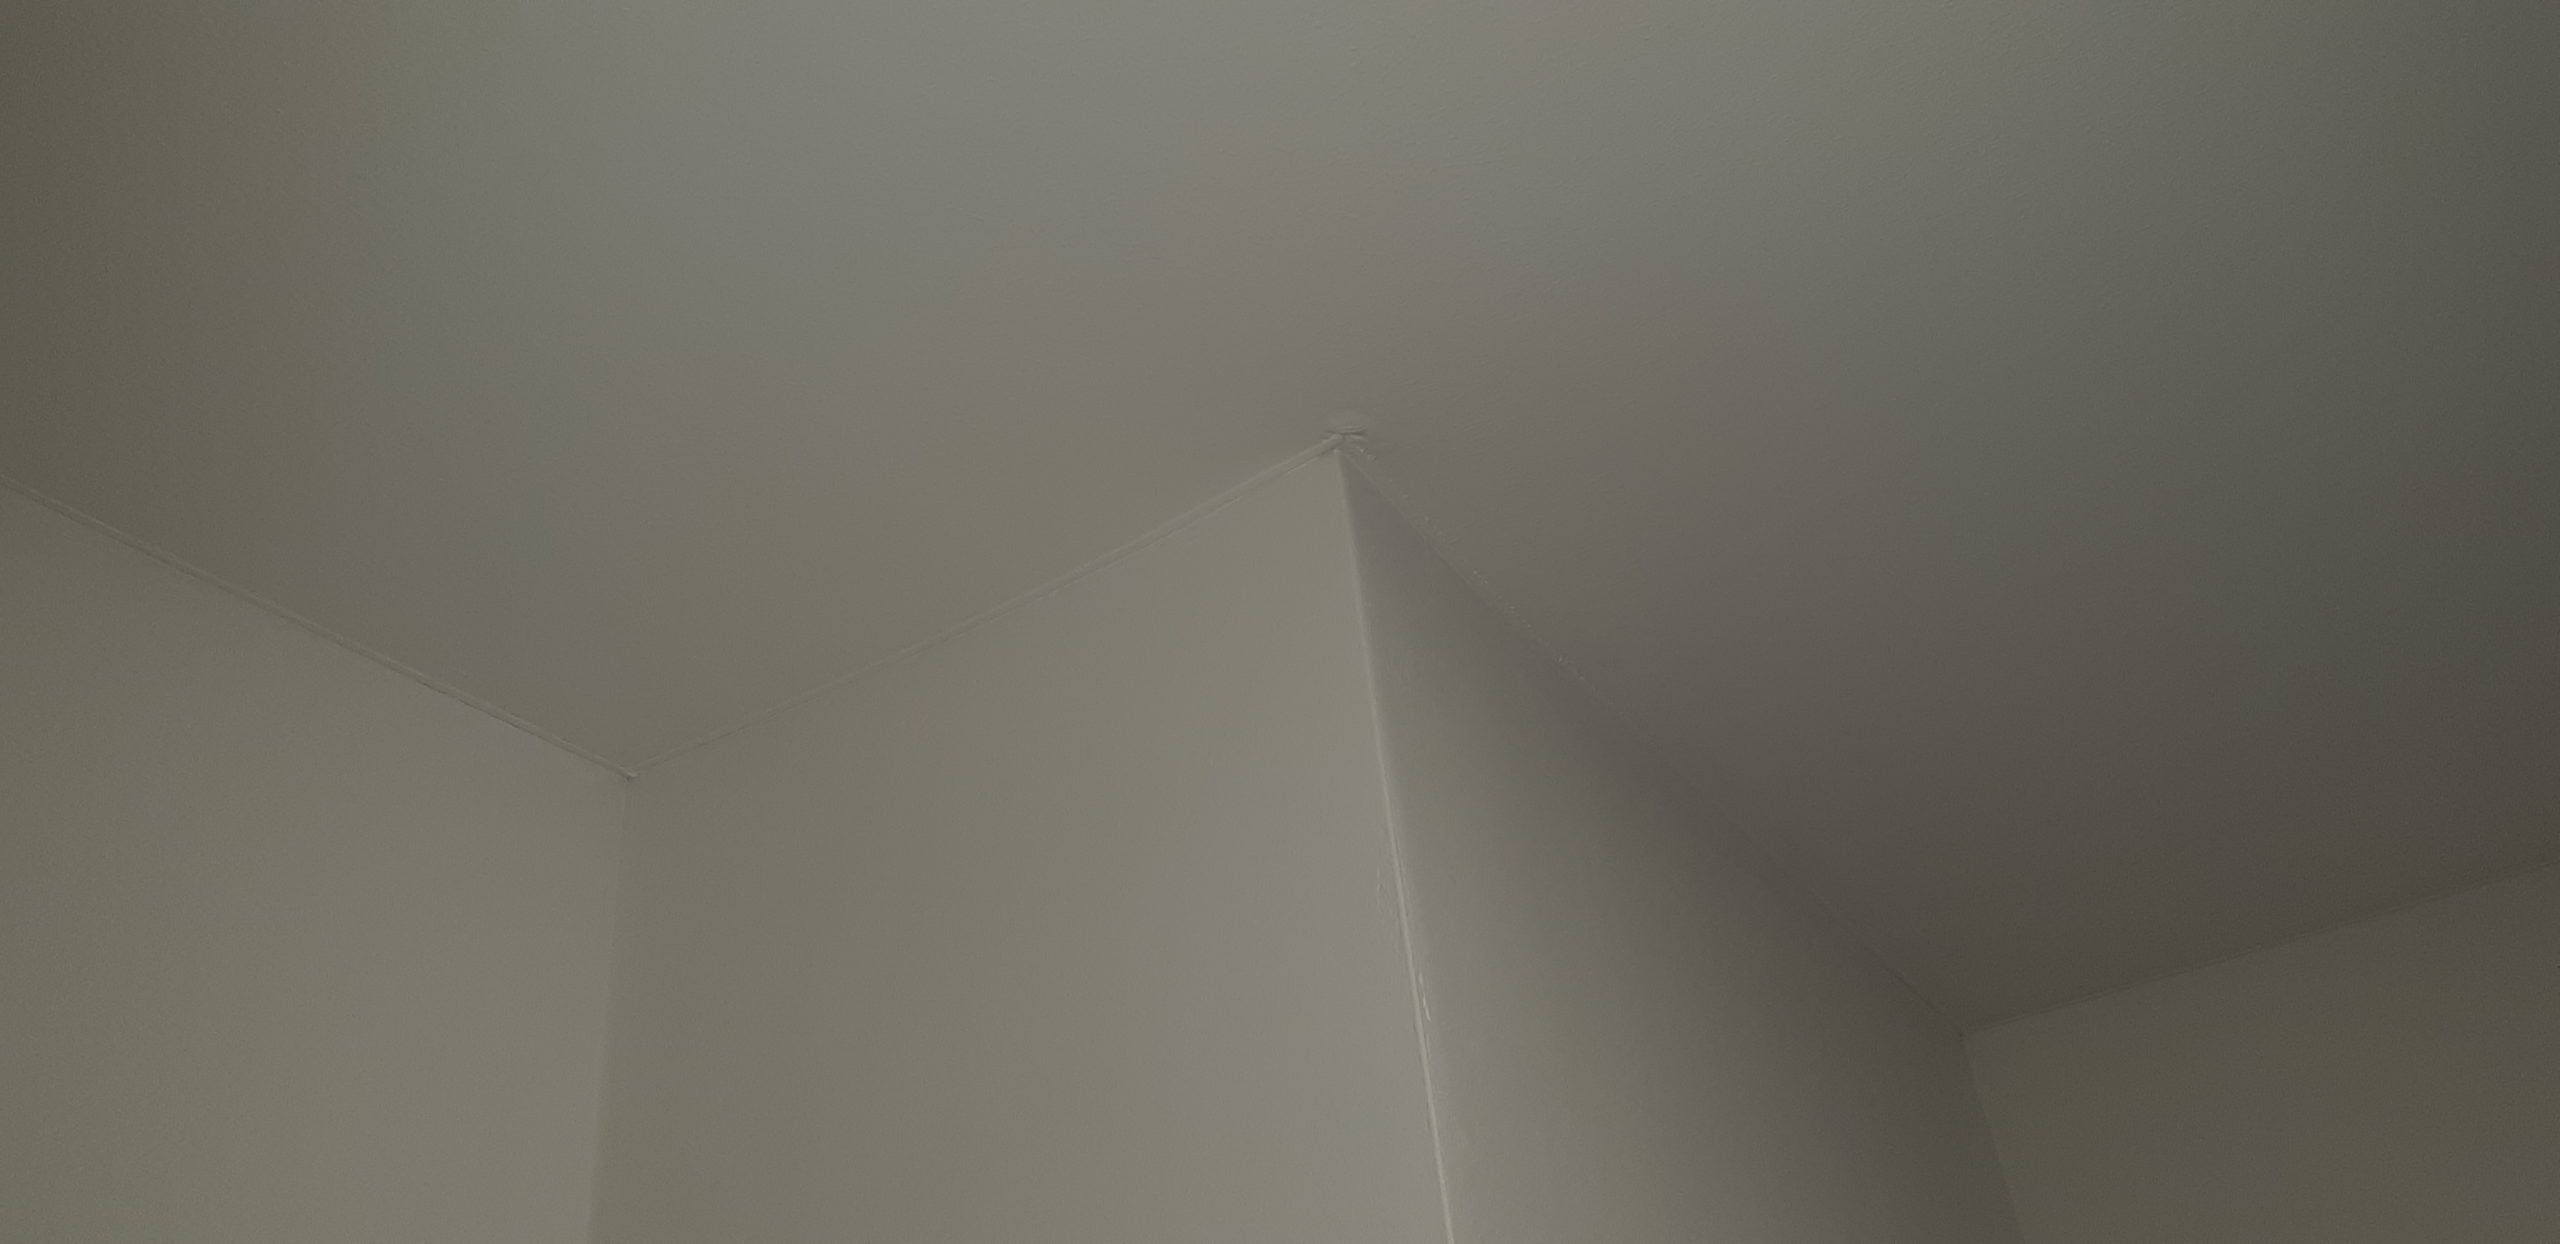
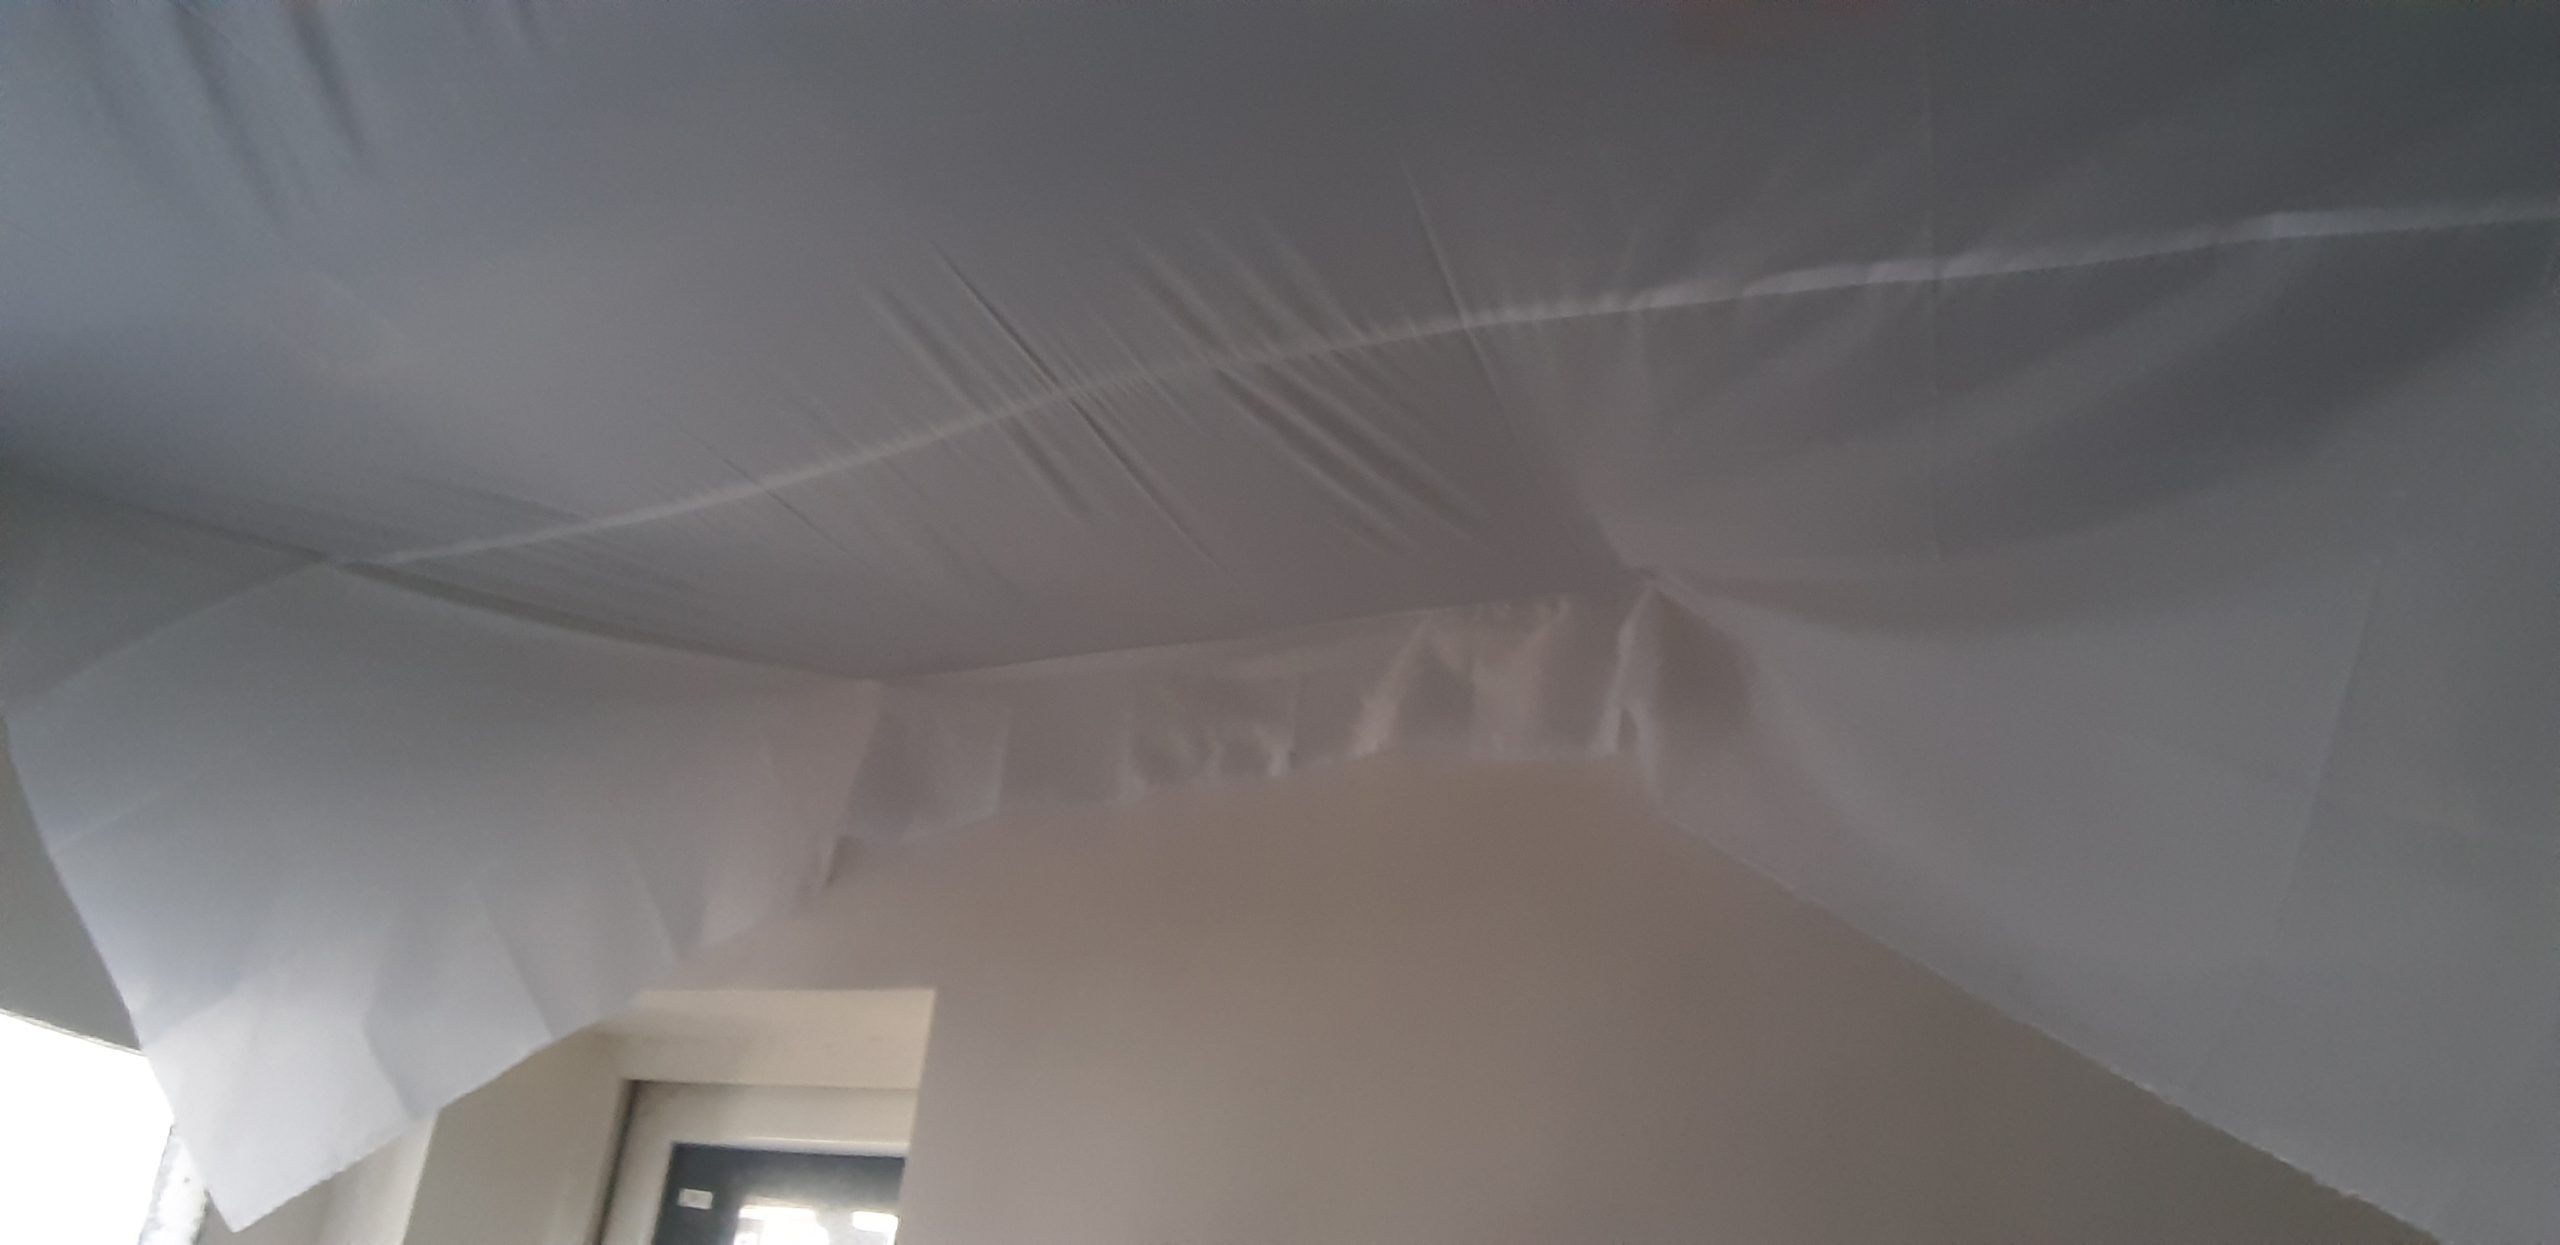
- In the corners, it’s difficult to eliminate folds because the fabric stretches less than a PVC ceiling, which is heated with a thermal gun;
If the advantages of a fabric stretch ceiling for painting outweigh the drawbacks for you, let’s learn how to install them.
Installation of a Fabric Stretch Ceiling – Step-by-Step Guide
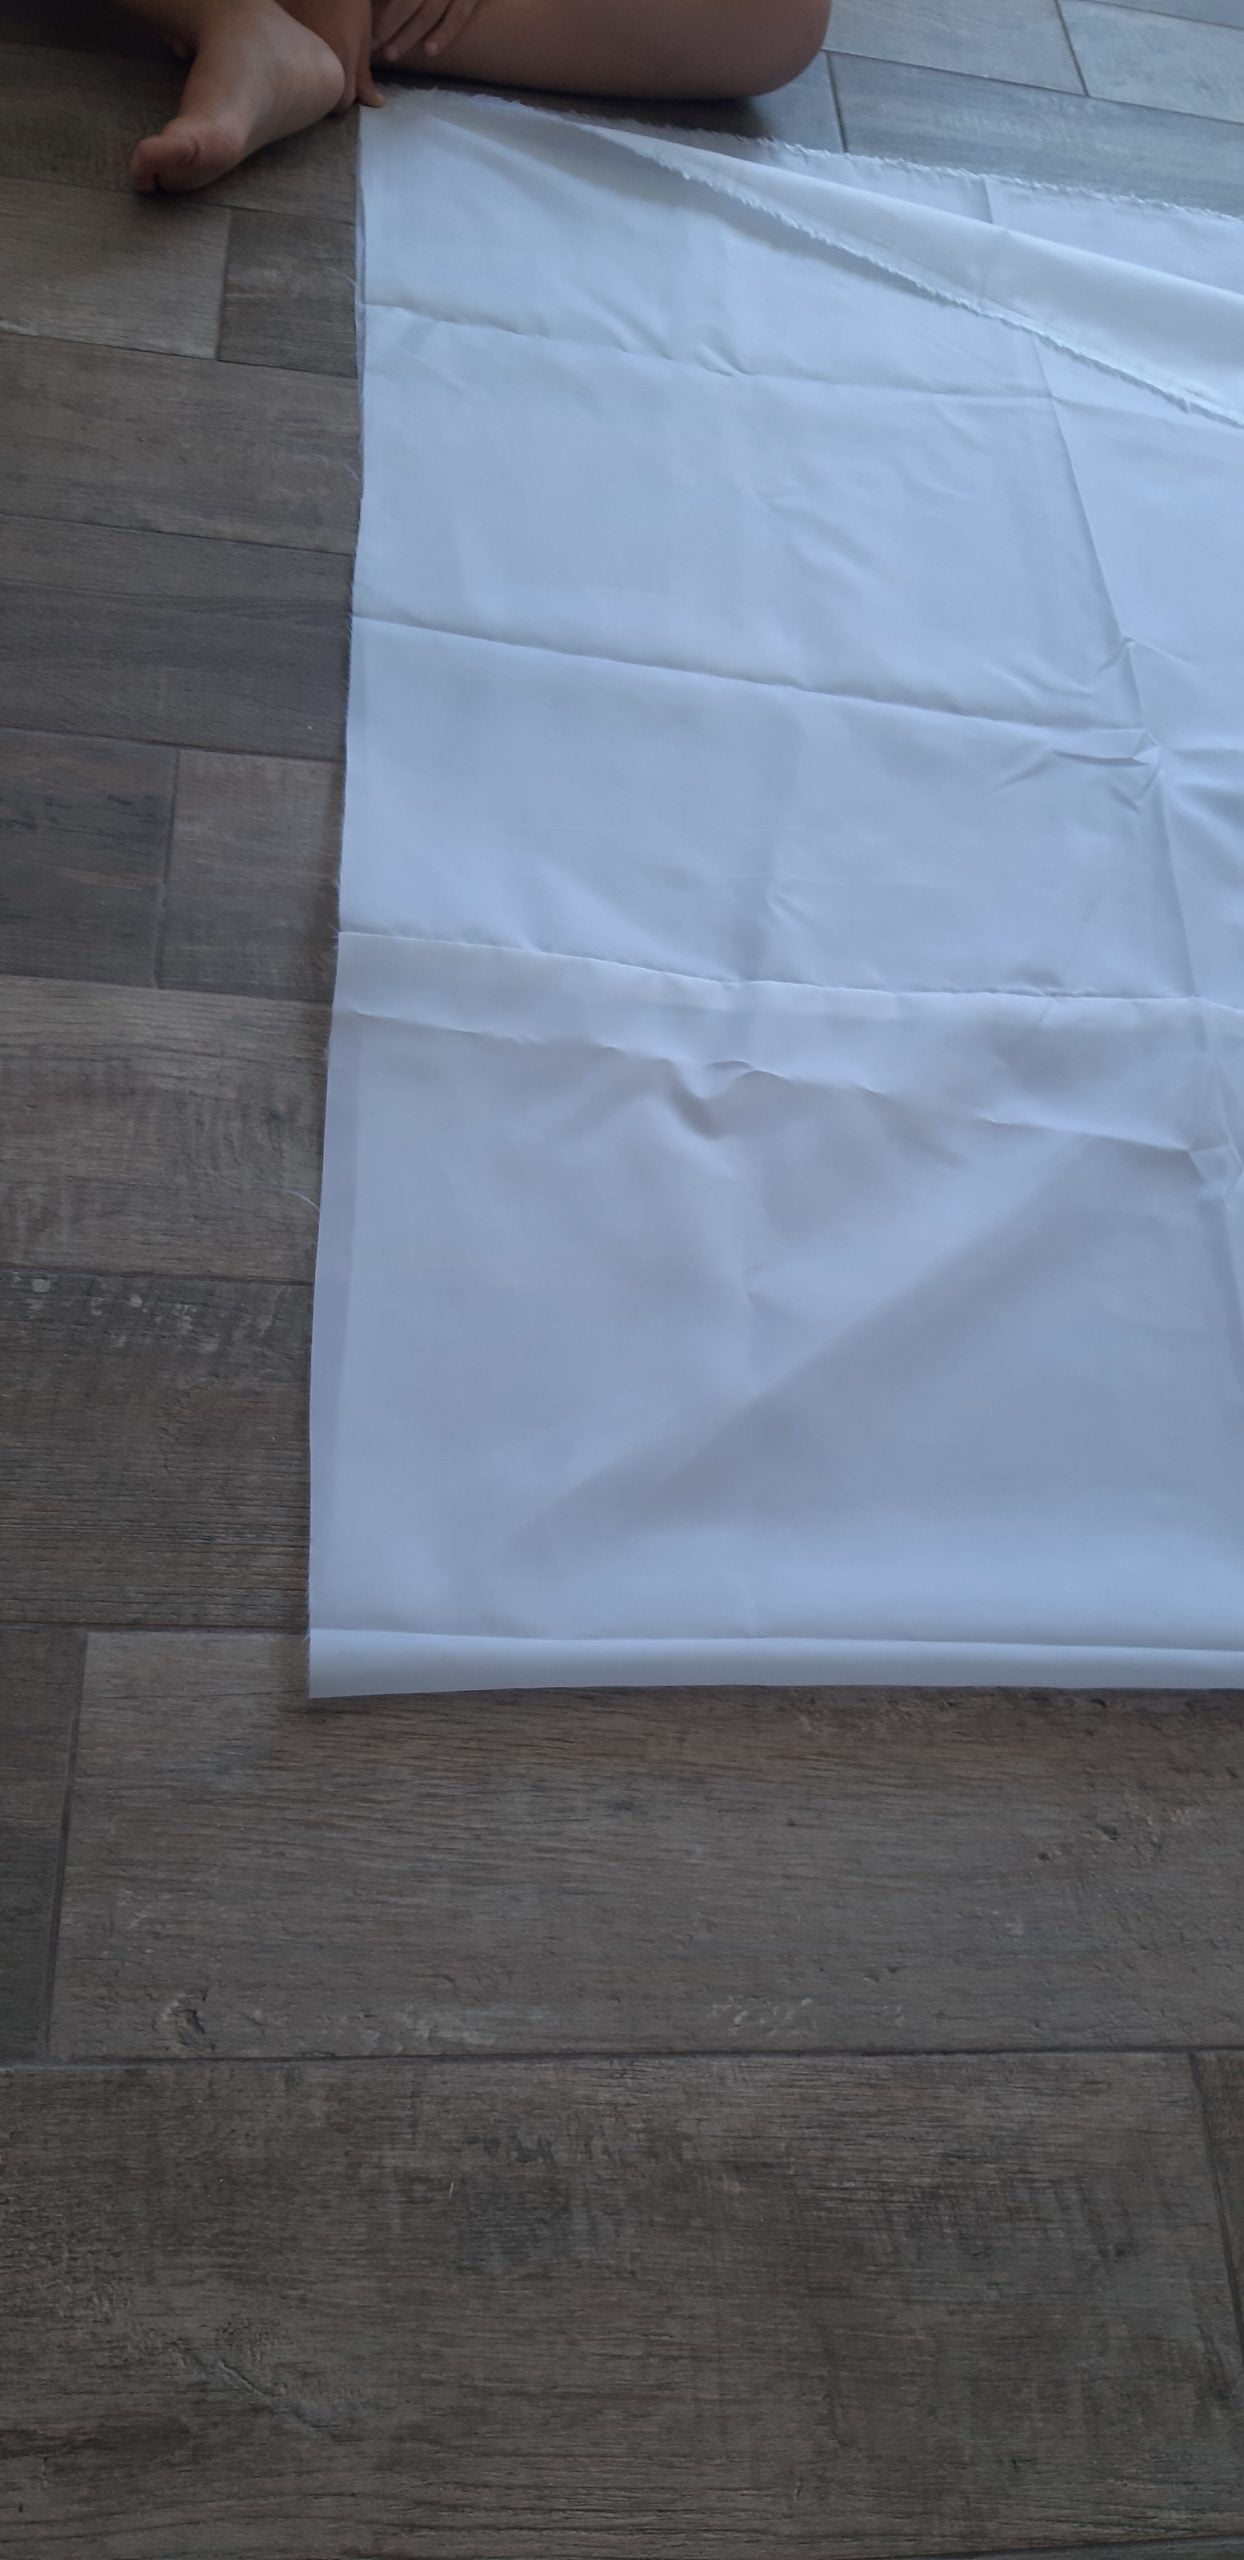
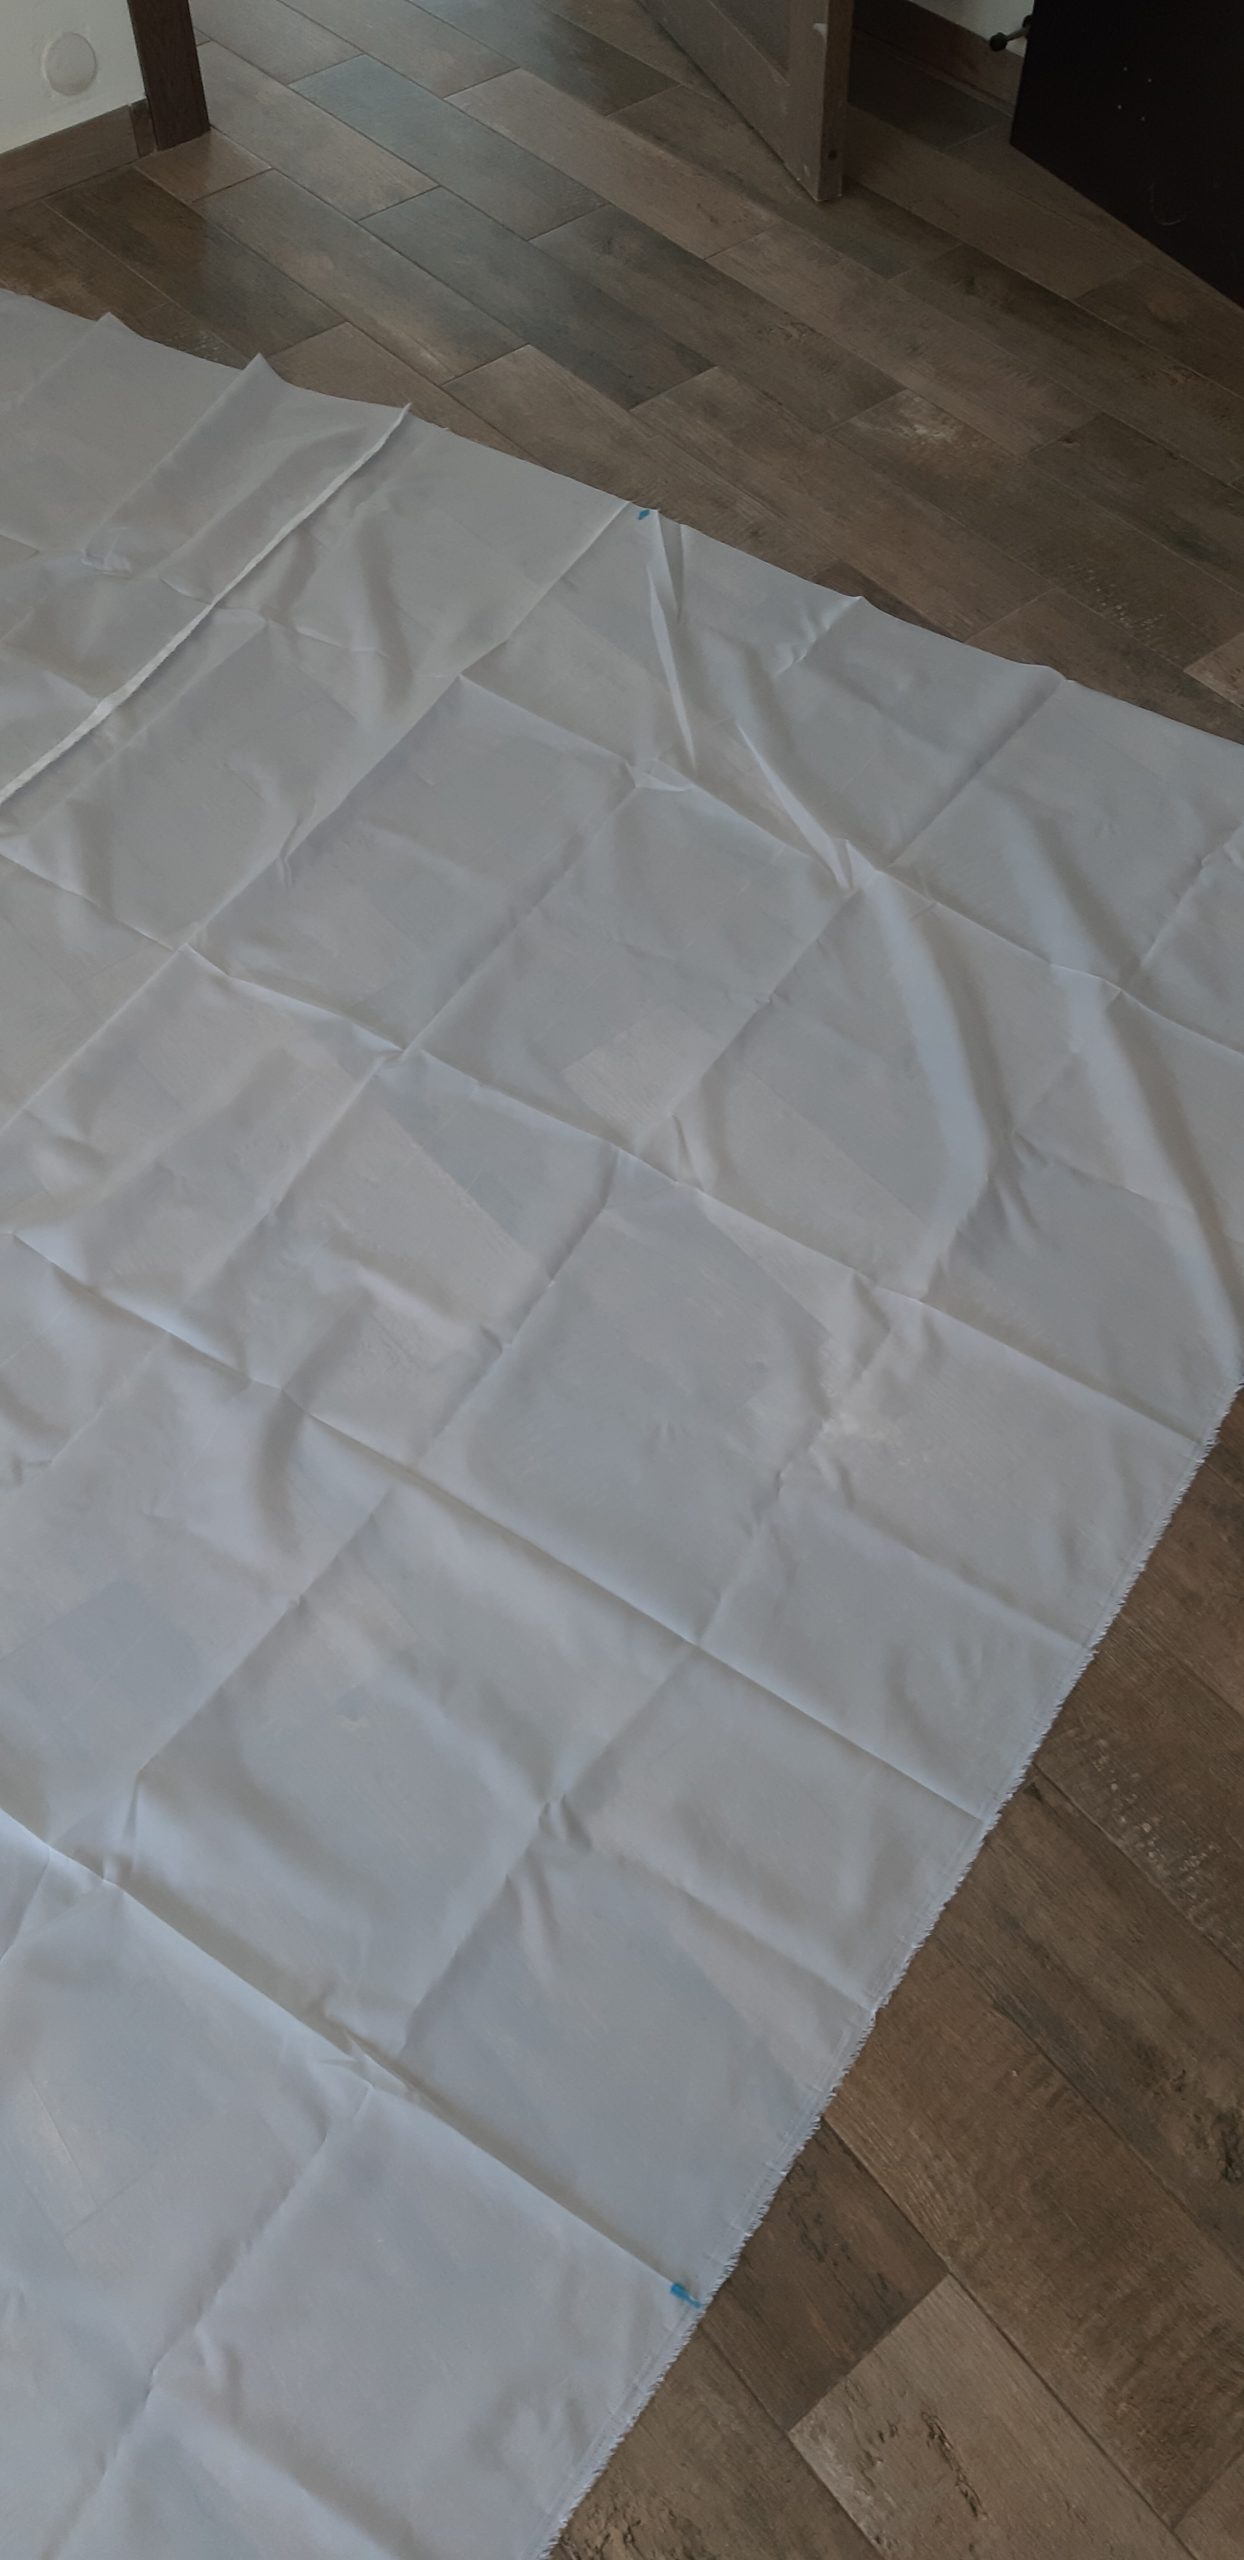
First, you will need the fabric for the ceiling. It can be any fabric tailored to the size of your ceiling with an extra 10-15 cm on the edges. Some companies sell suitable fabric along with sewing services.
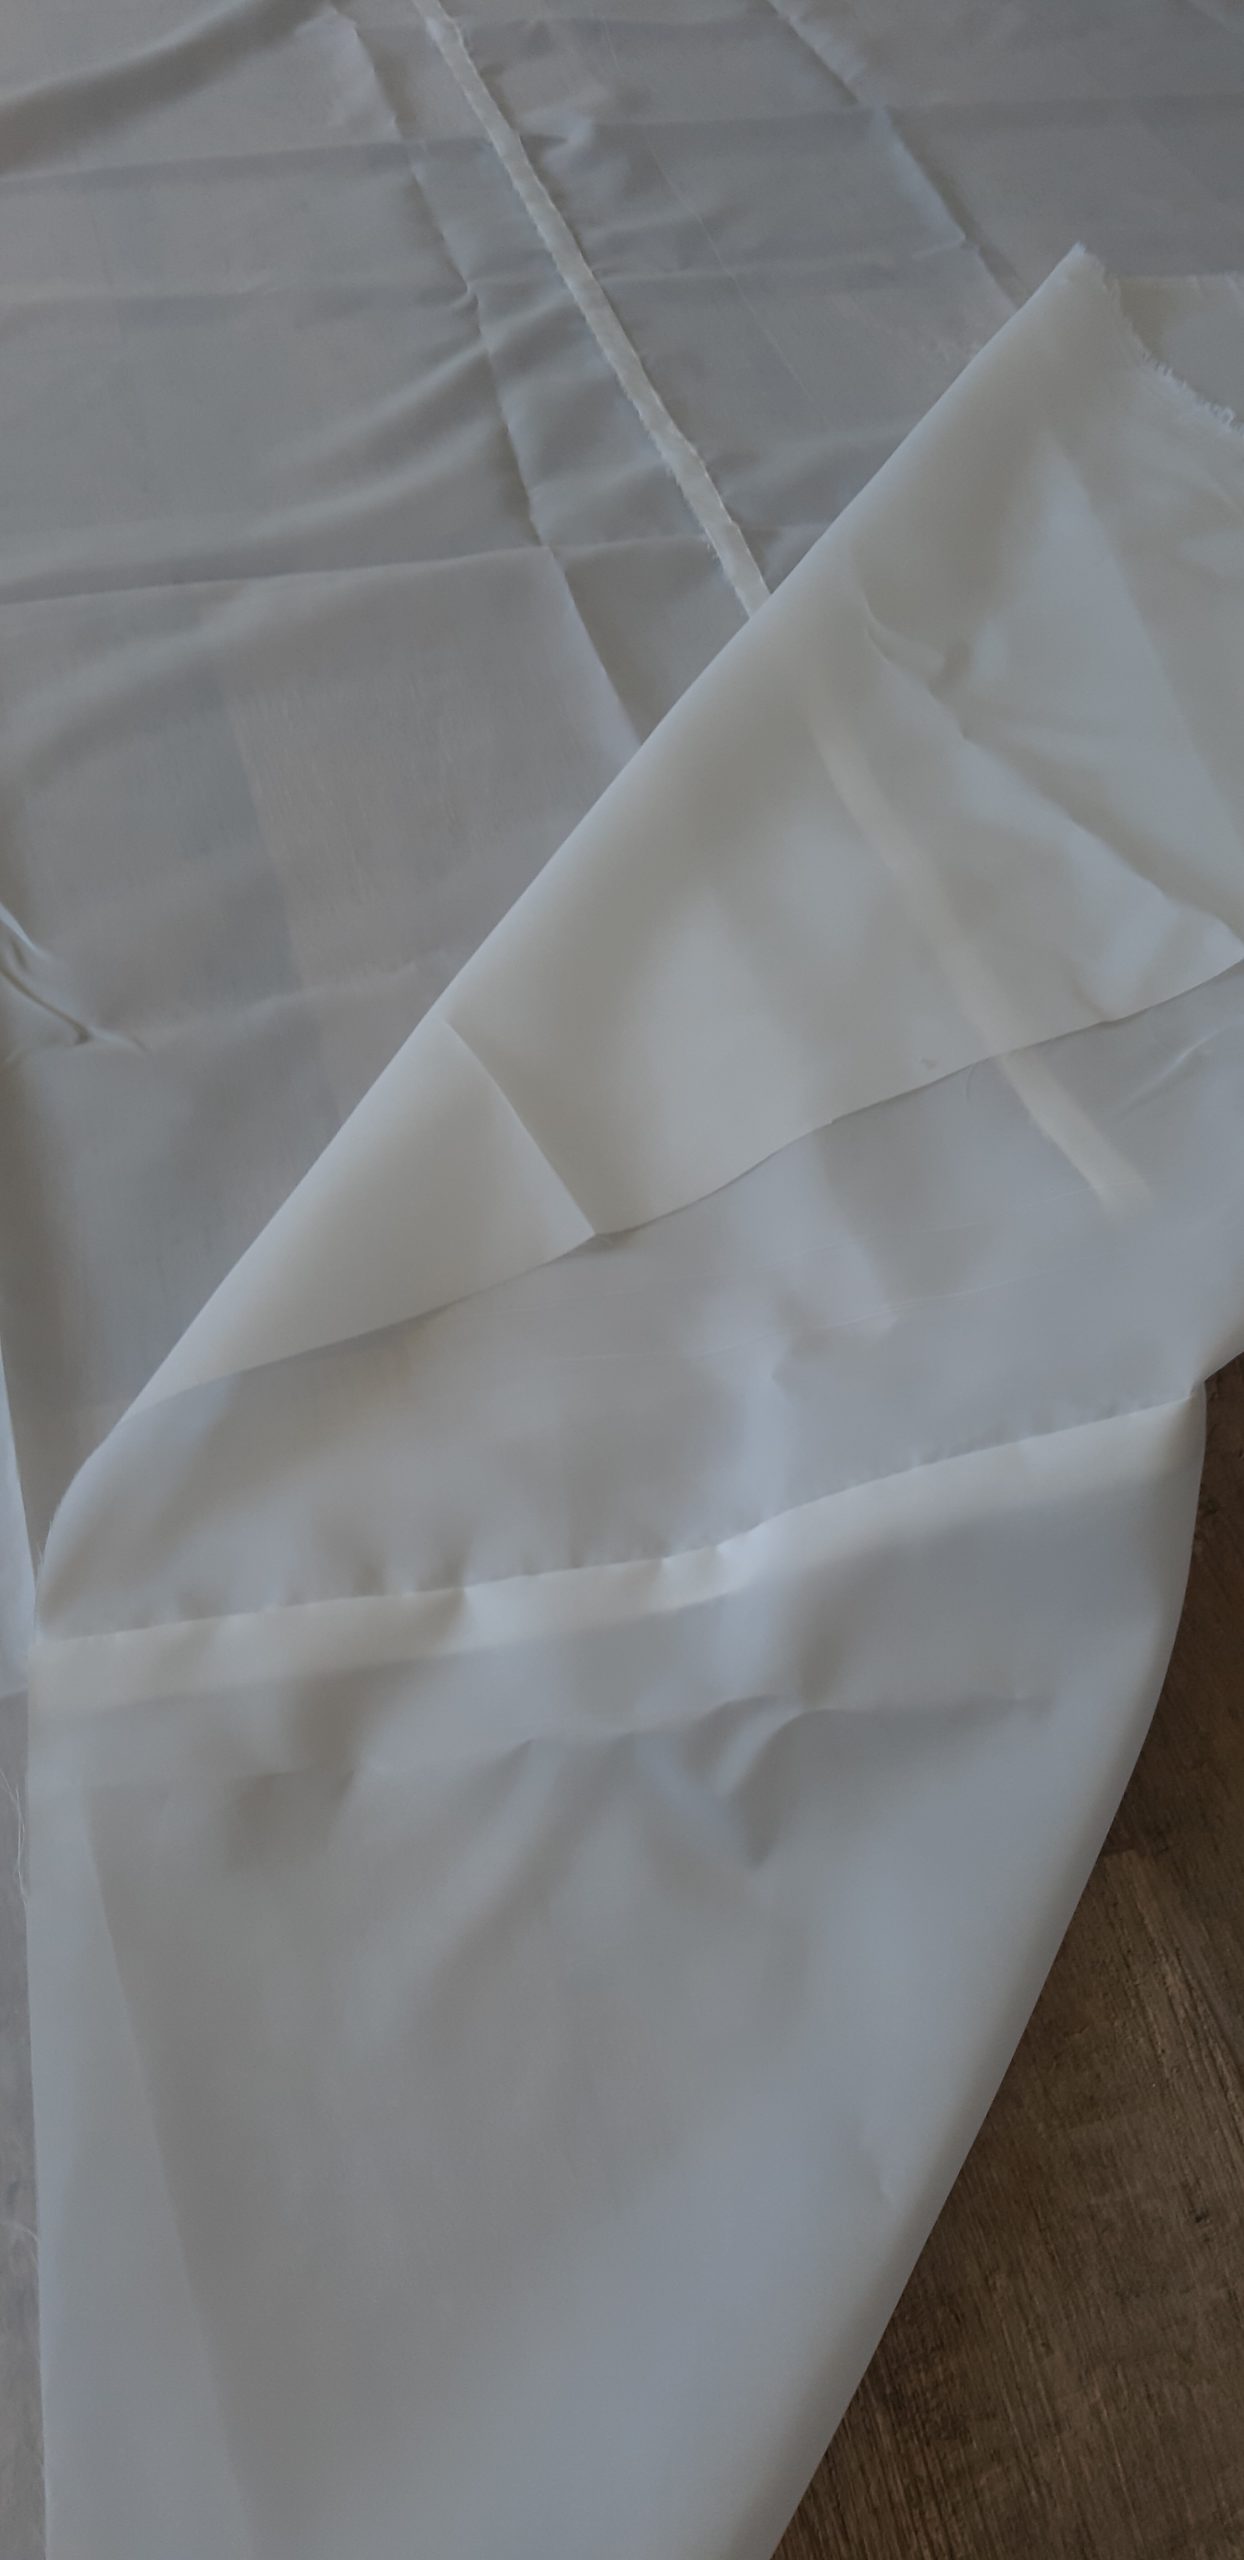
You need to mark the fabric at the midpoint of all sides. To do this, I folded the fabric in half and made a mark with a marker.

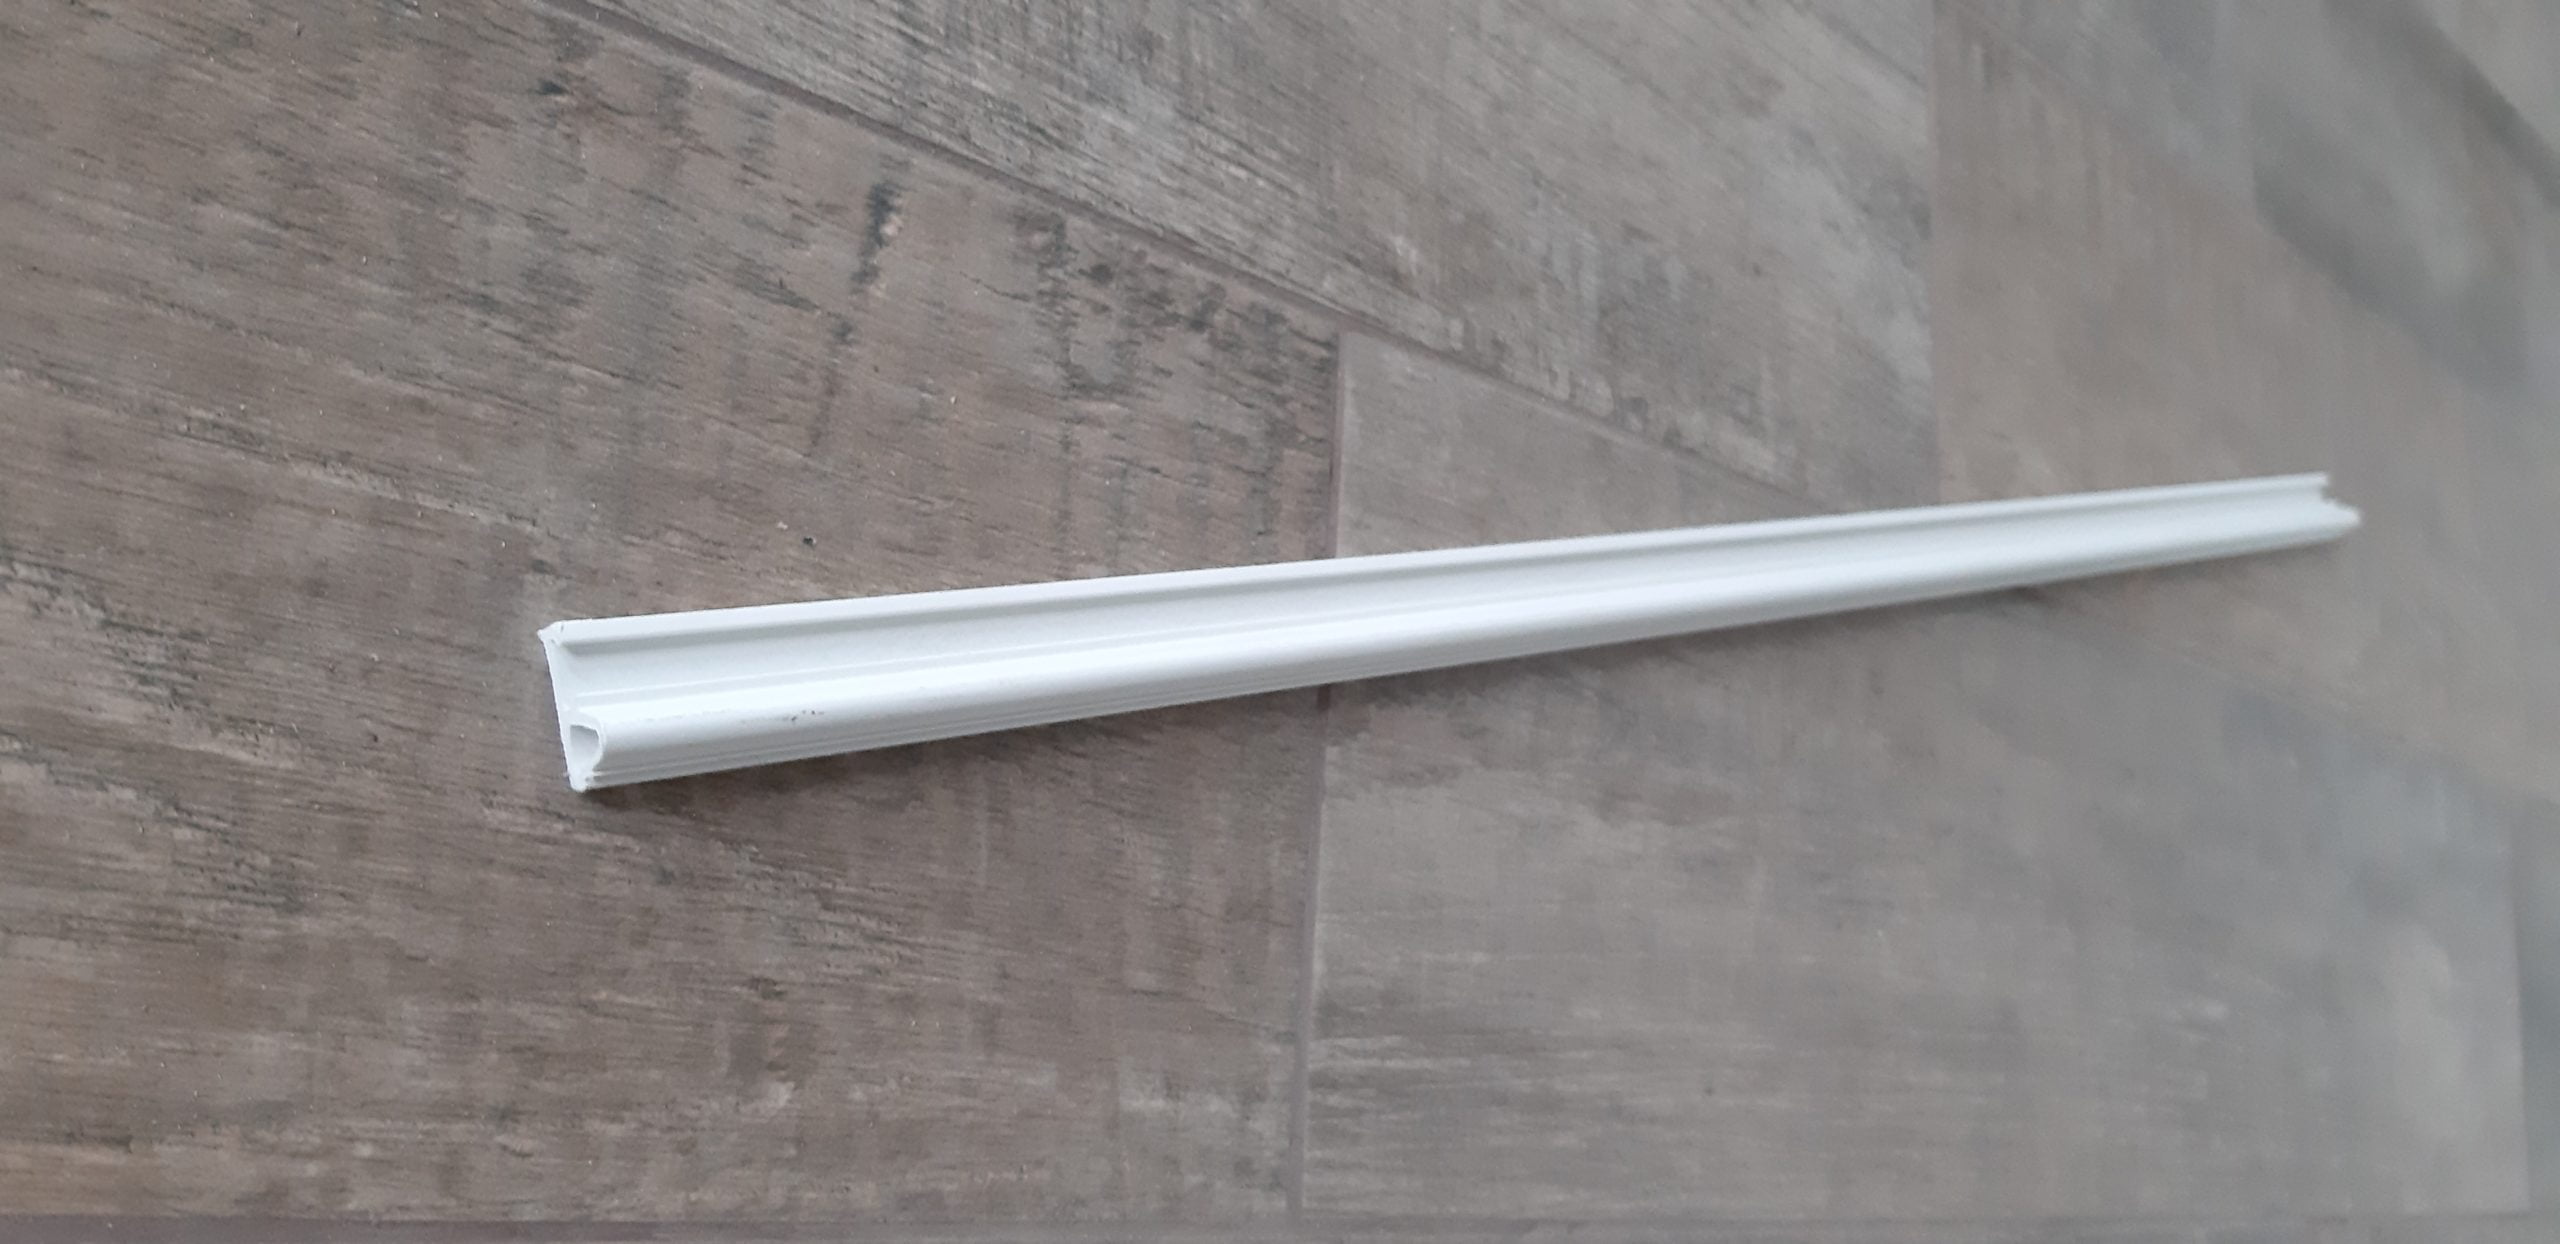
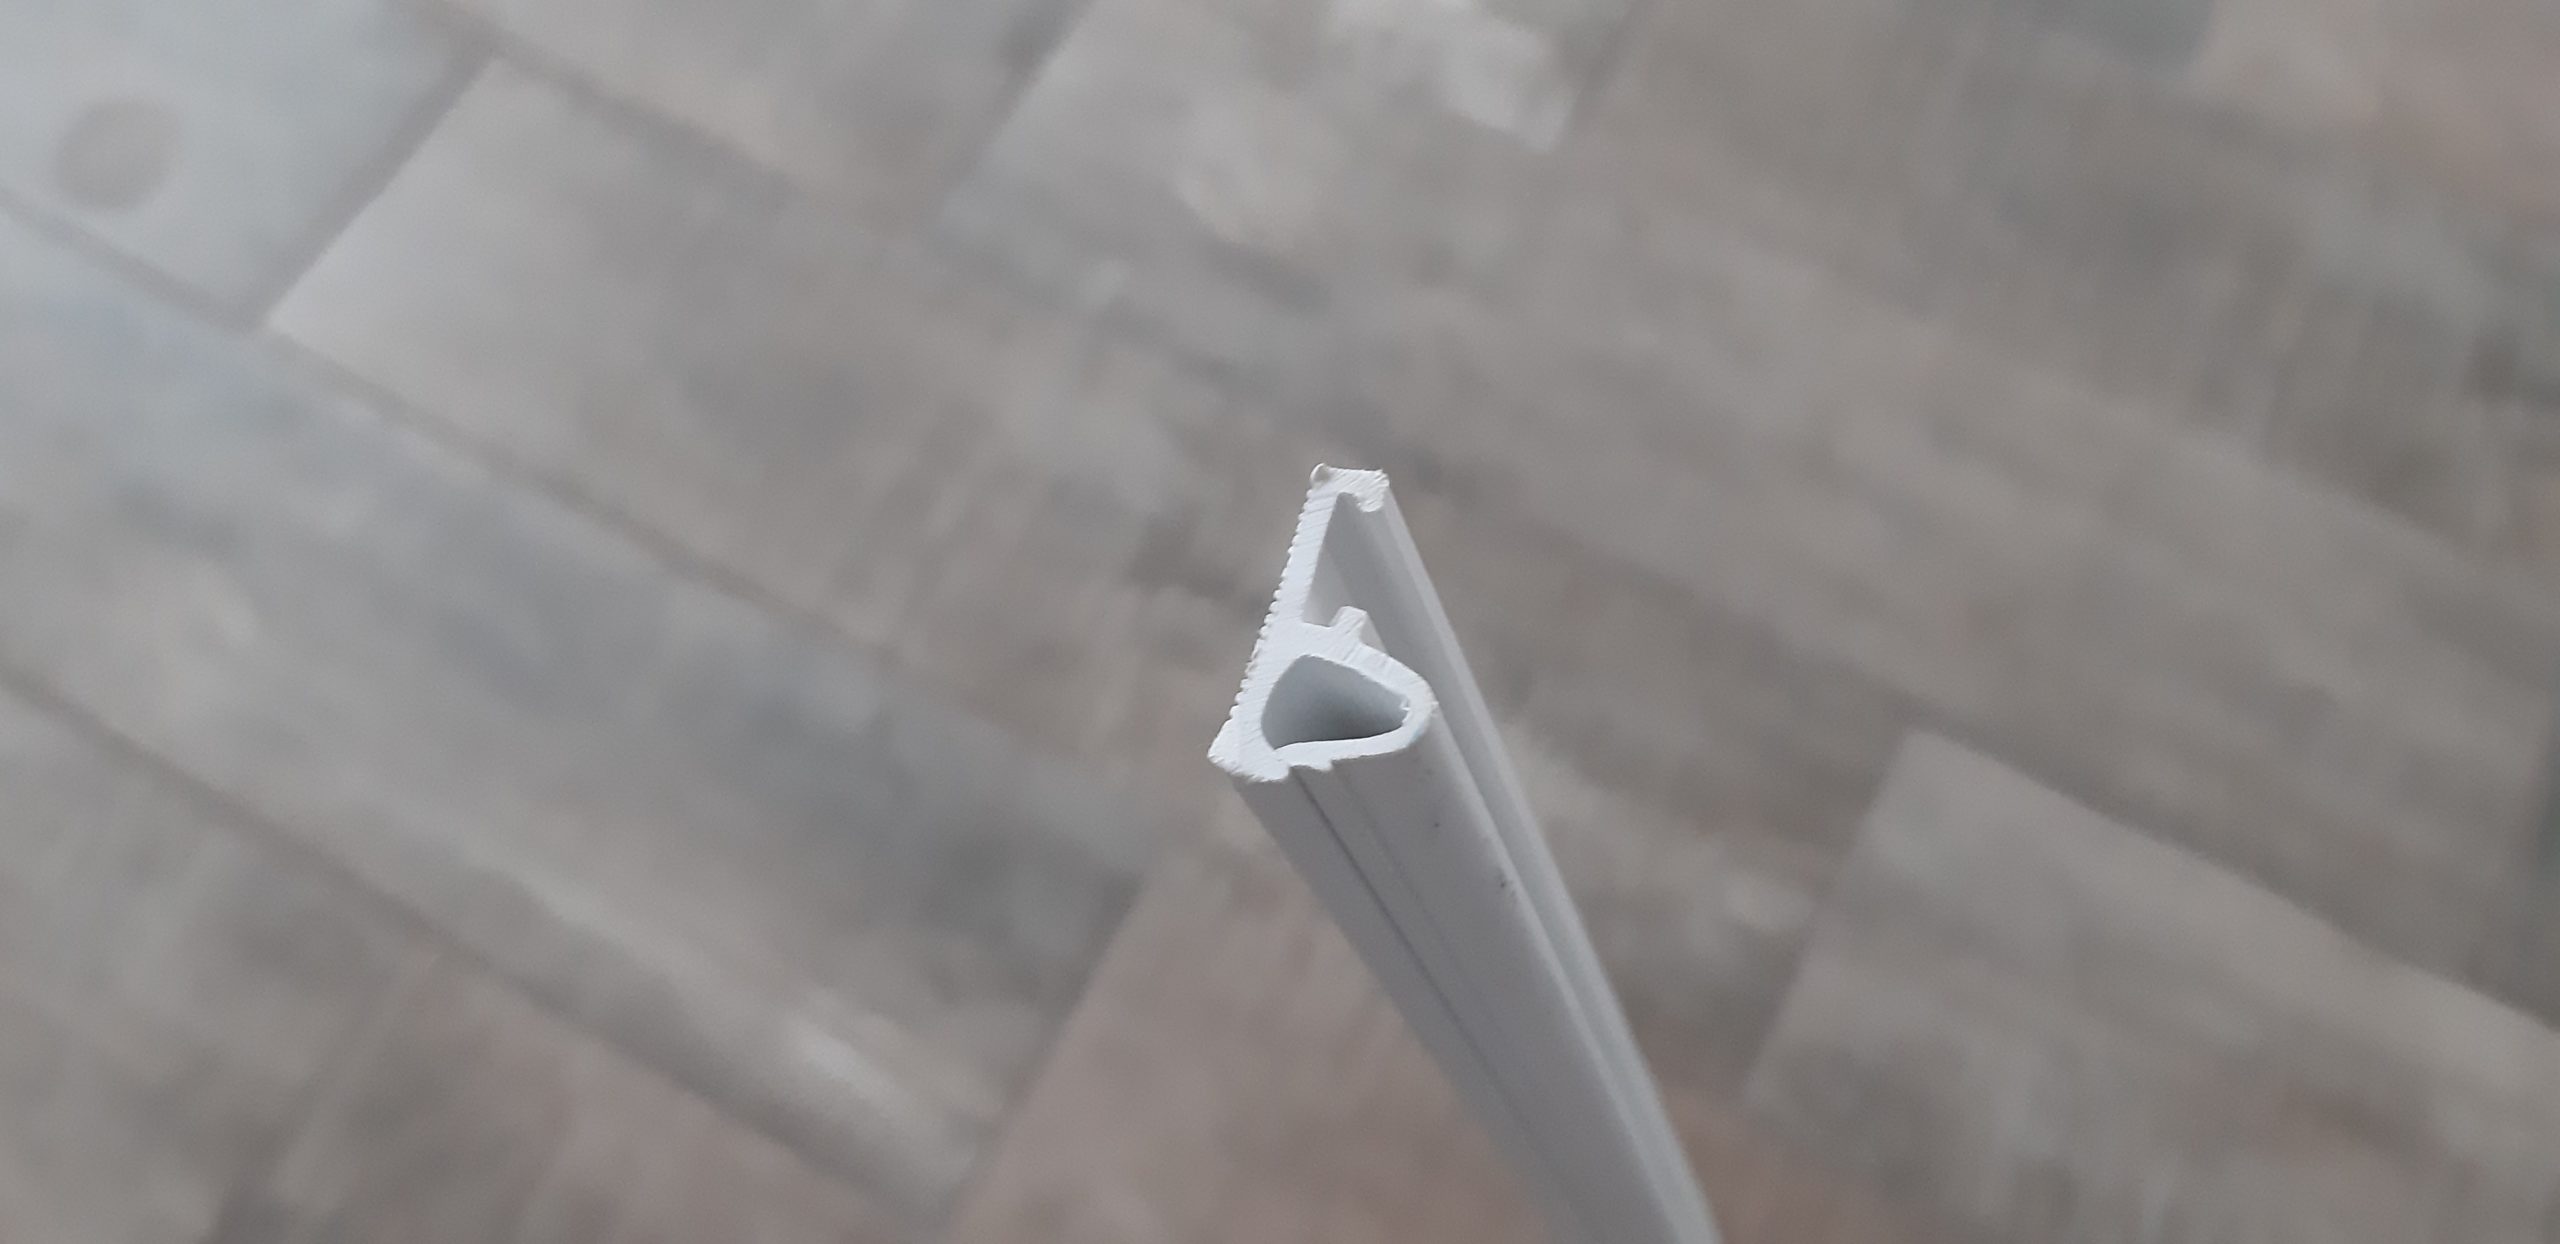
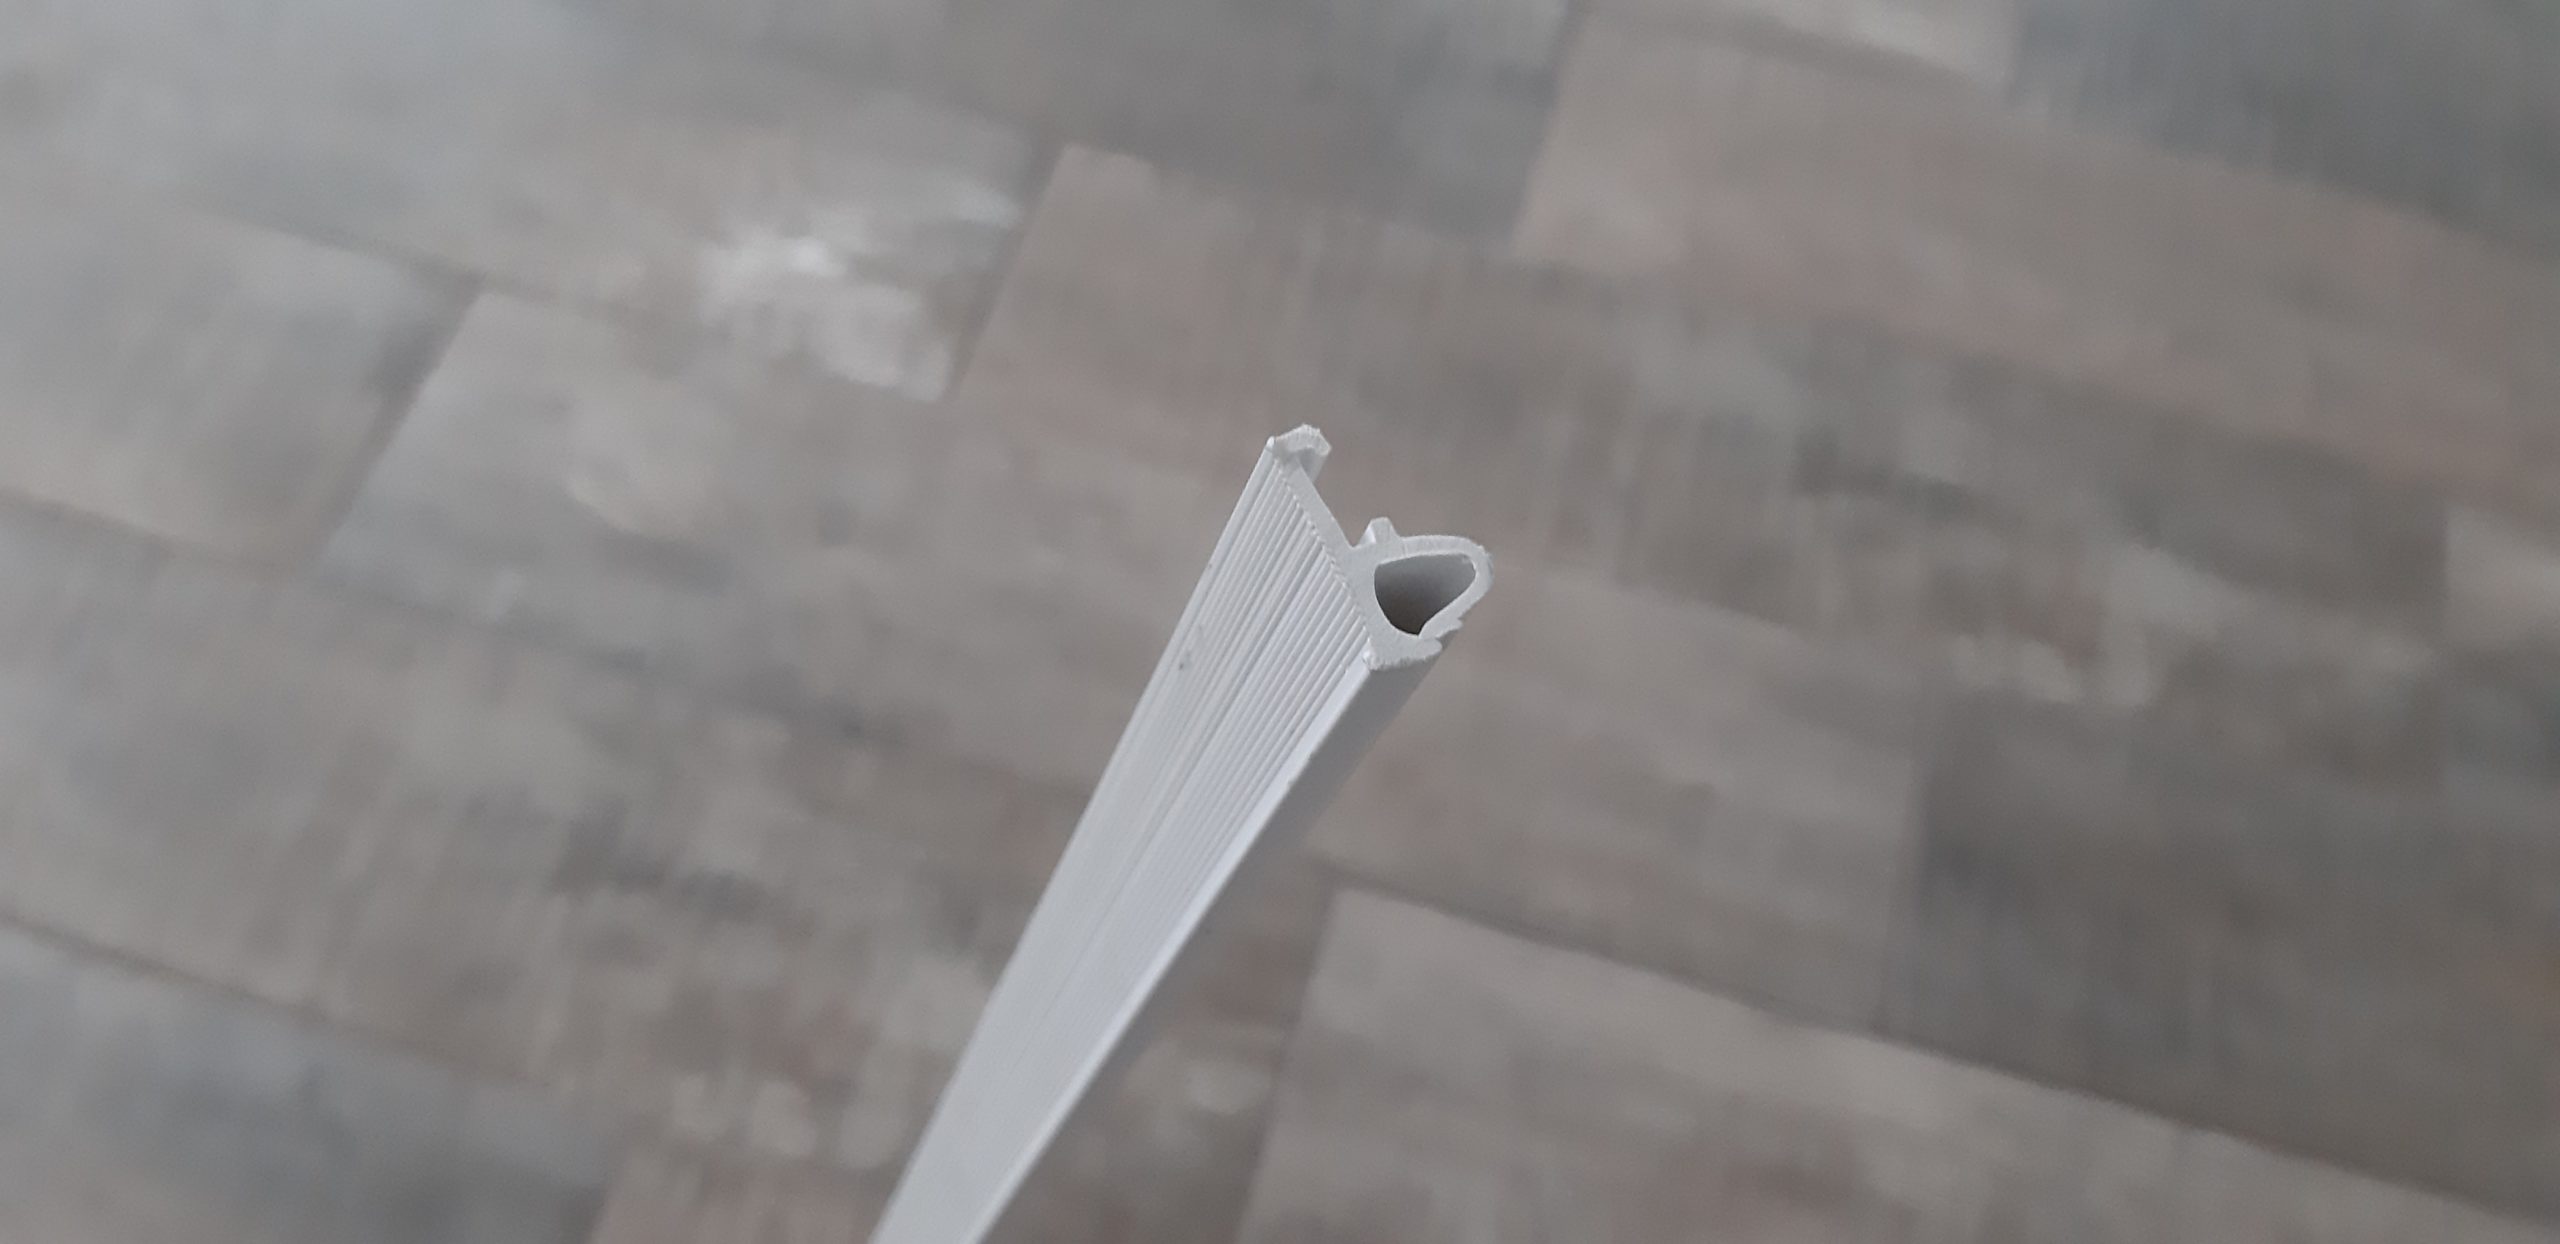
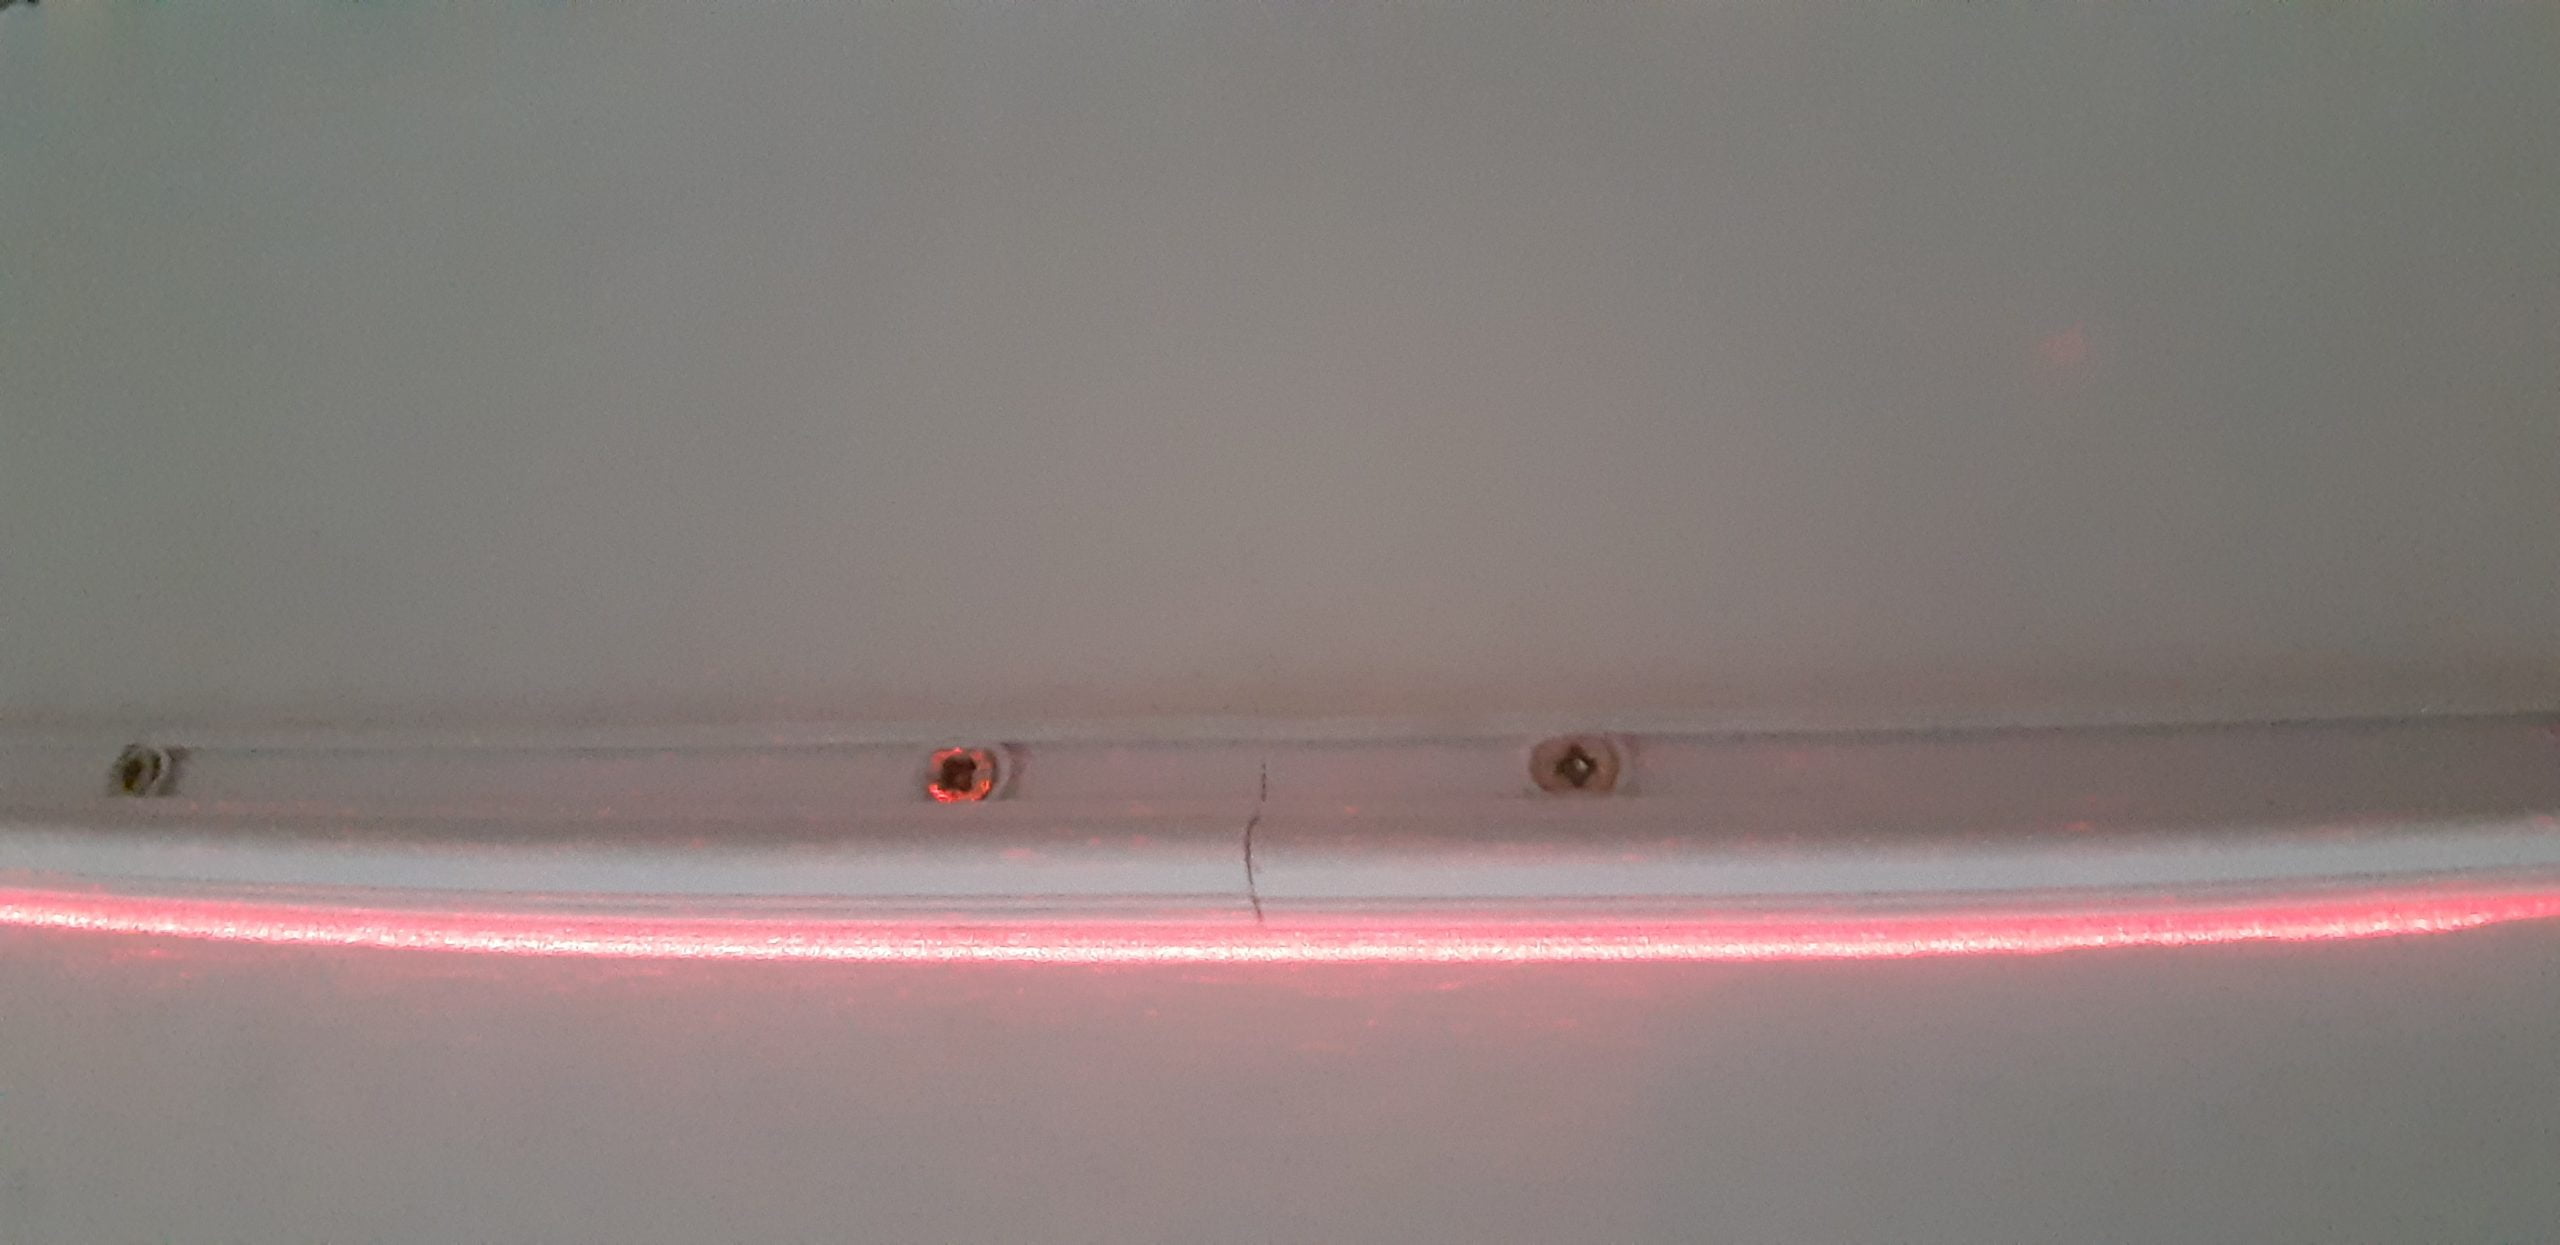
Next, we will need a profile for the stretch ceiling and dowel nails to secure it to the wall. I used dowel nails sized 6×40 mm for concrete and 6×60 mm for aerated concrete. You can find the profile by searching for plastic profile for a non-harpoon stretch ceiling (clamping system). The profile and dowel nails look like this:

We start installing the profile. To do this, we drill holes in the profile for dowel nails at a distance of about 10-15 cm. You can choose the fastening interval based on the evenness and strength of your walls. The profile should fit tightly and securely against the wall.
In the corners, we make cuts in the profile at a 45-degree angle using an angle grinder, a metal saw, or a miter saw.
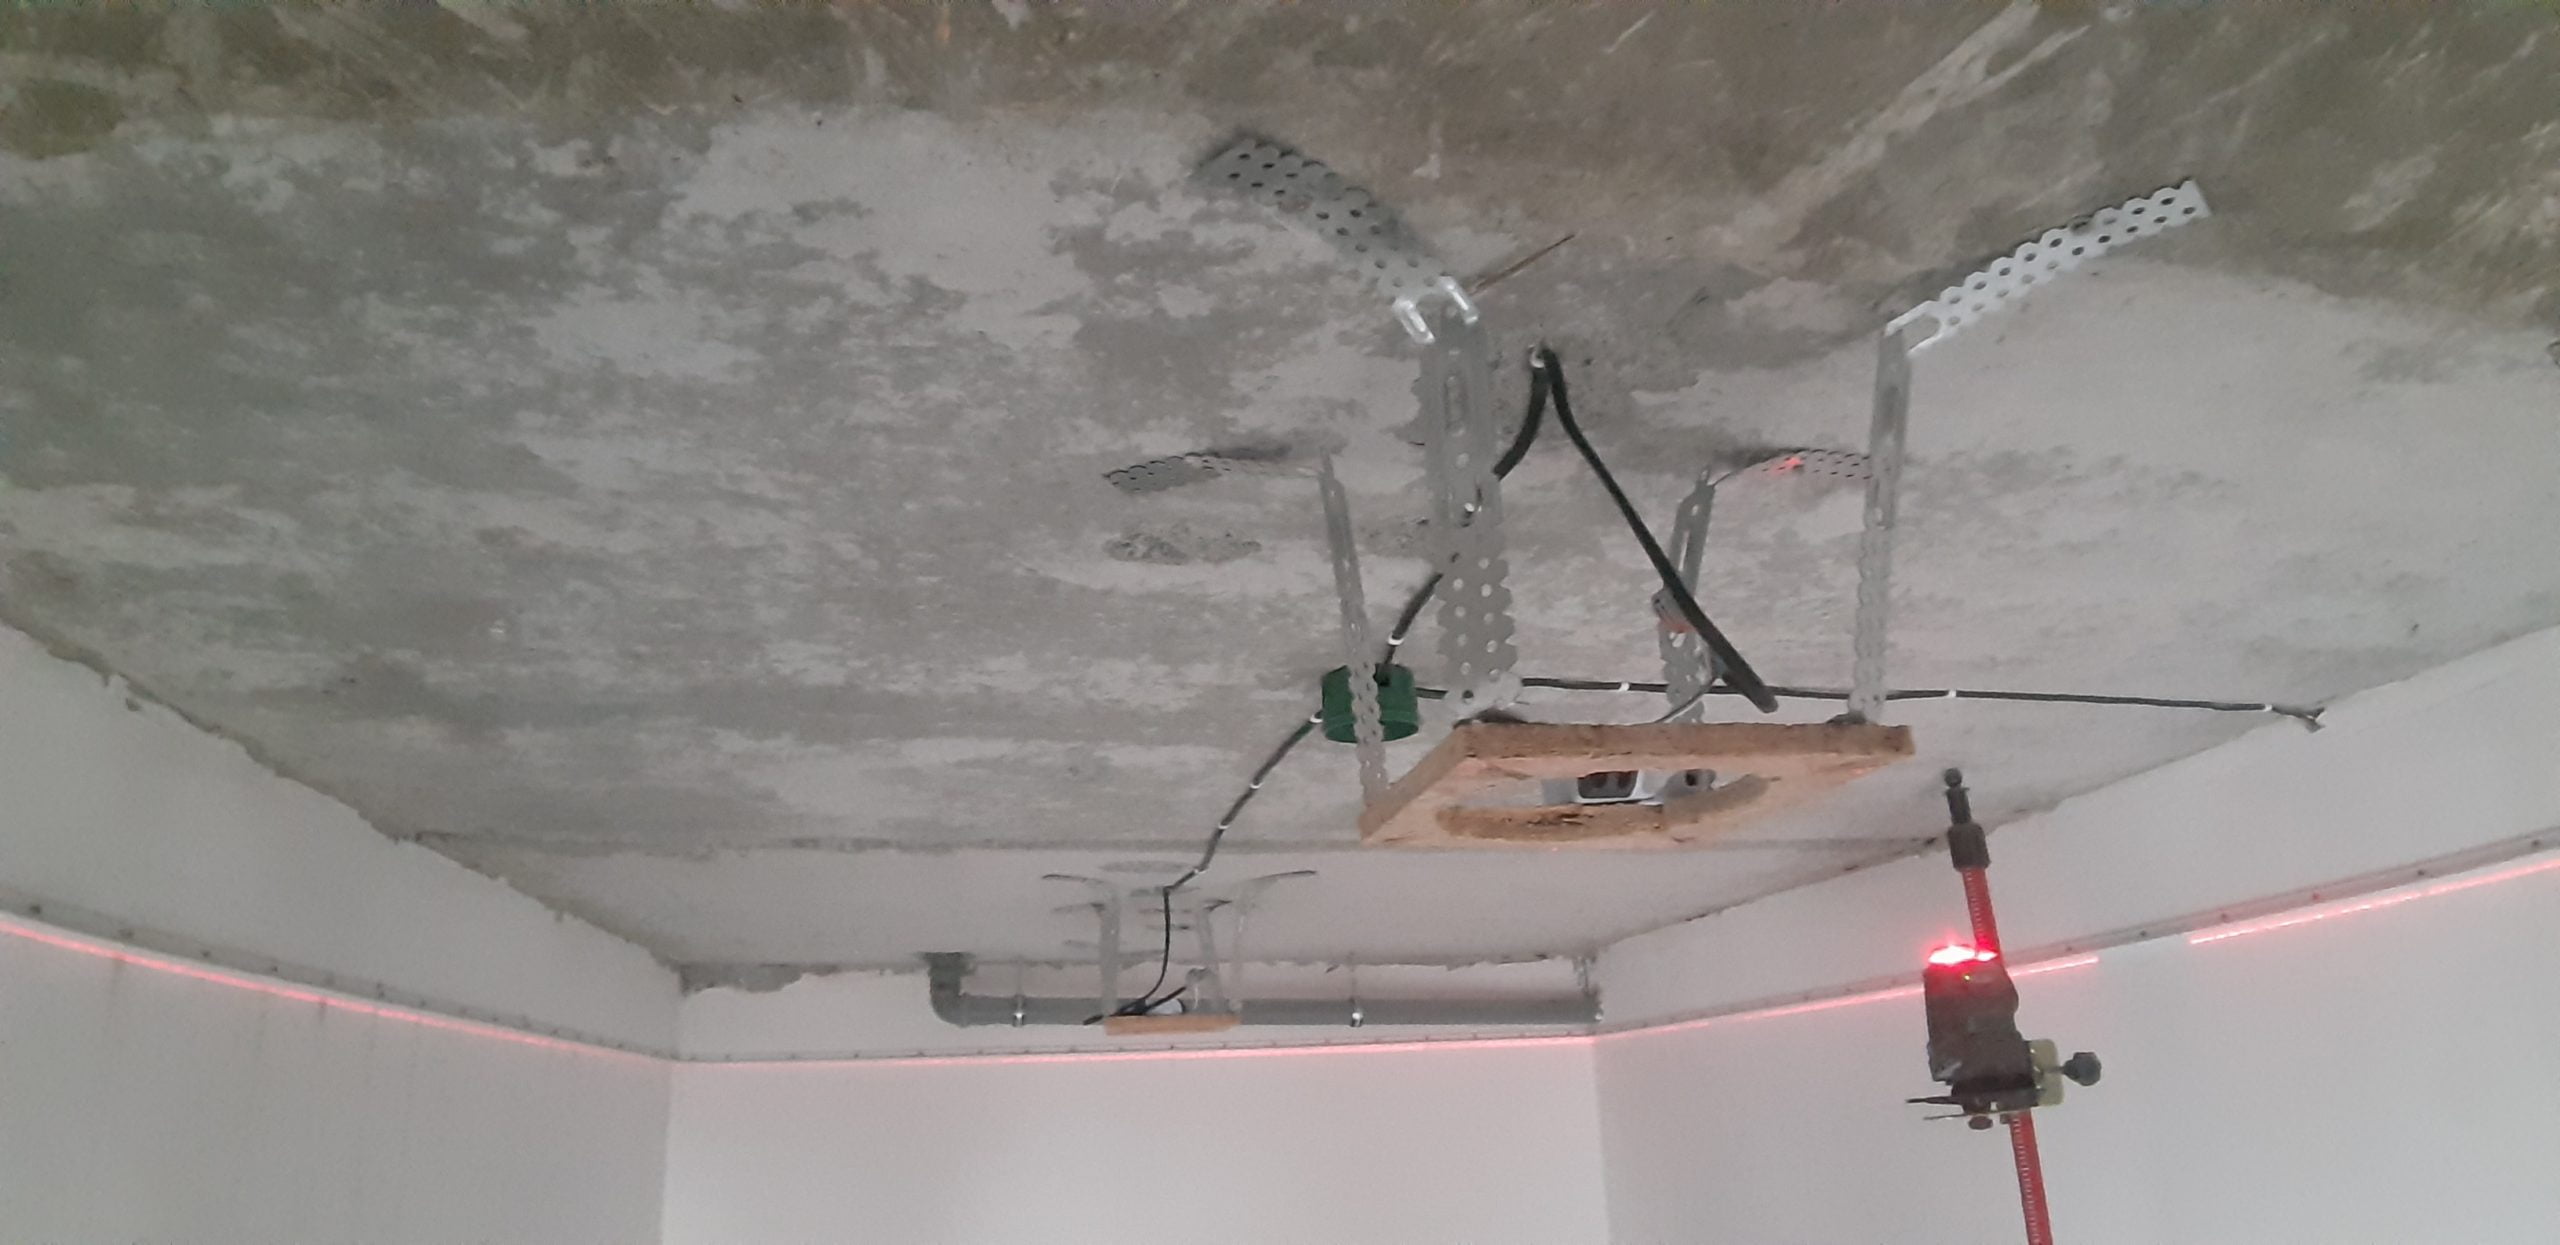
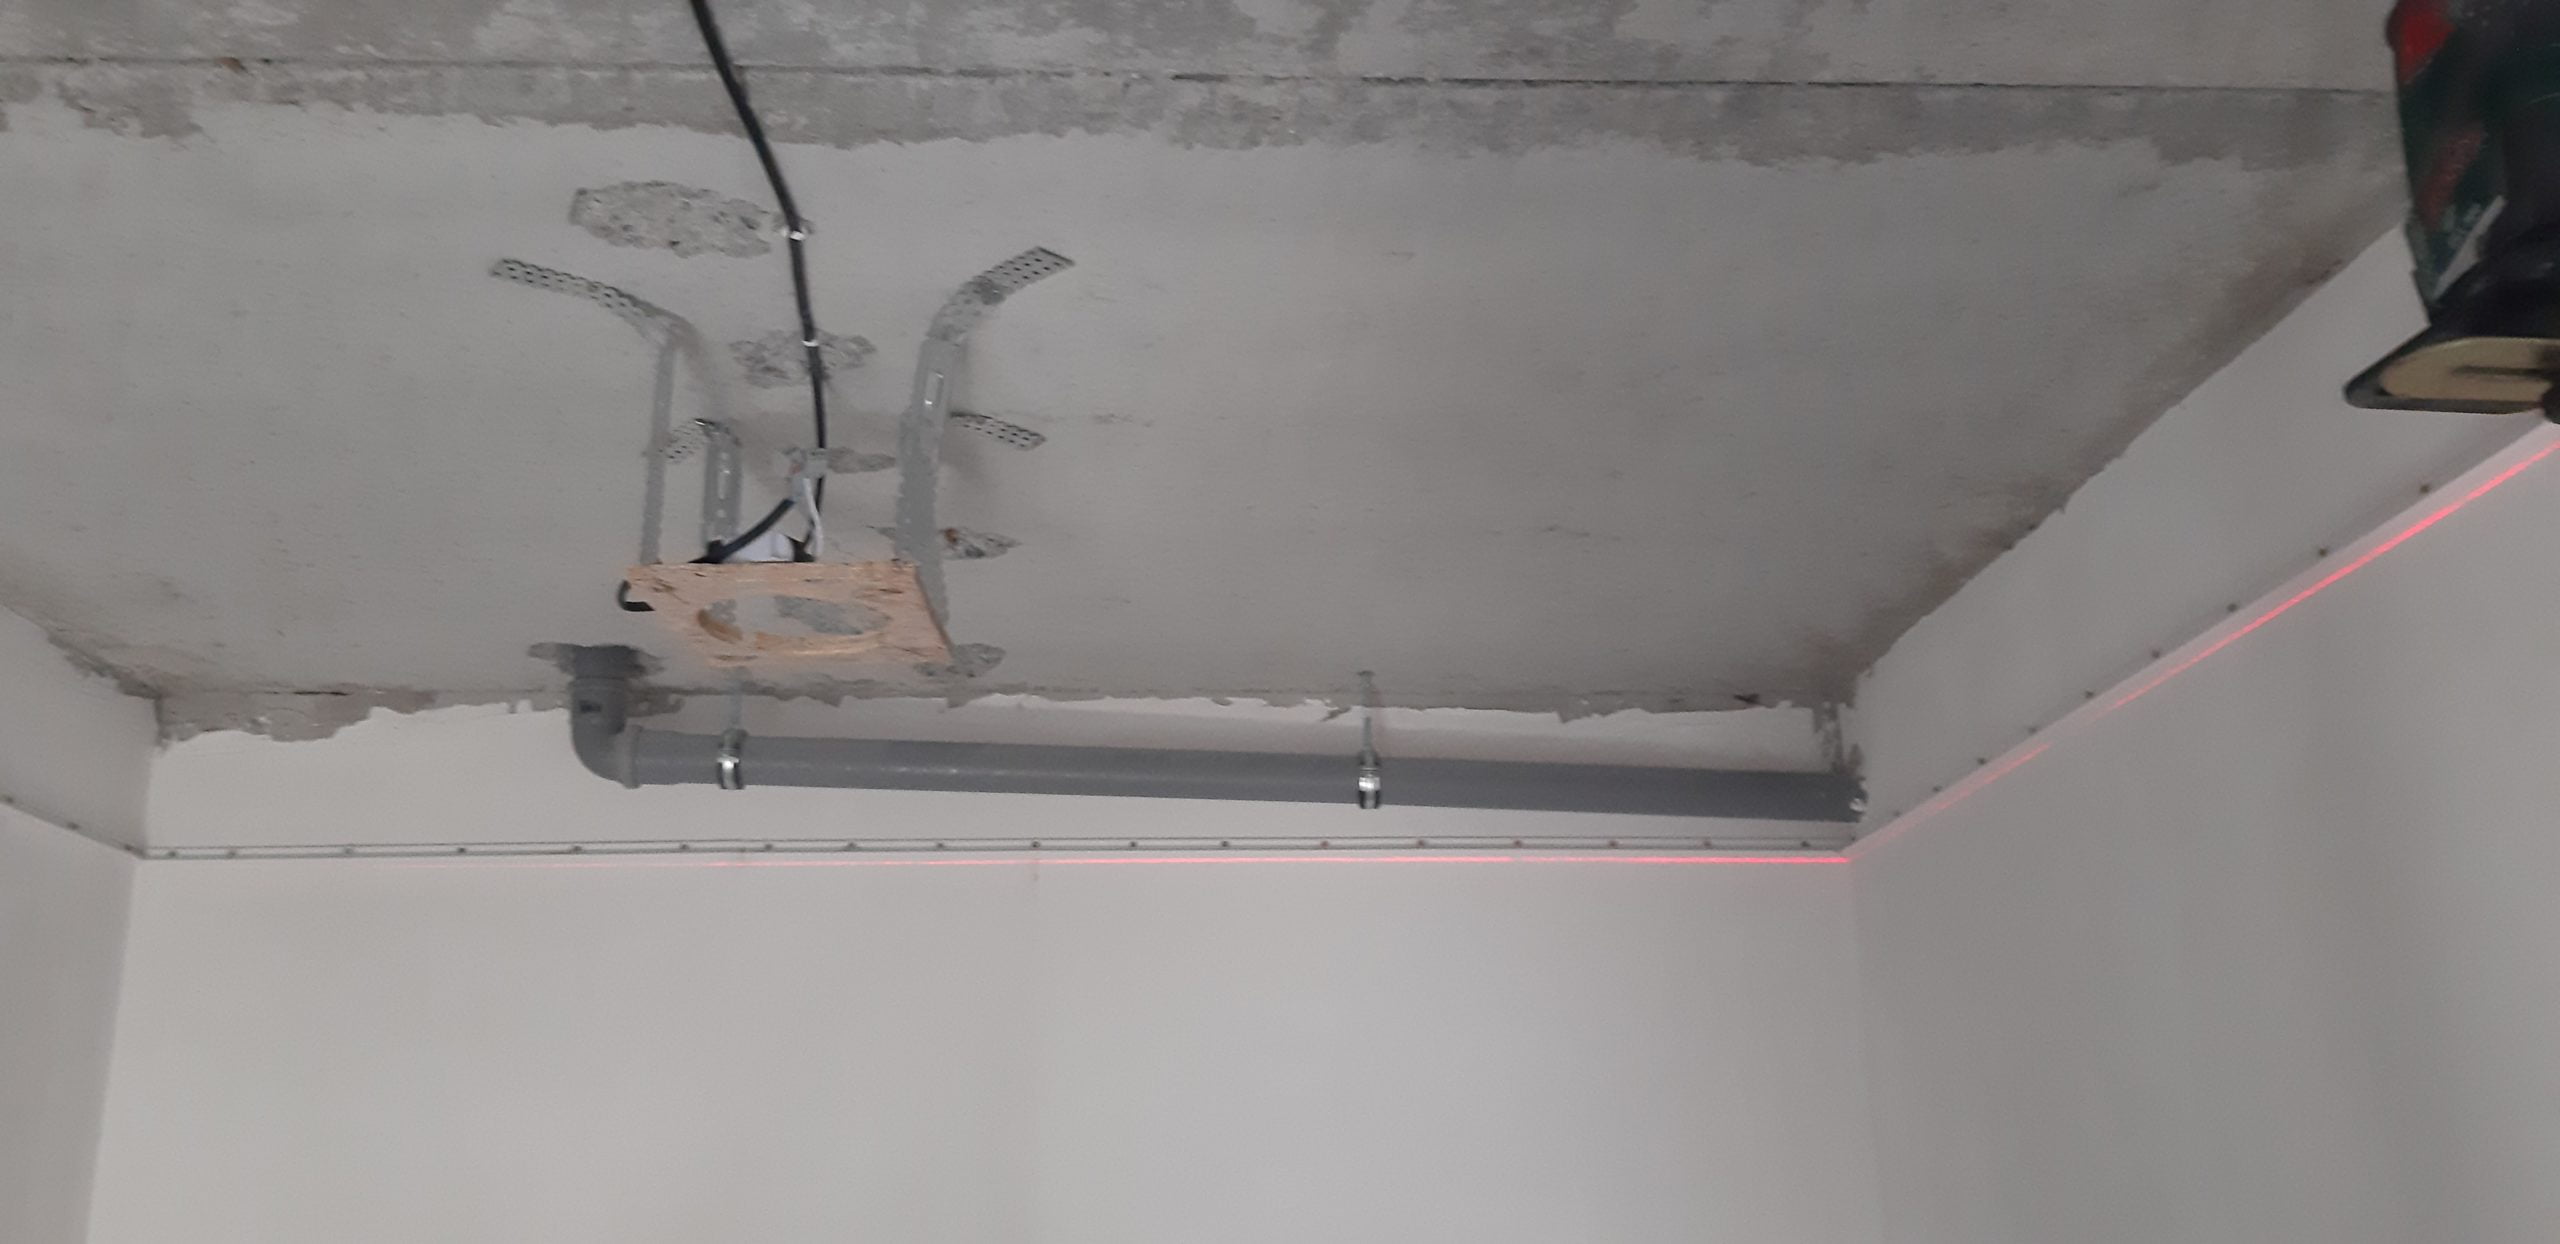
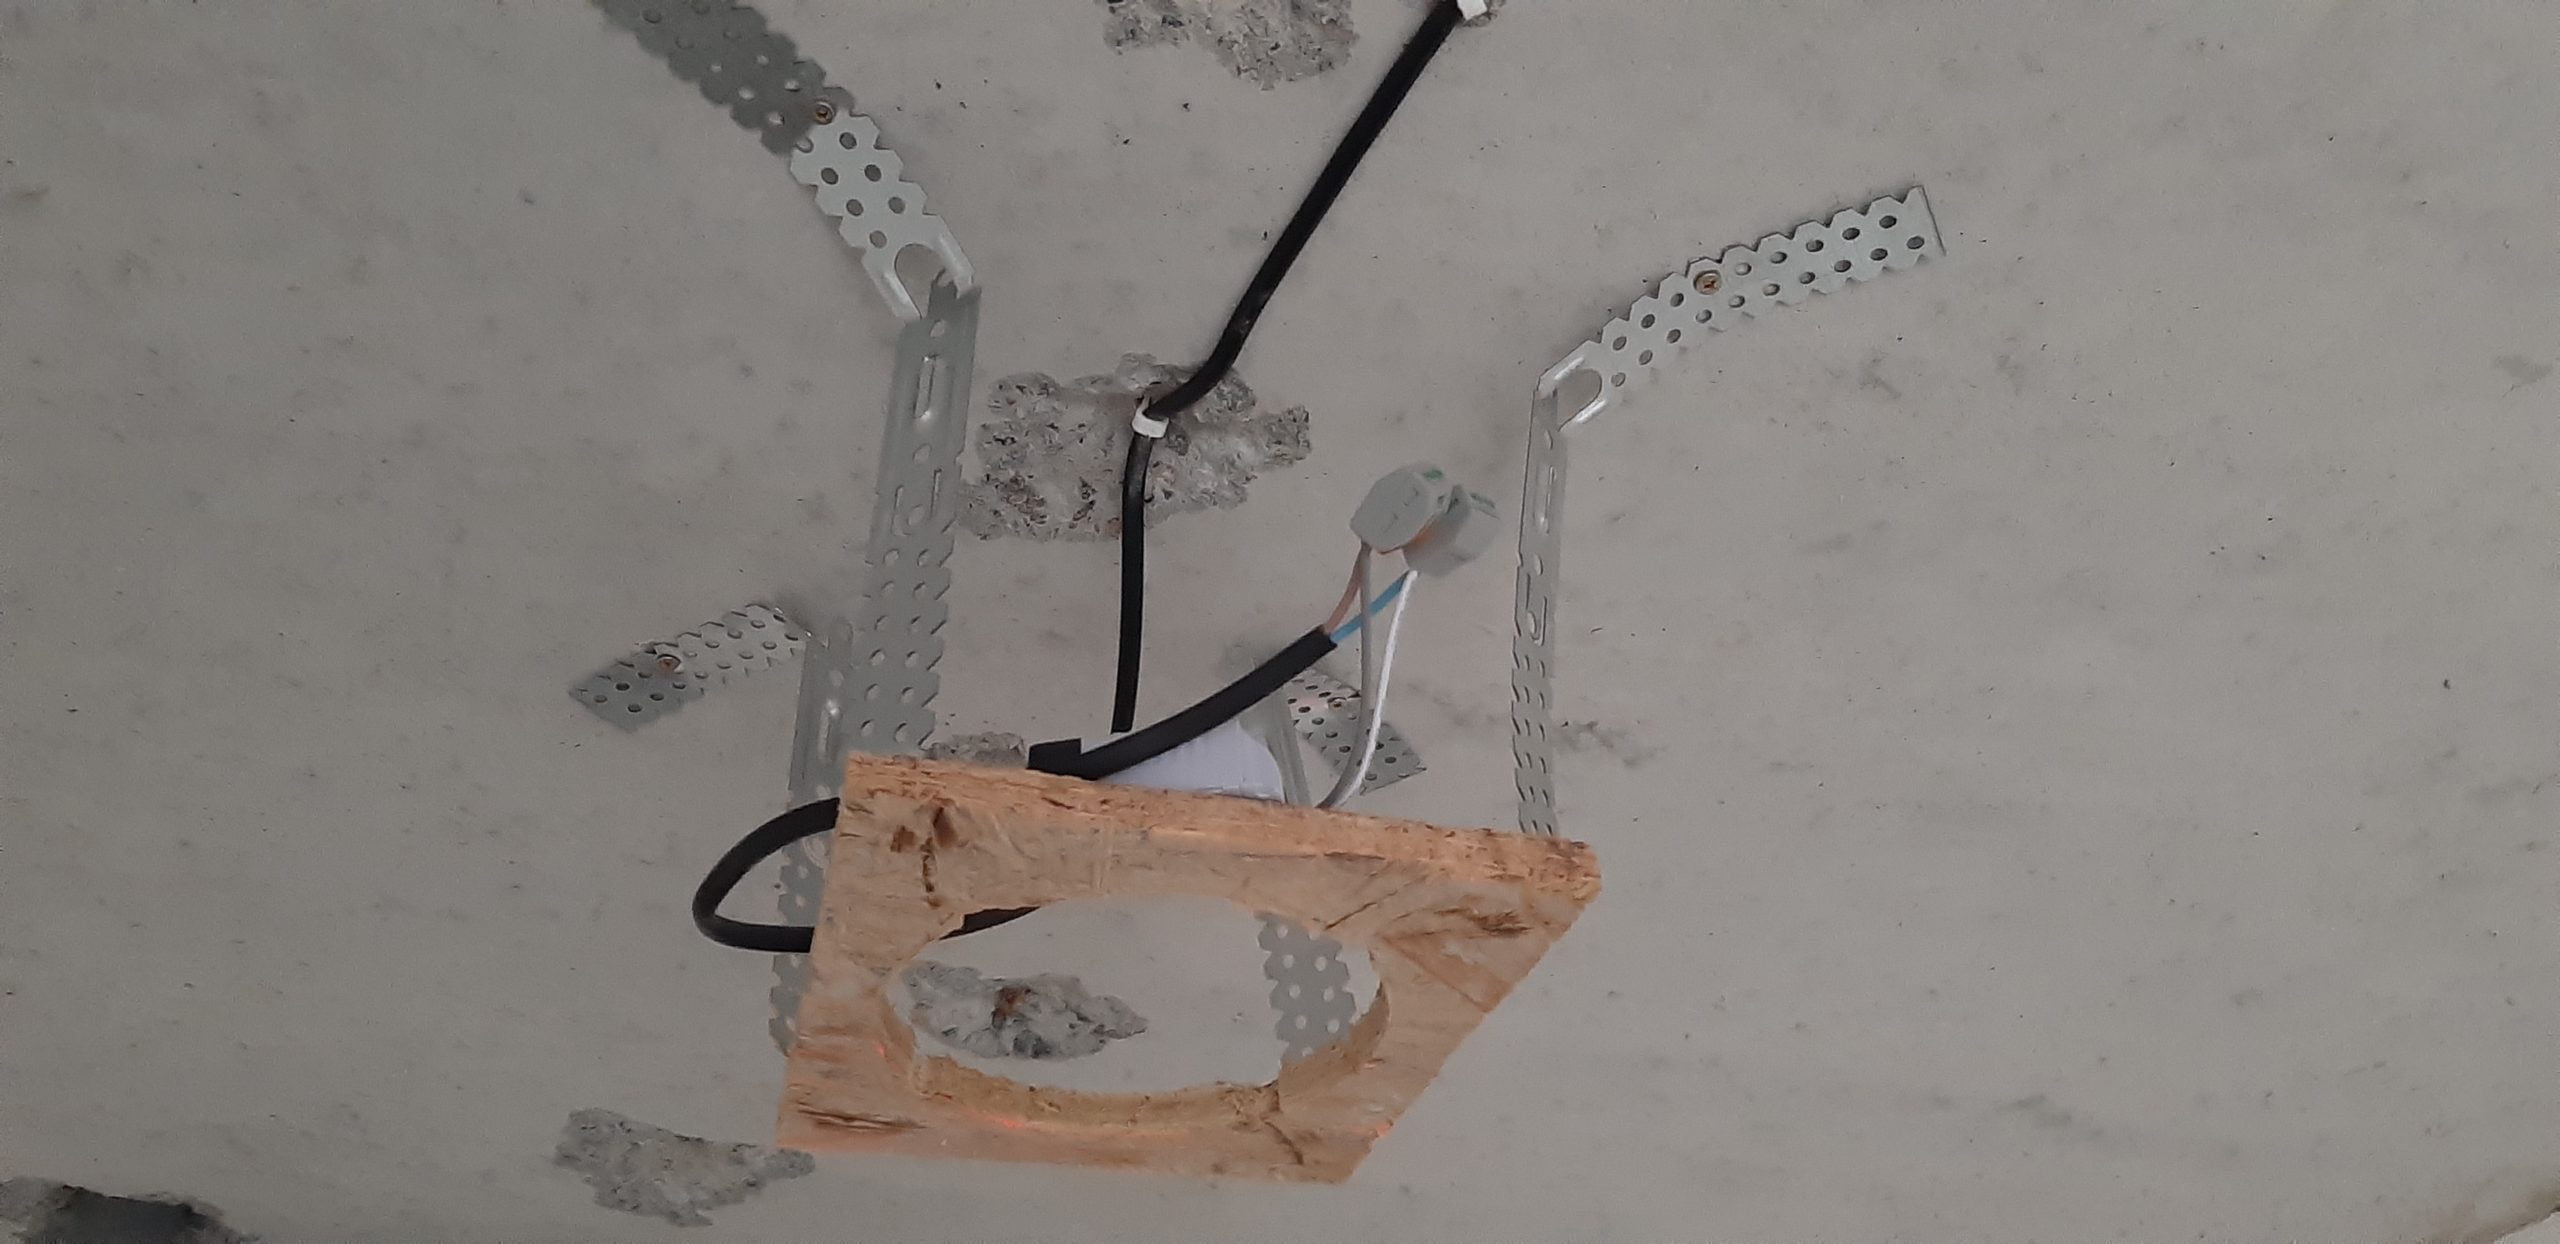
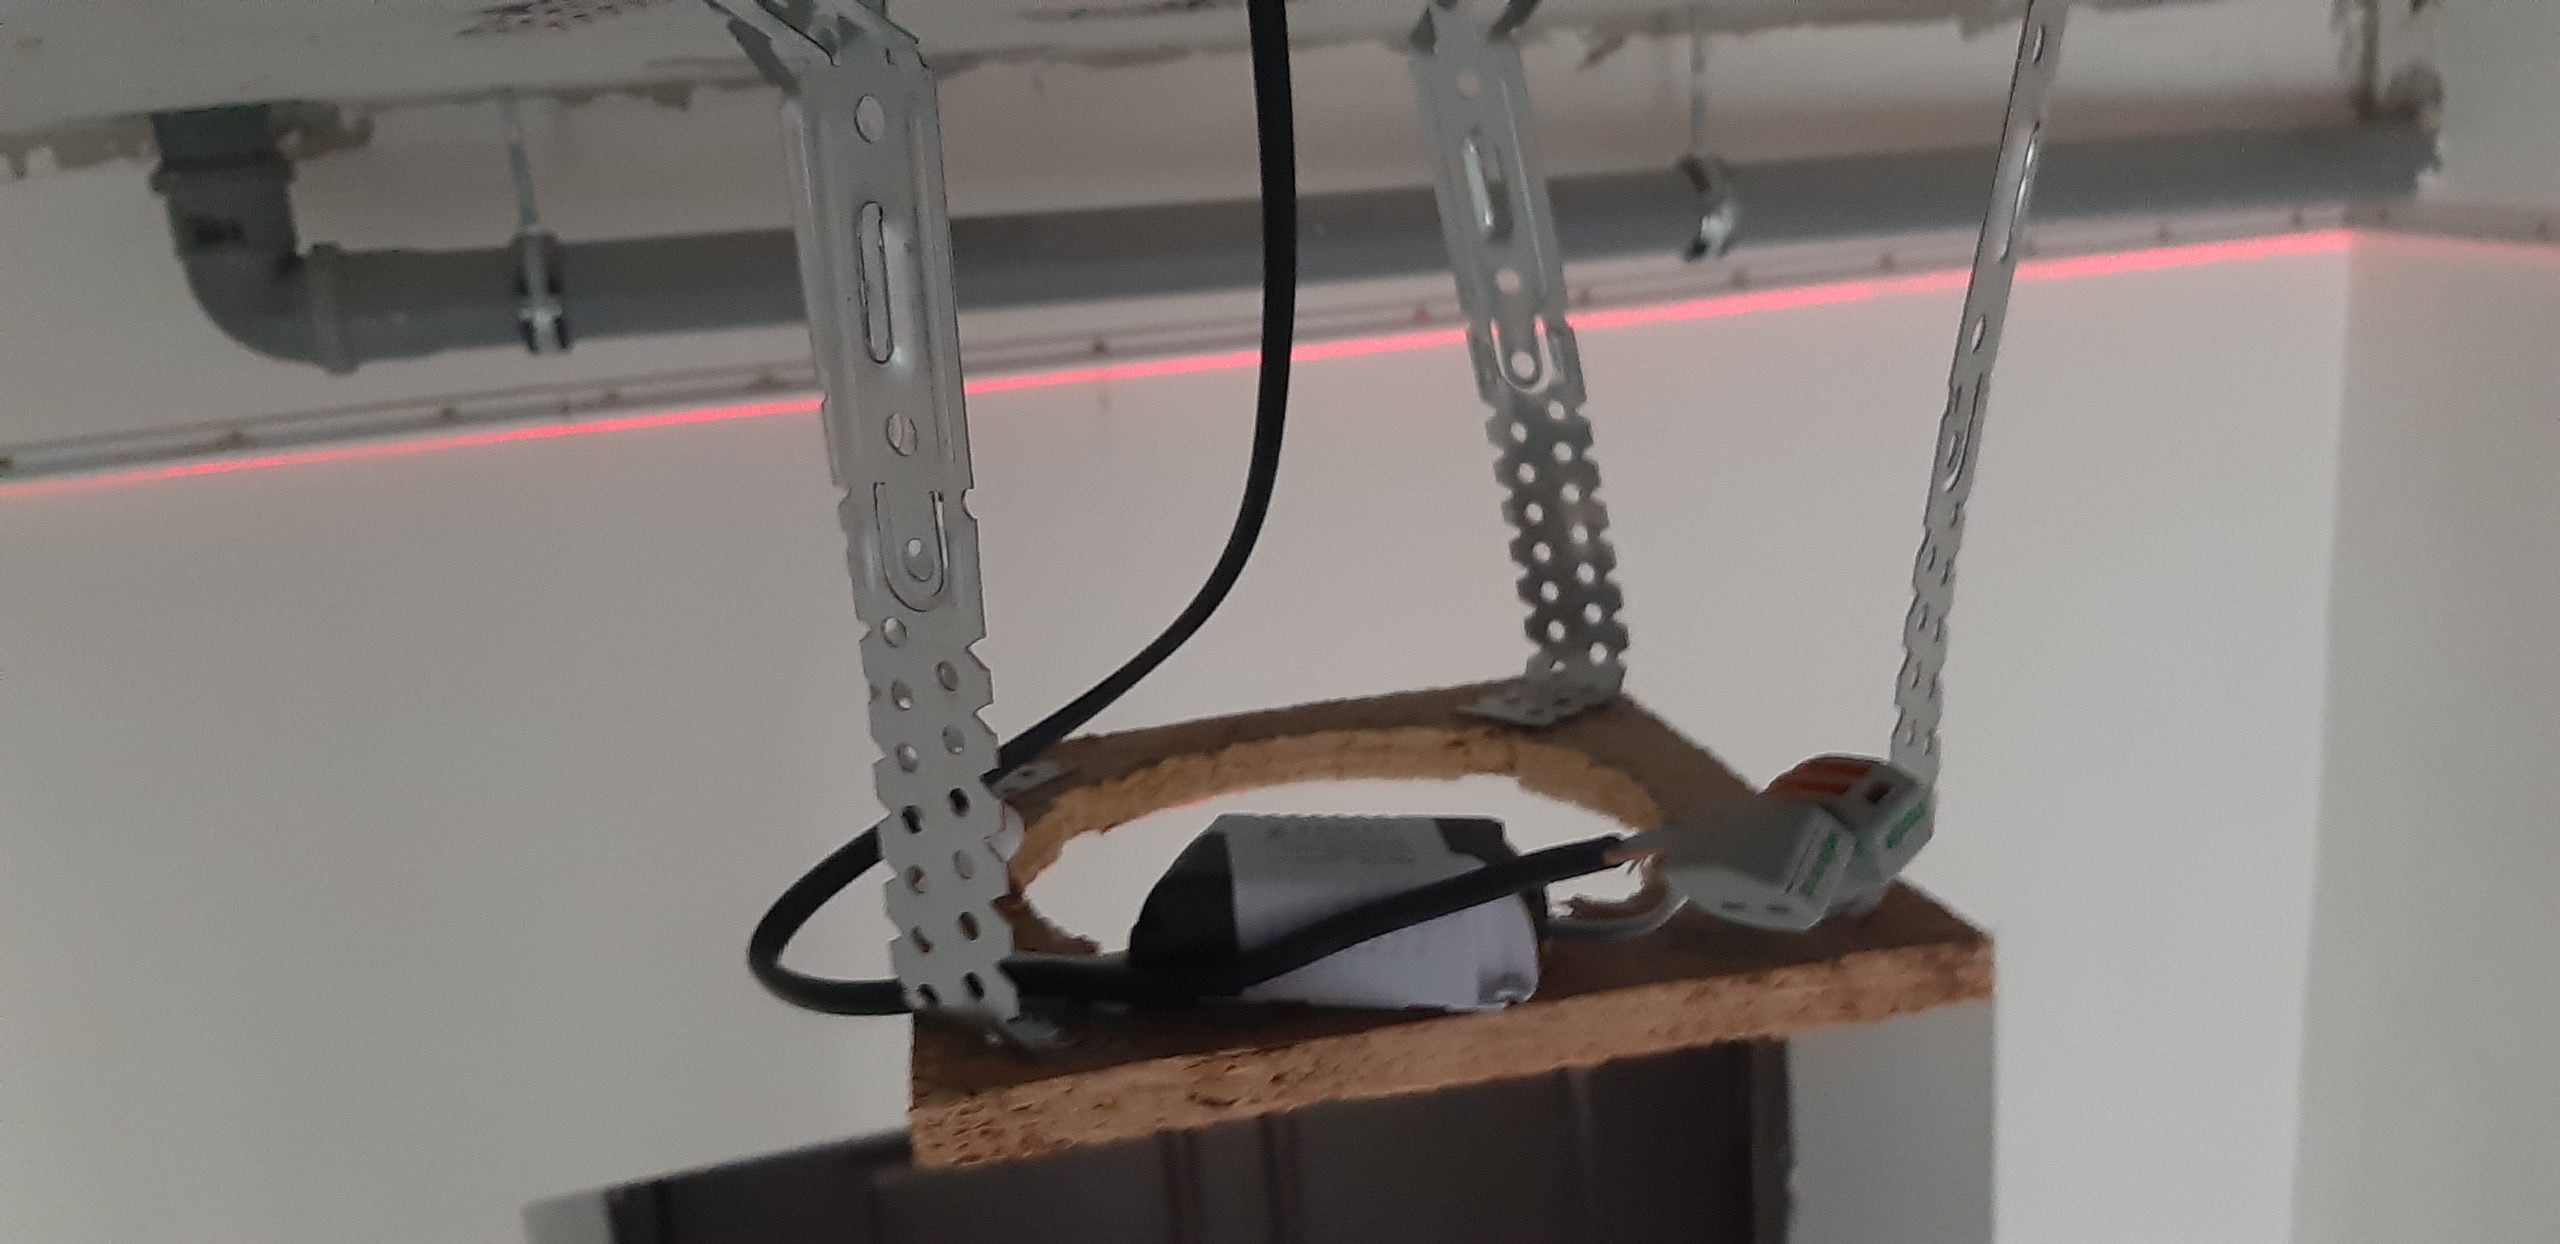
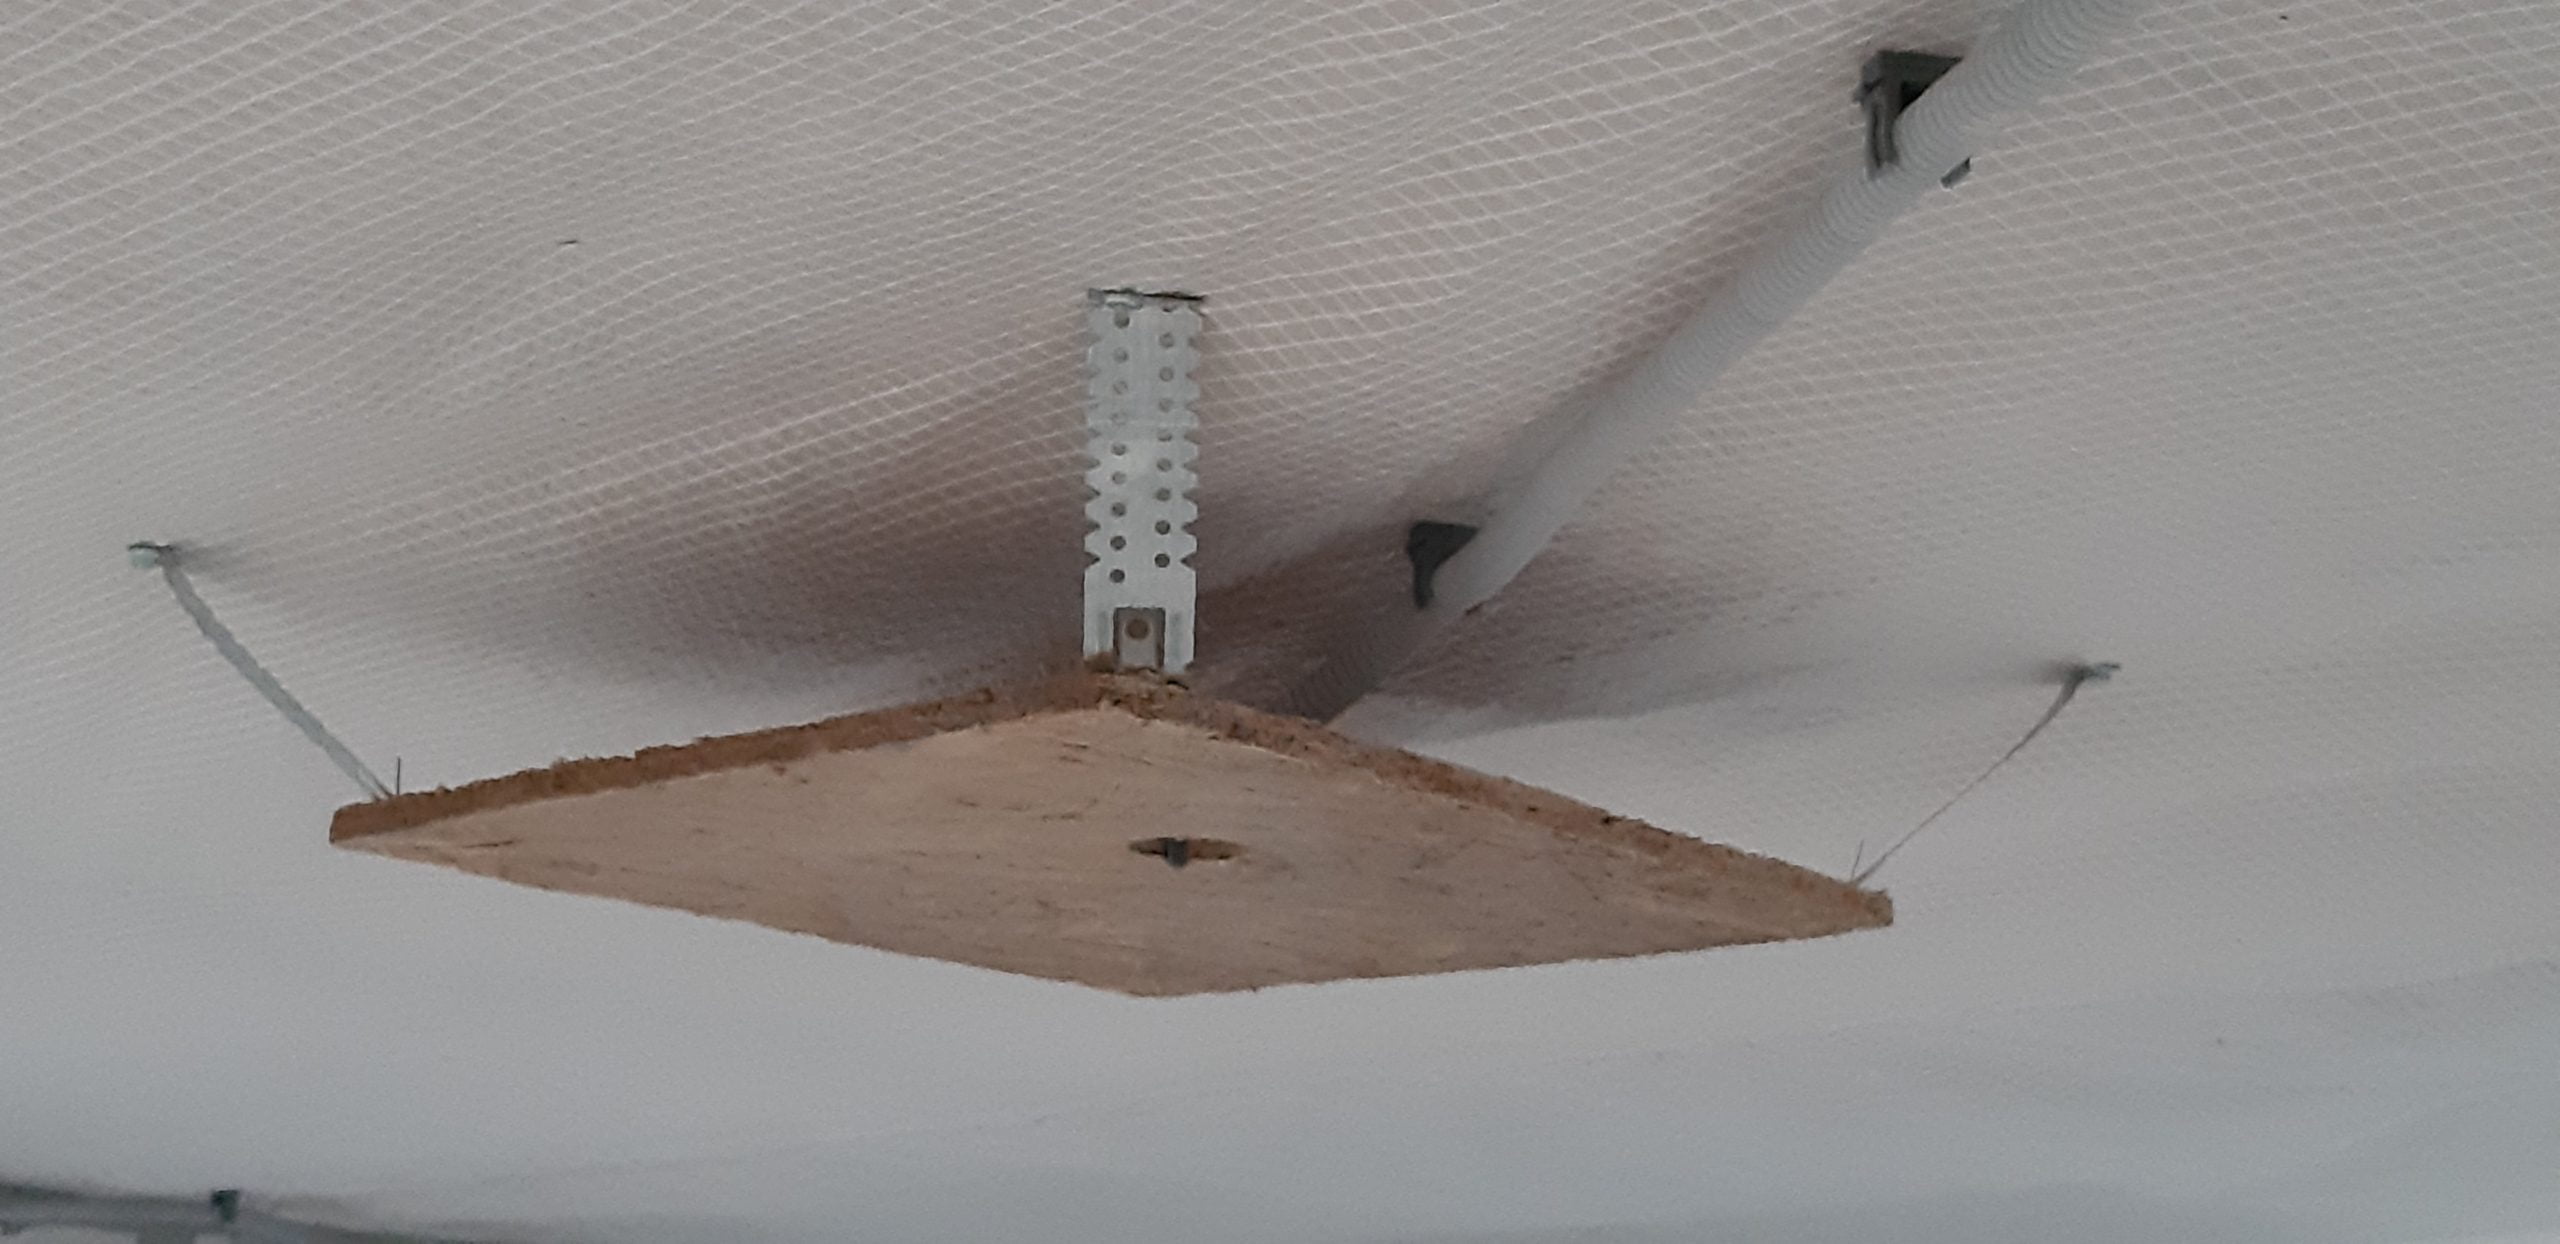
We mark the level of the future ceiling and fasten the profile around the perimeter of the room. I used a telescopic pole laser level, but it’s not mandatory. For the lighting fixtures, we create supports. You can buy ready-made plastic ones, but I made them from OSB and MDF offcuts. They are attached at the level of the profile using regular flat (Direct Ceiling) hangers for drywall.


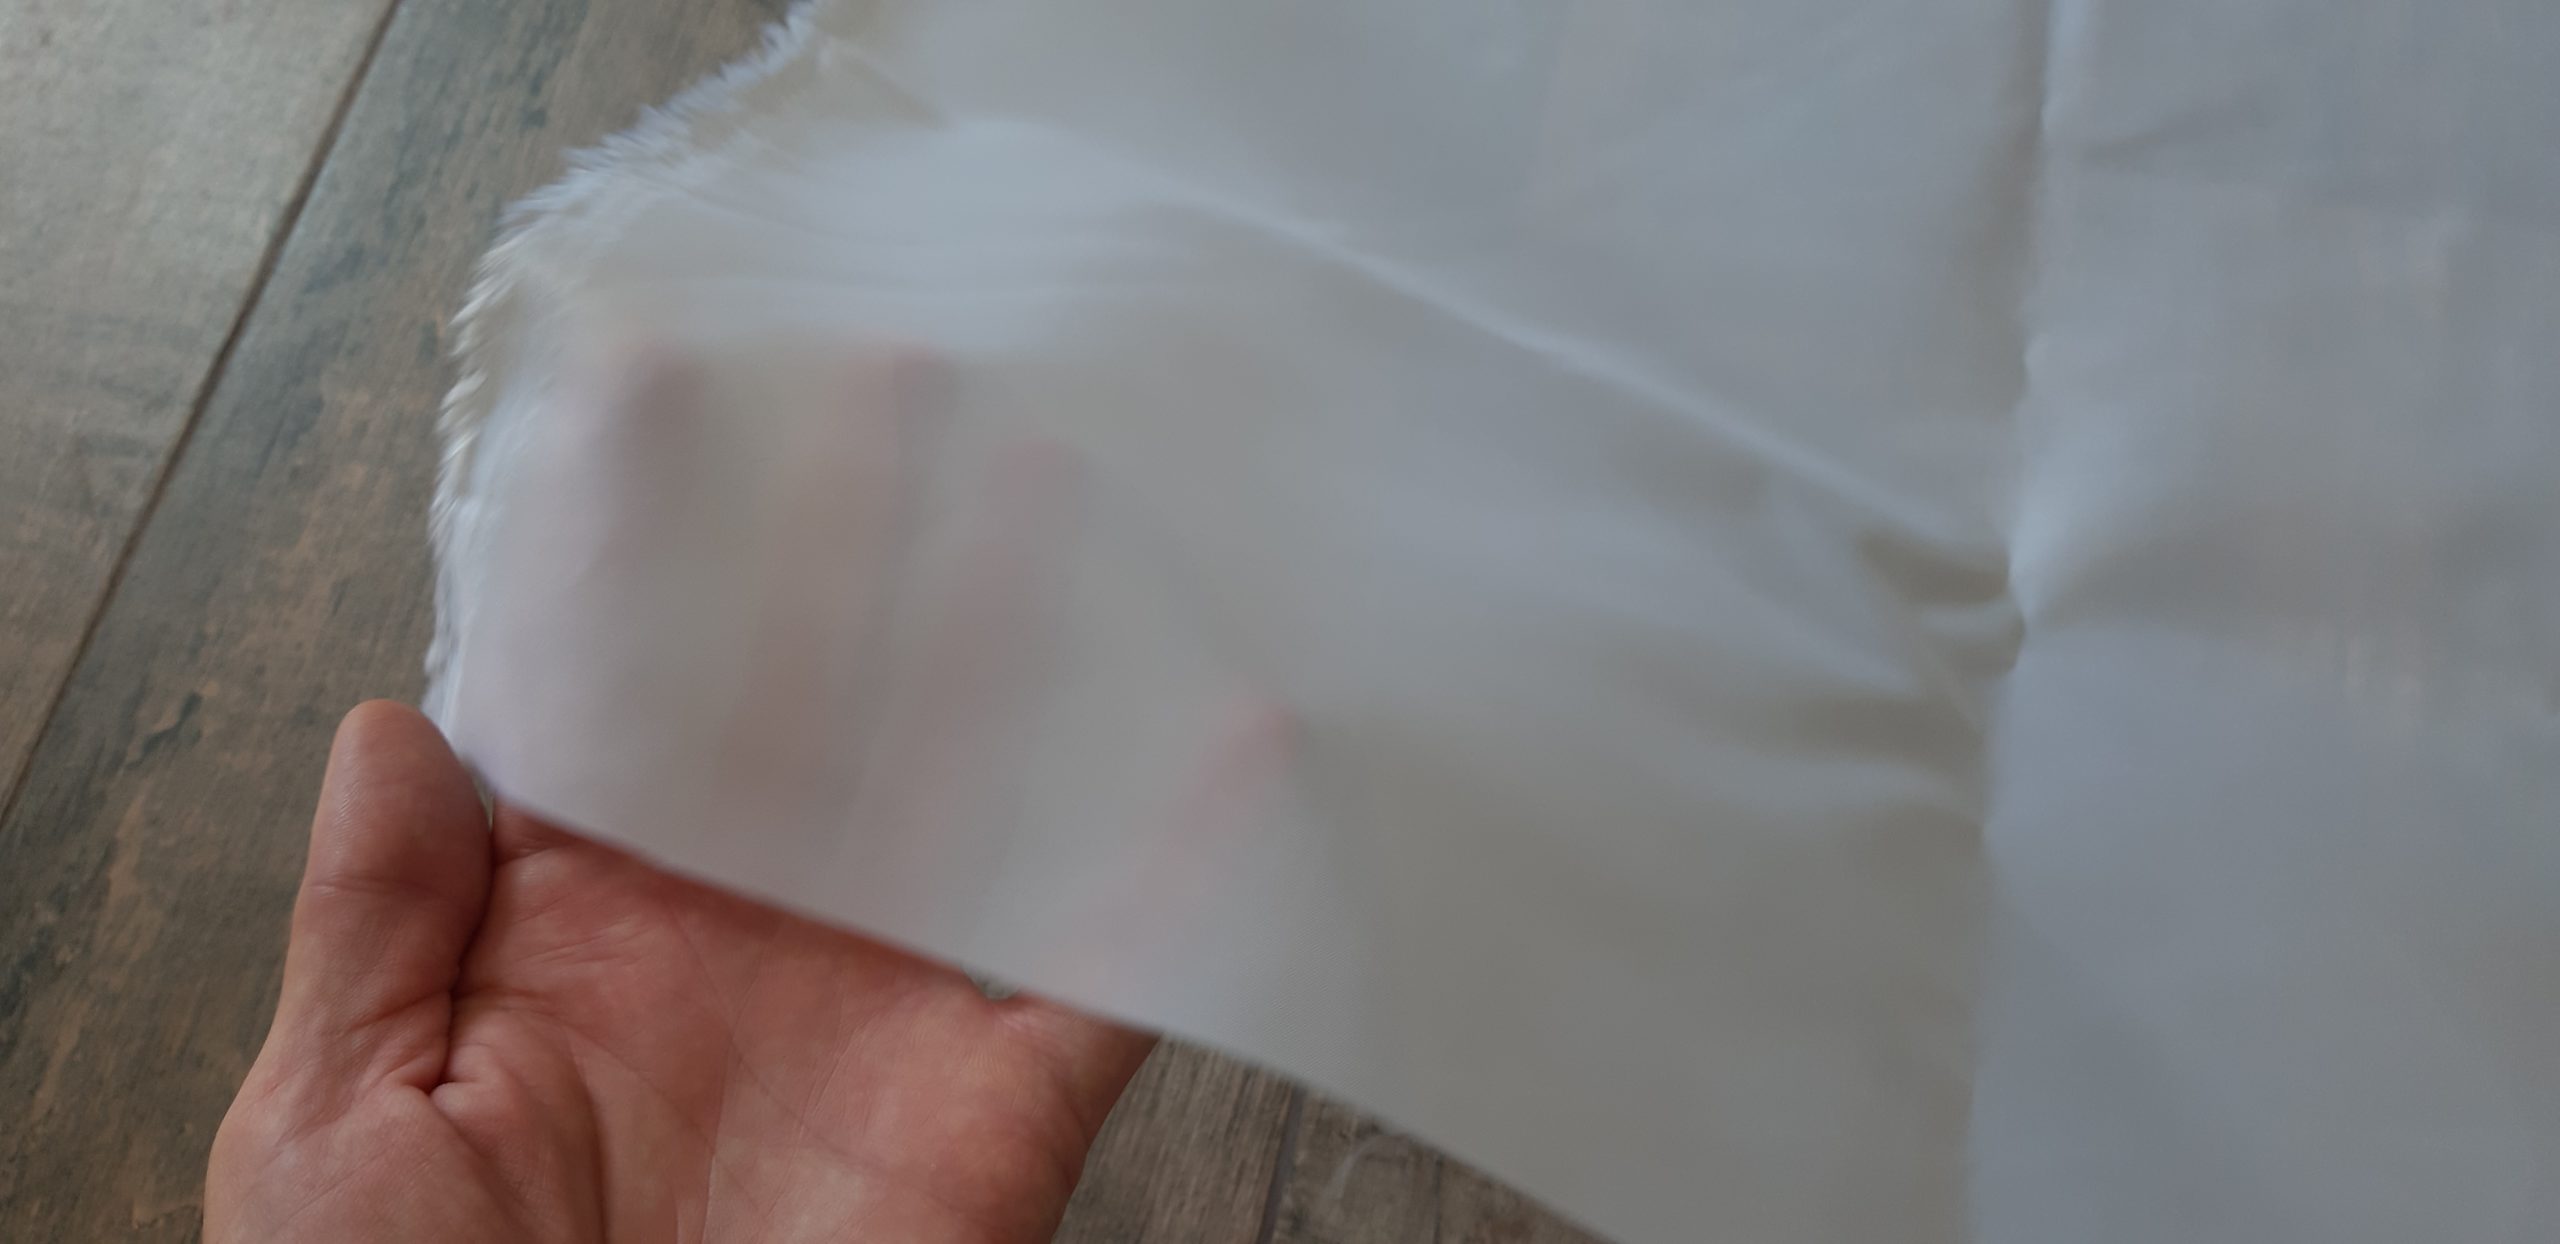
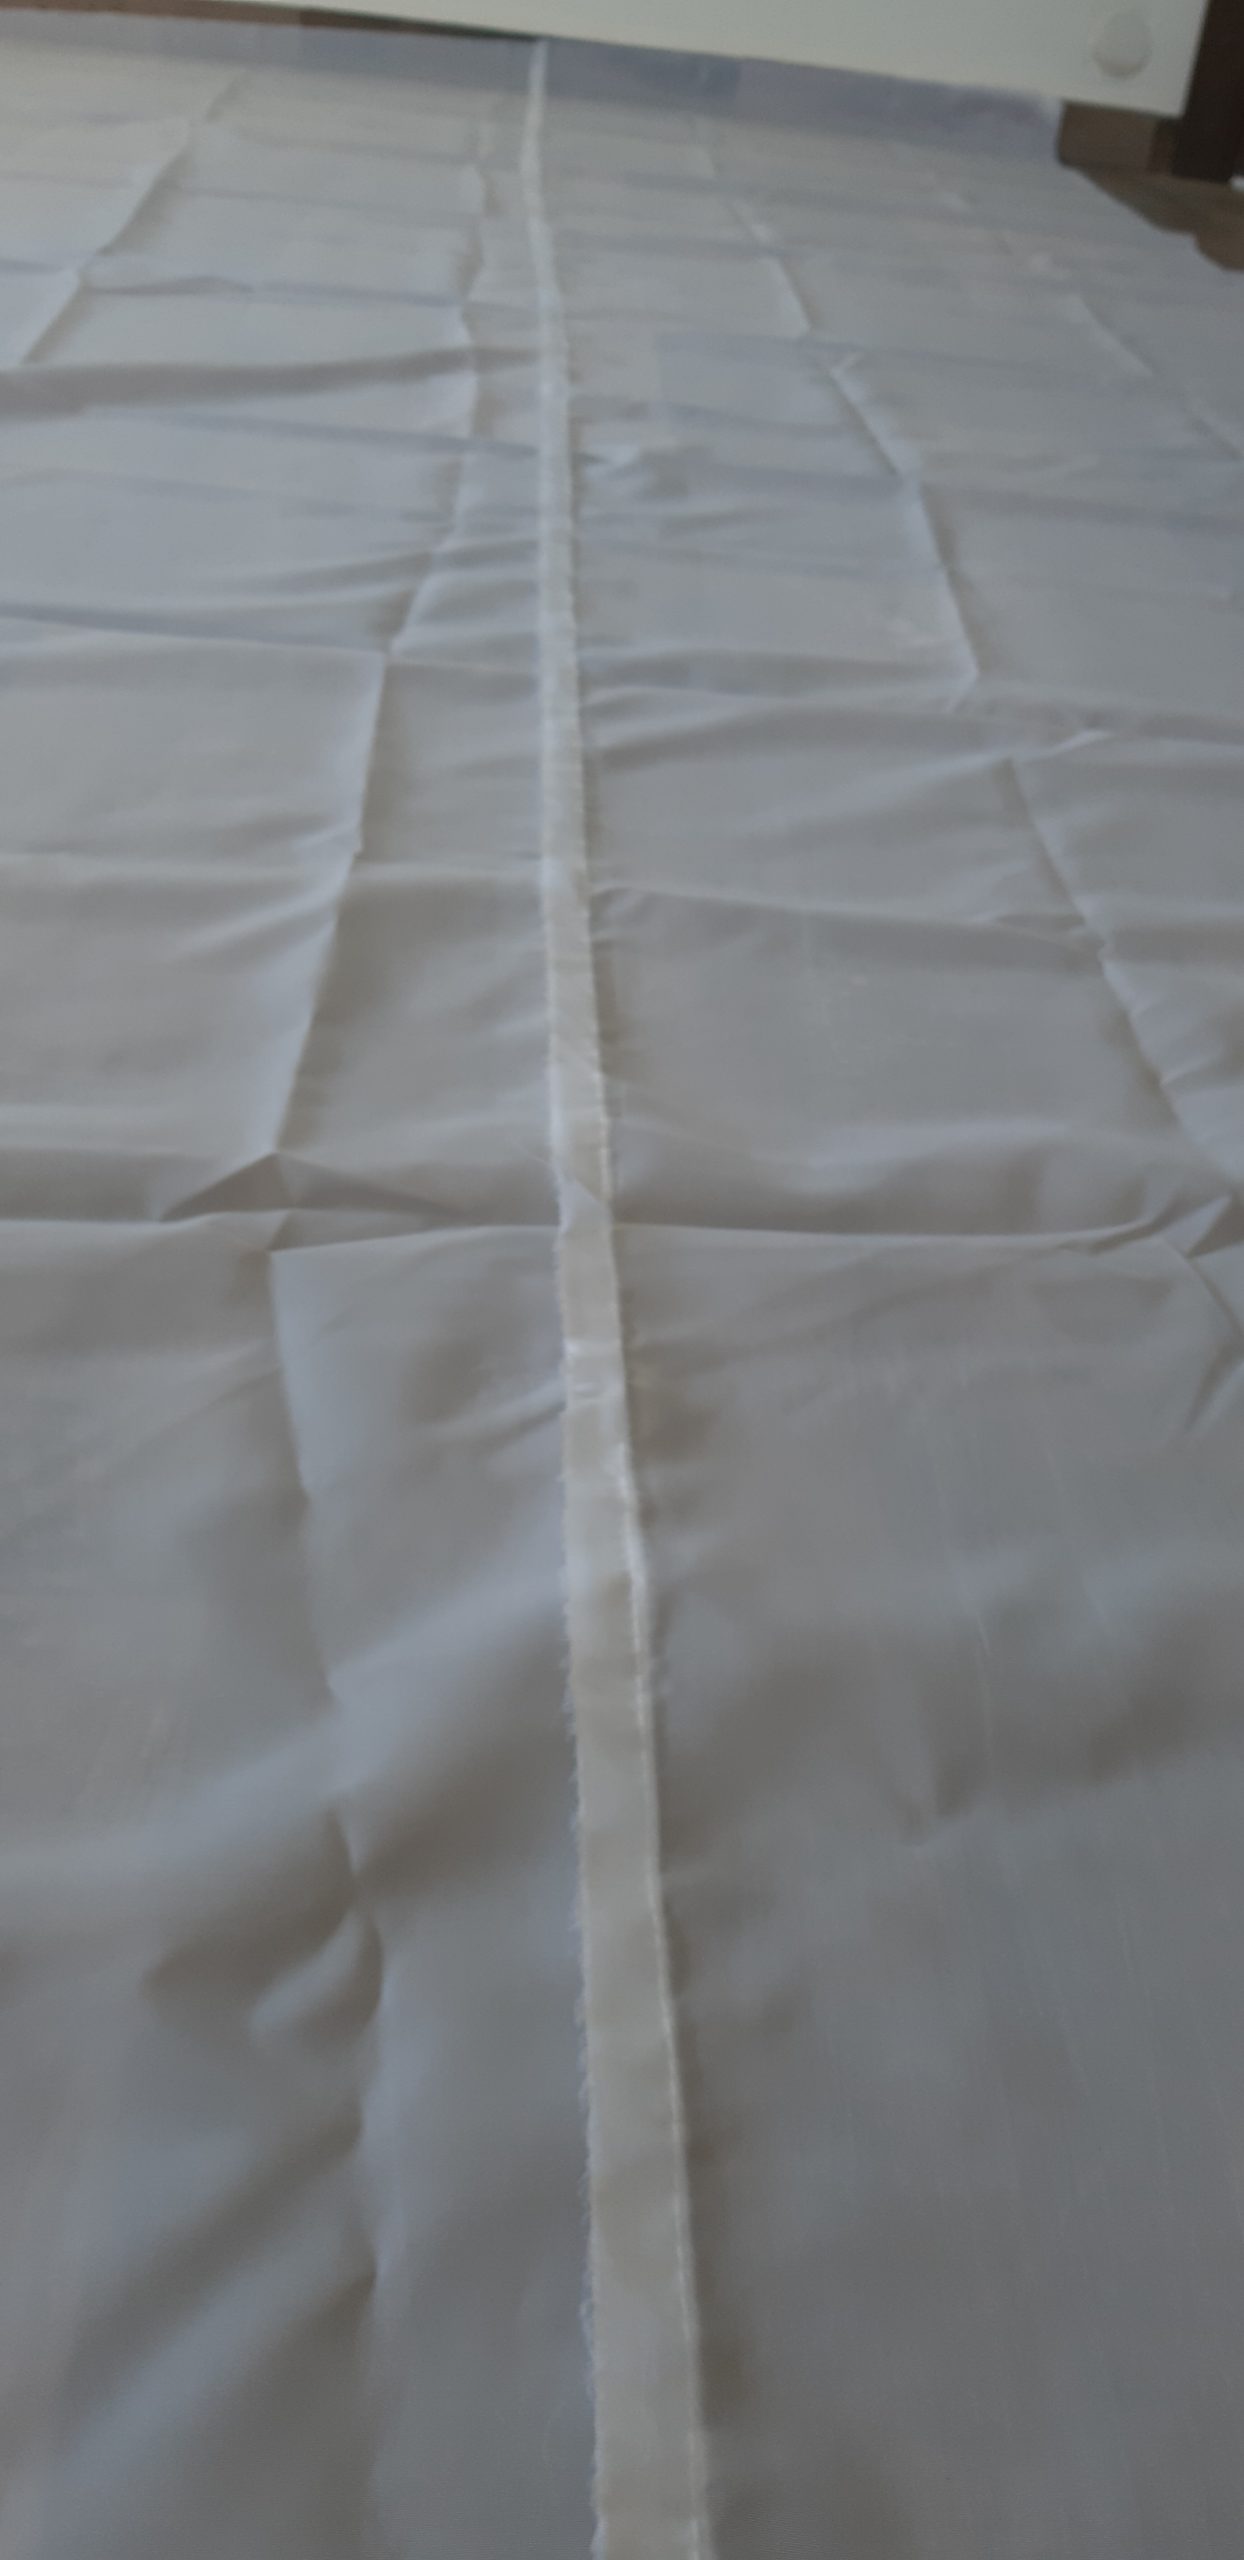
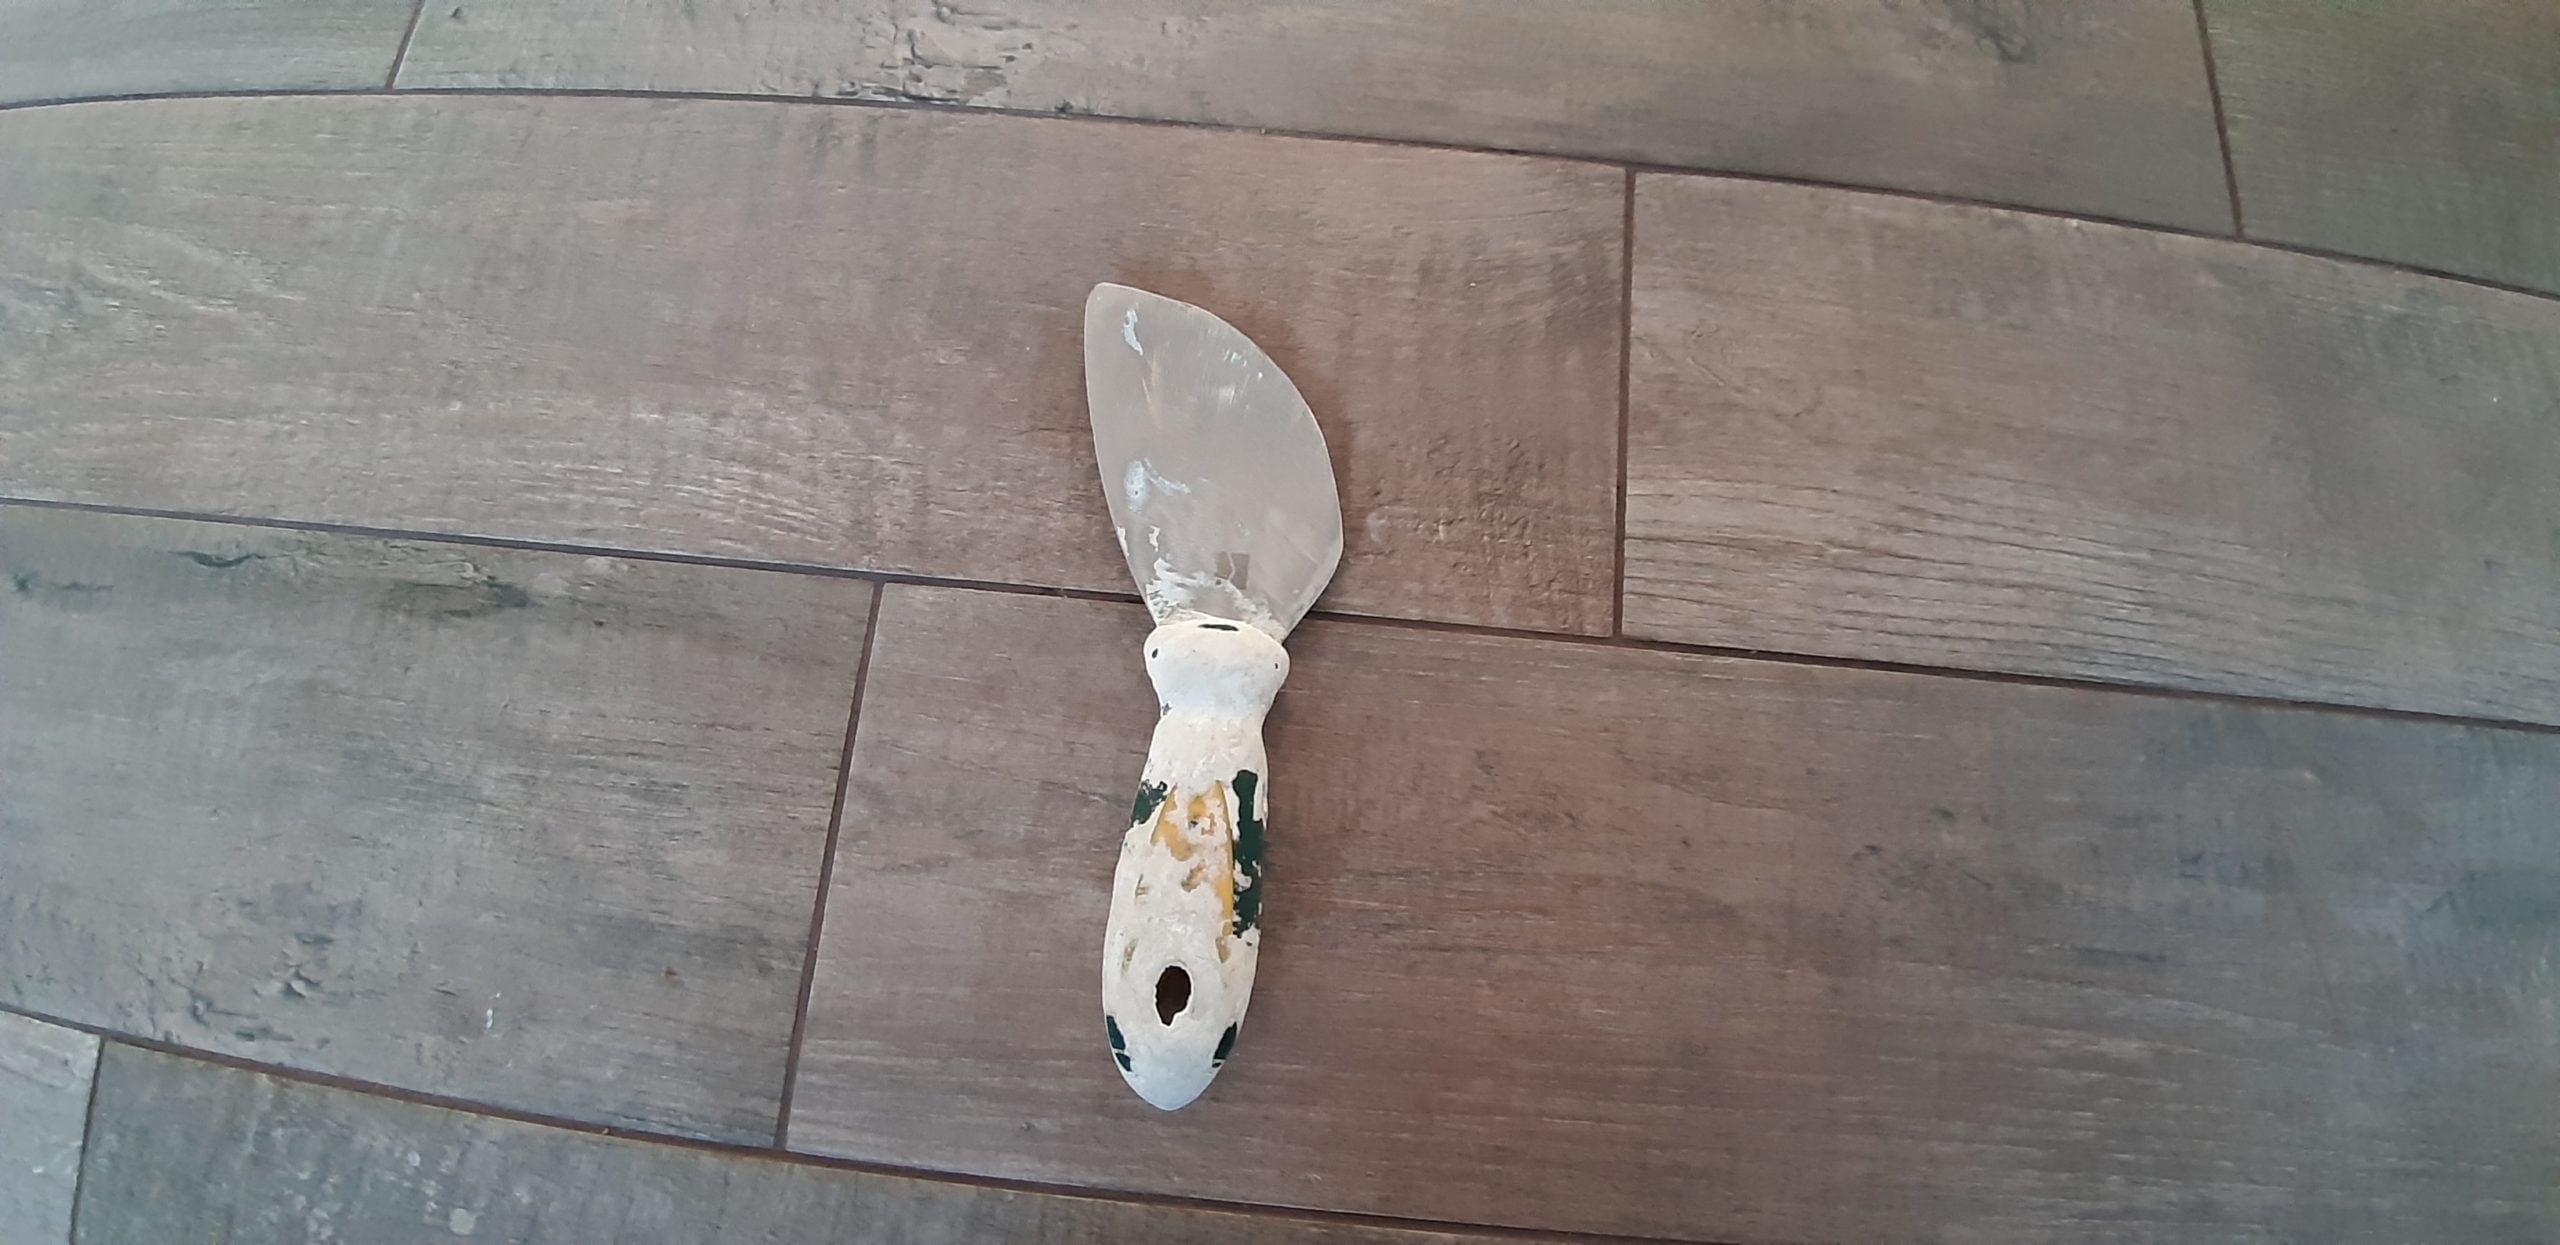
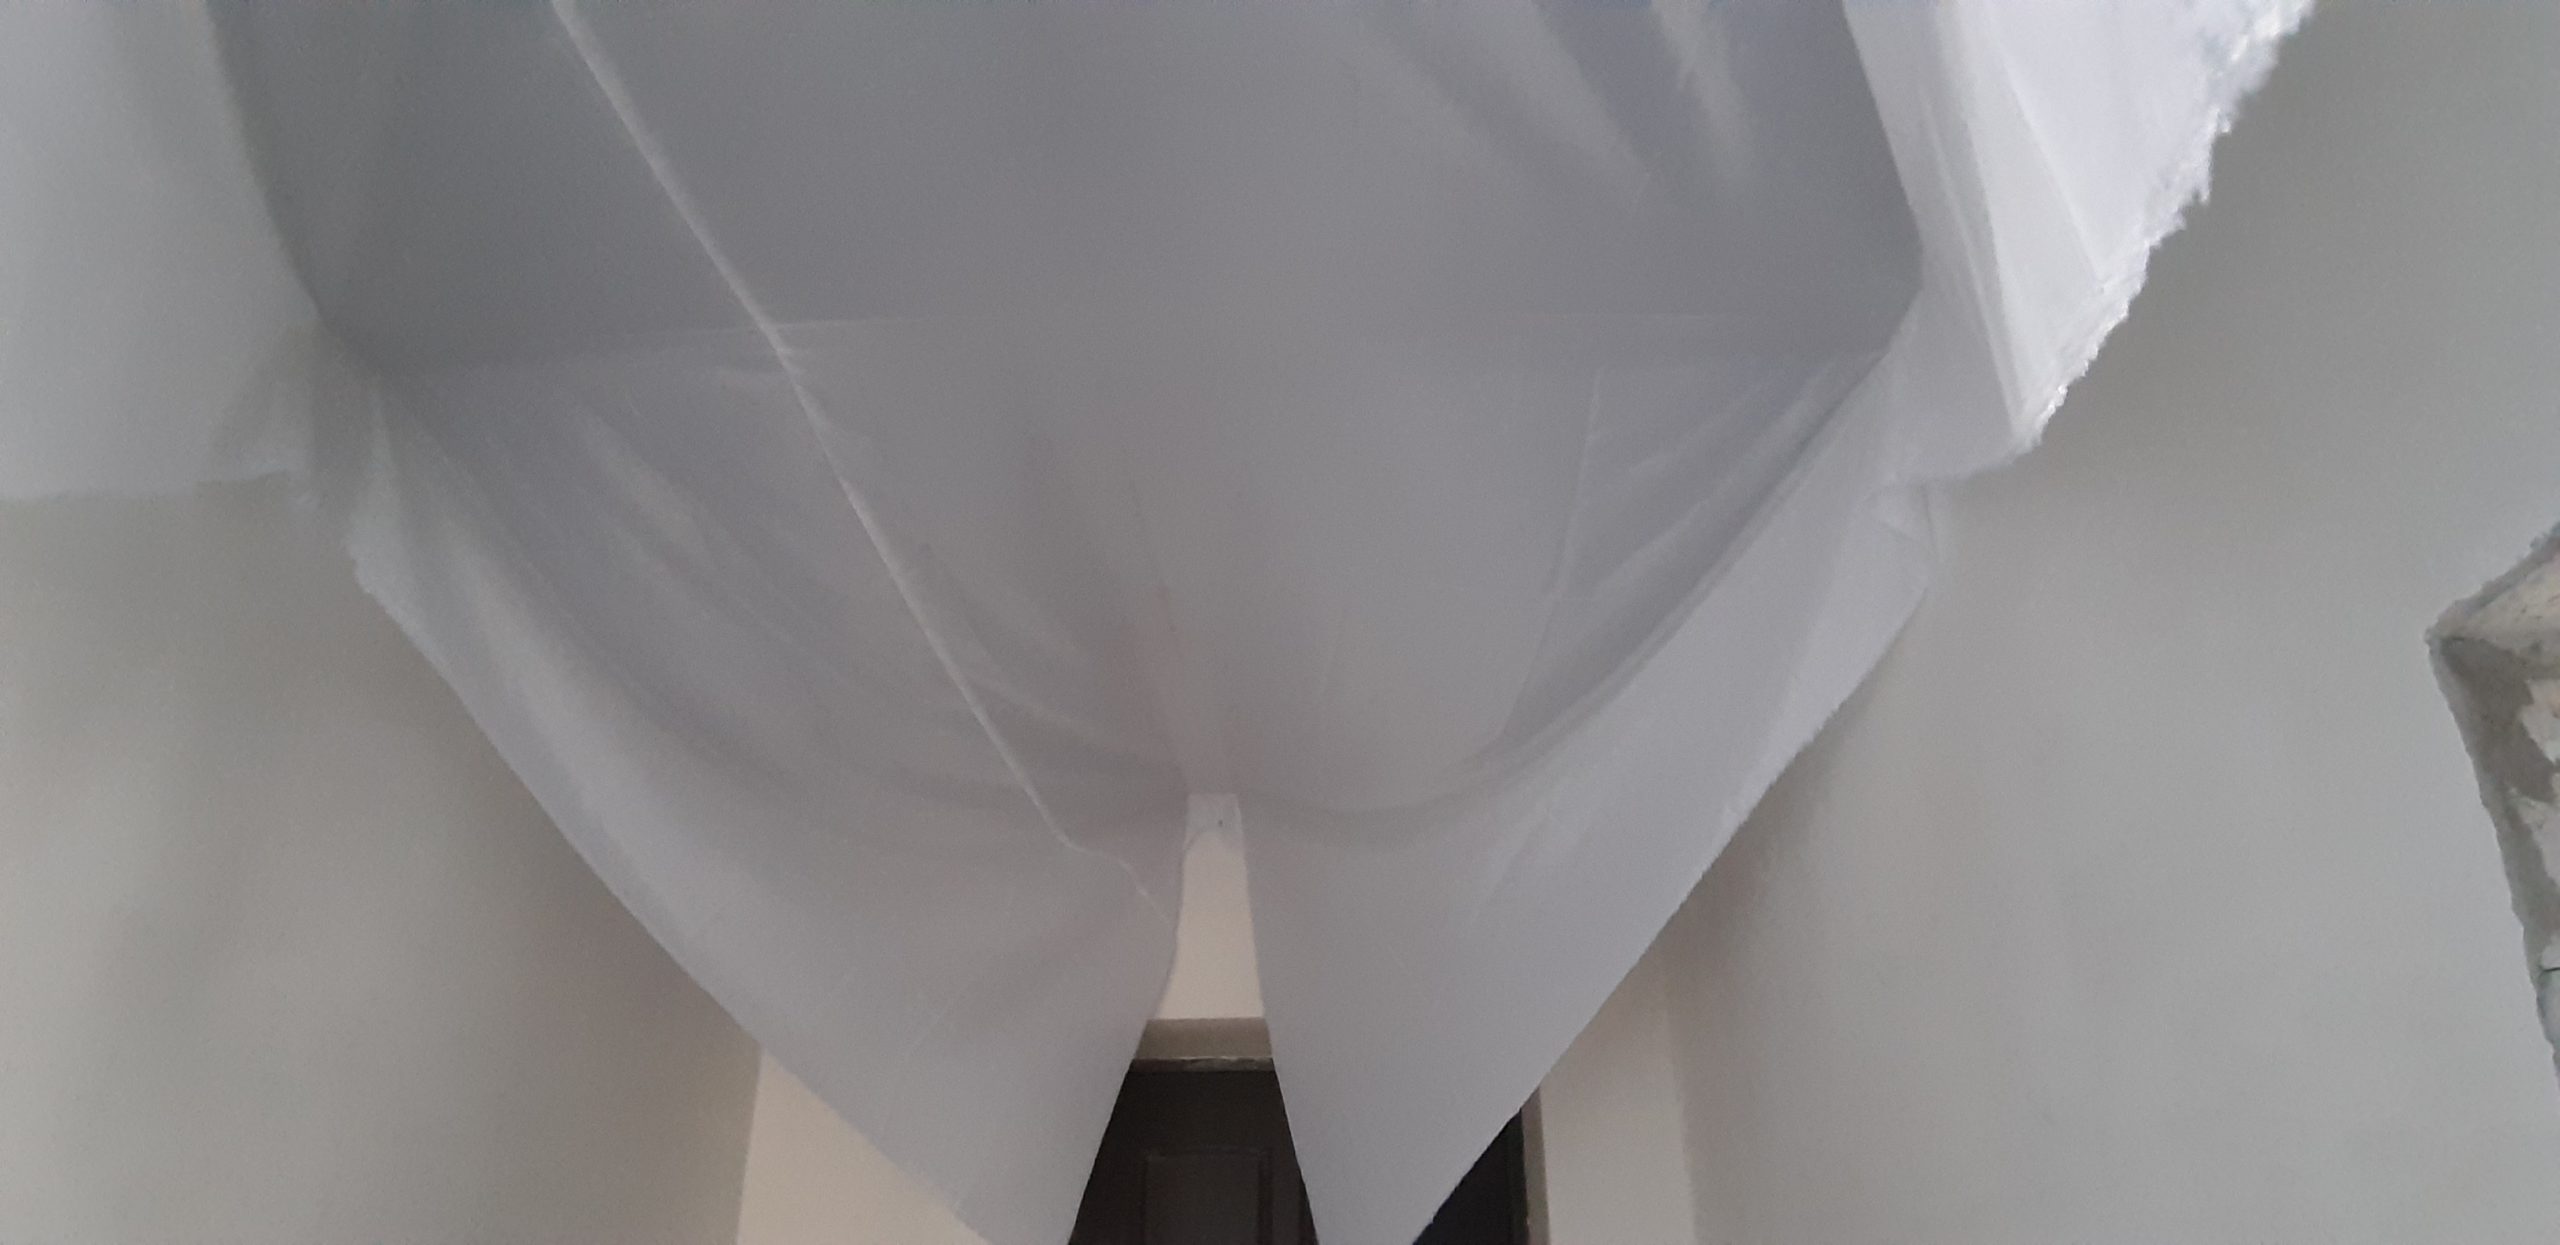
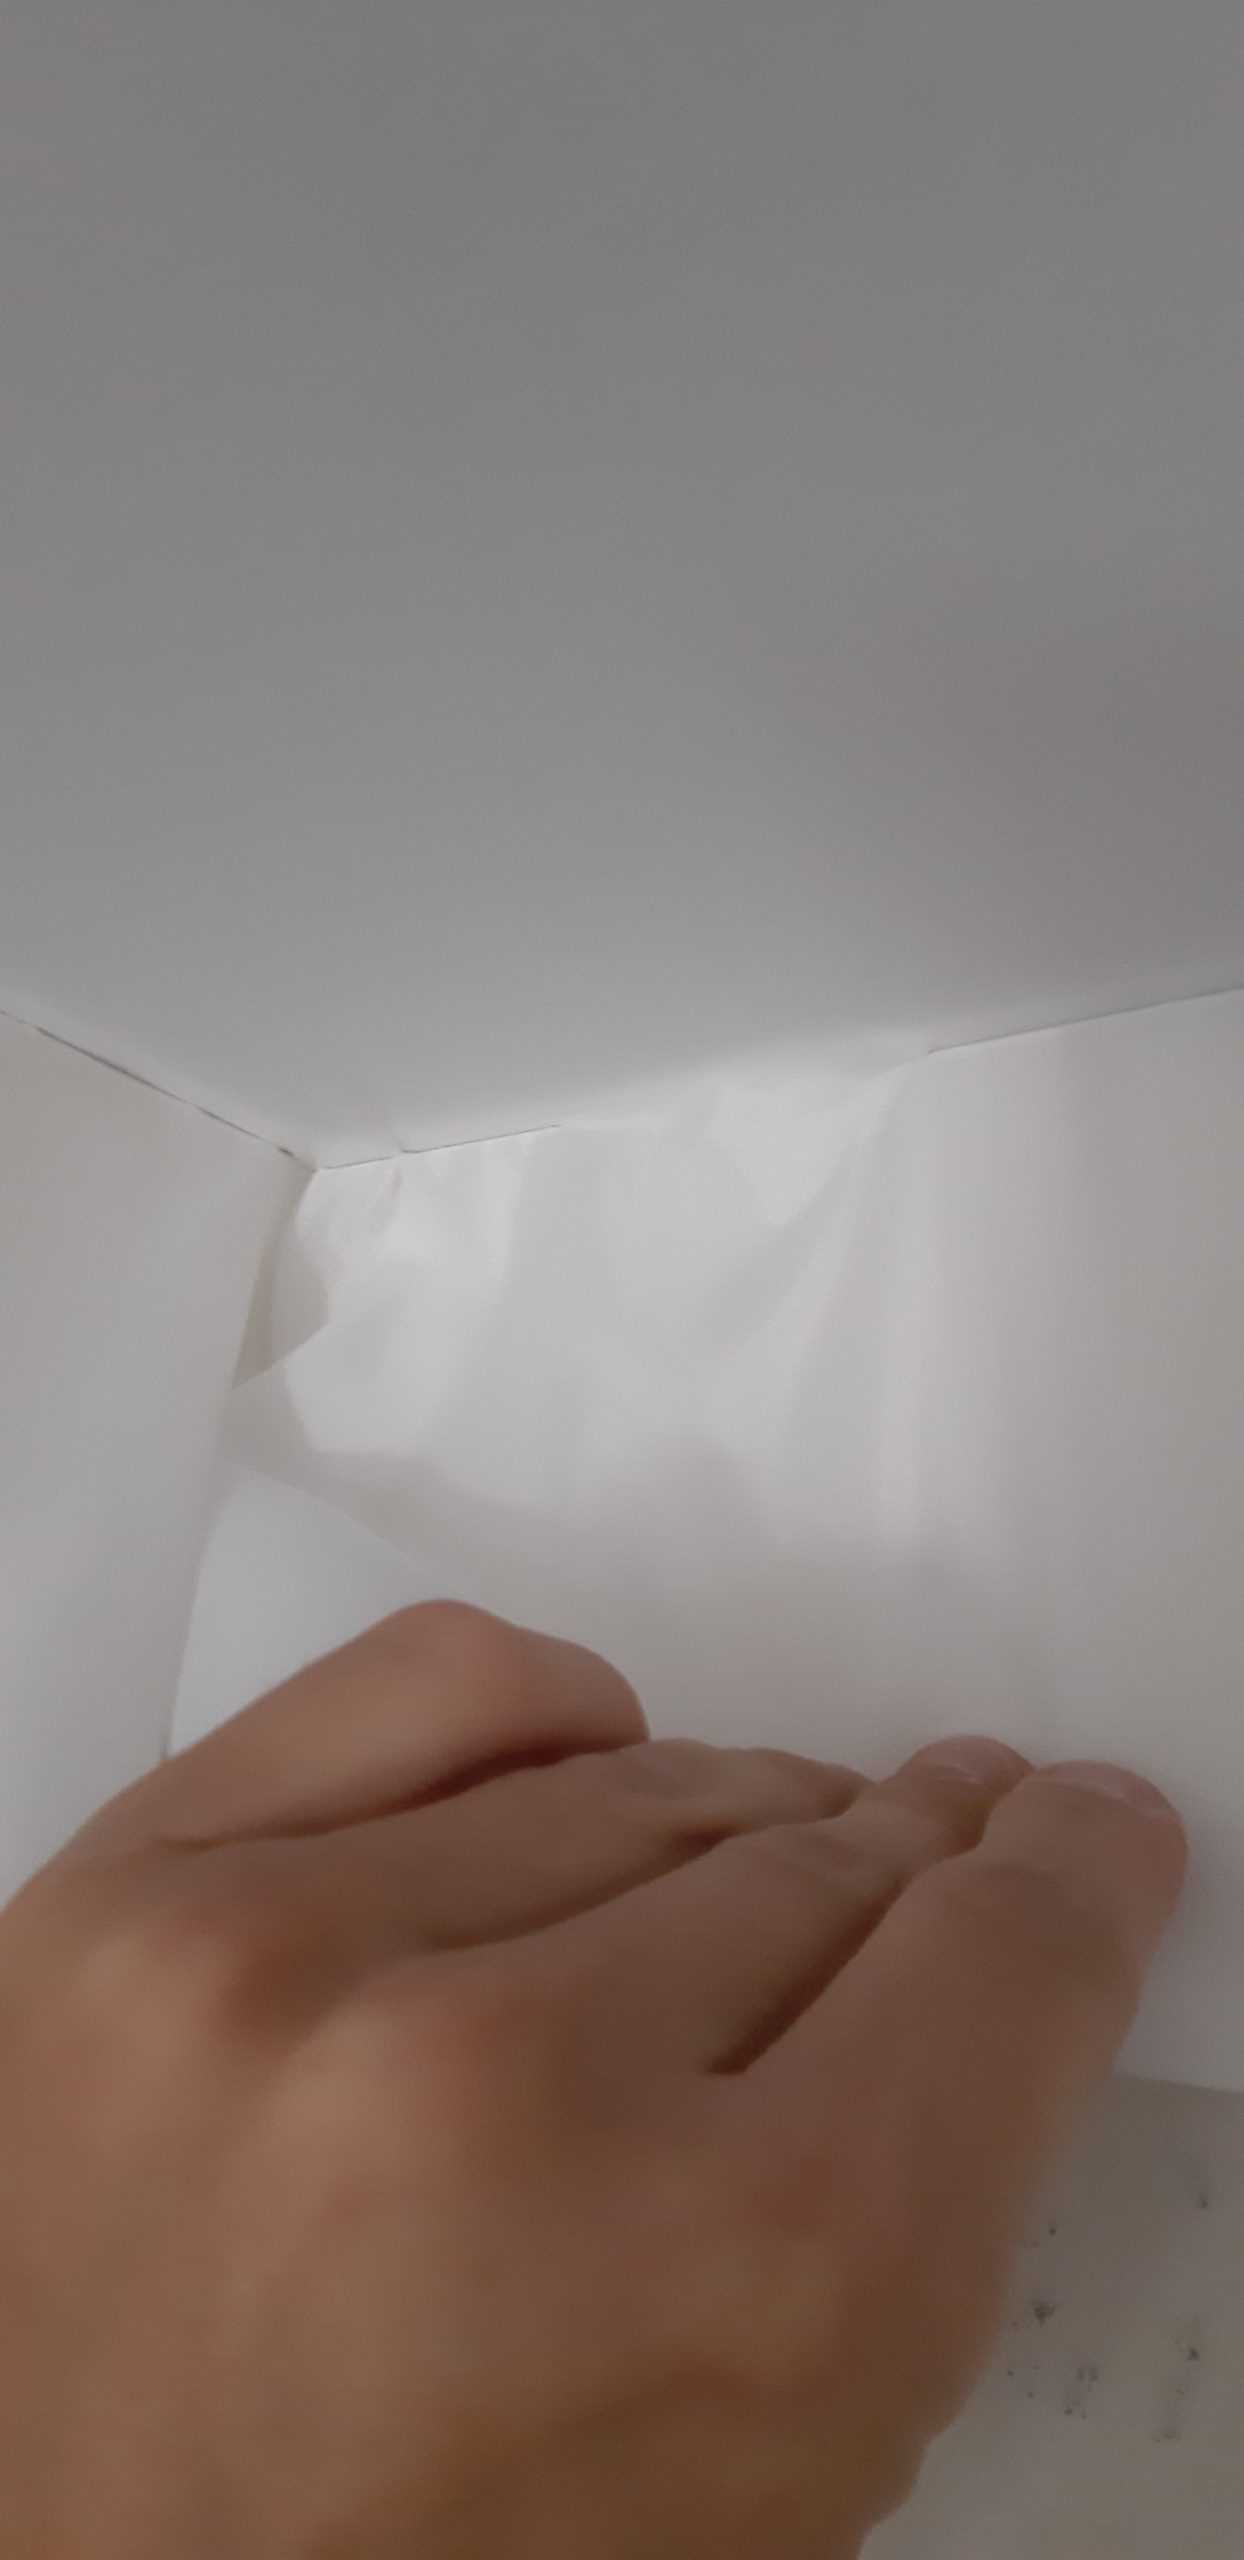
We start installing the stretch ceiling fabric. To do this, find and mark the midpoint on the wall. Place the center of the fabric against the profile and align the midpoint marks. If your fabric consists of multiple pieces, consider the folds and seams. The seam should be at the bottom, and the fabric fold should be at the top. Leave a small piece of fabric and tuck it into the profile with a spatula. Any spatula will do as long as it’s not sharp.
There are professional spatulas for stretch ceiling installers, but I made mine from a regular 10 cm spatula and an angle grinder.
Tuck the fabric from all four sides, aligning the midpoint of the fabric with the walls. You don’t need to stretch the fabric too much; a slight tension will suffice.
After securing the fabric at four points, ensuring you have roughly equal fabric protrusions, start tucking the fabric into the profile. To do this, roll the fabric with the spatula, guiding it into the profile lock.

It’s better to start with the longer wall and alternate sides. Tuck about half a meter in one direction, then switch to the opposite side. Continue tucking the entire fabric around the perimeter, working in small increments, until you reach the corners.
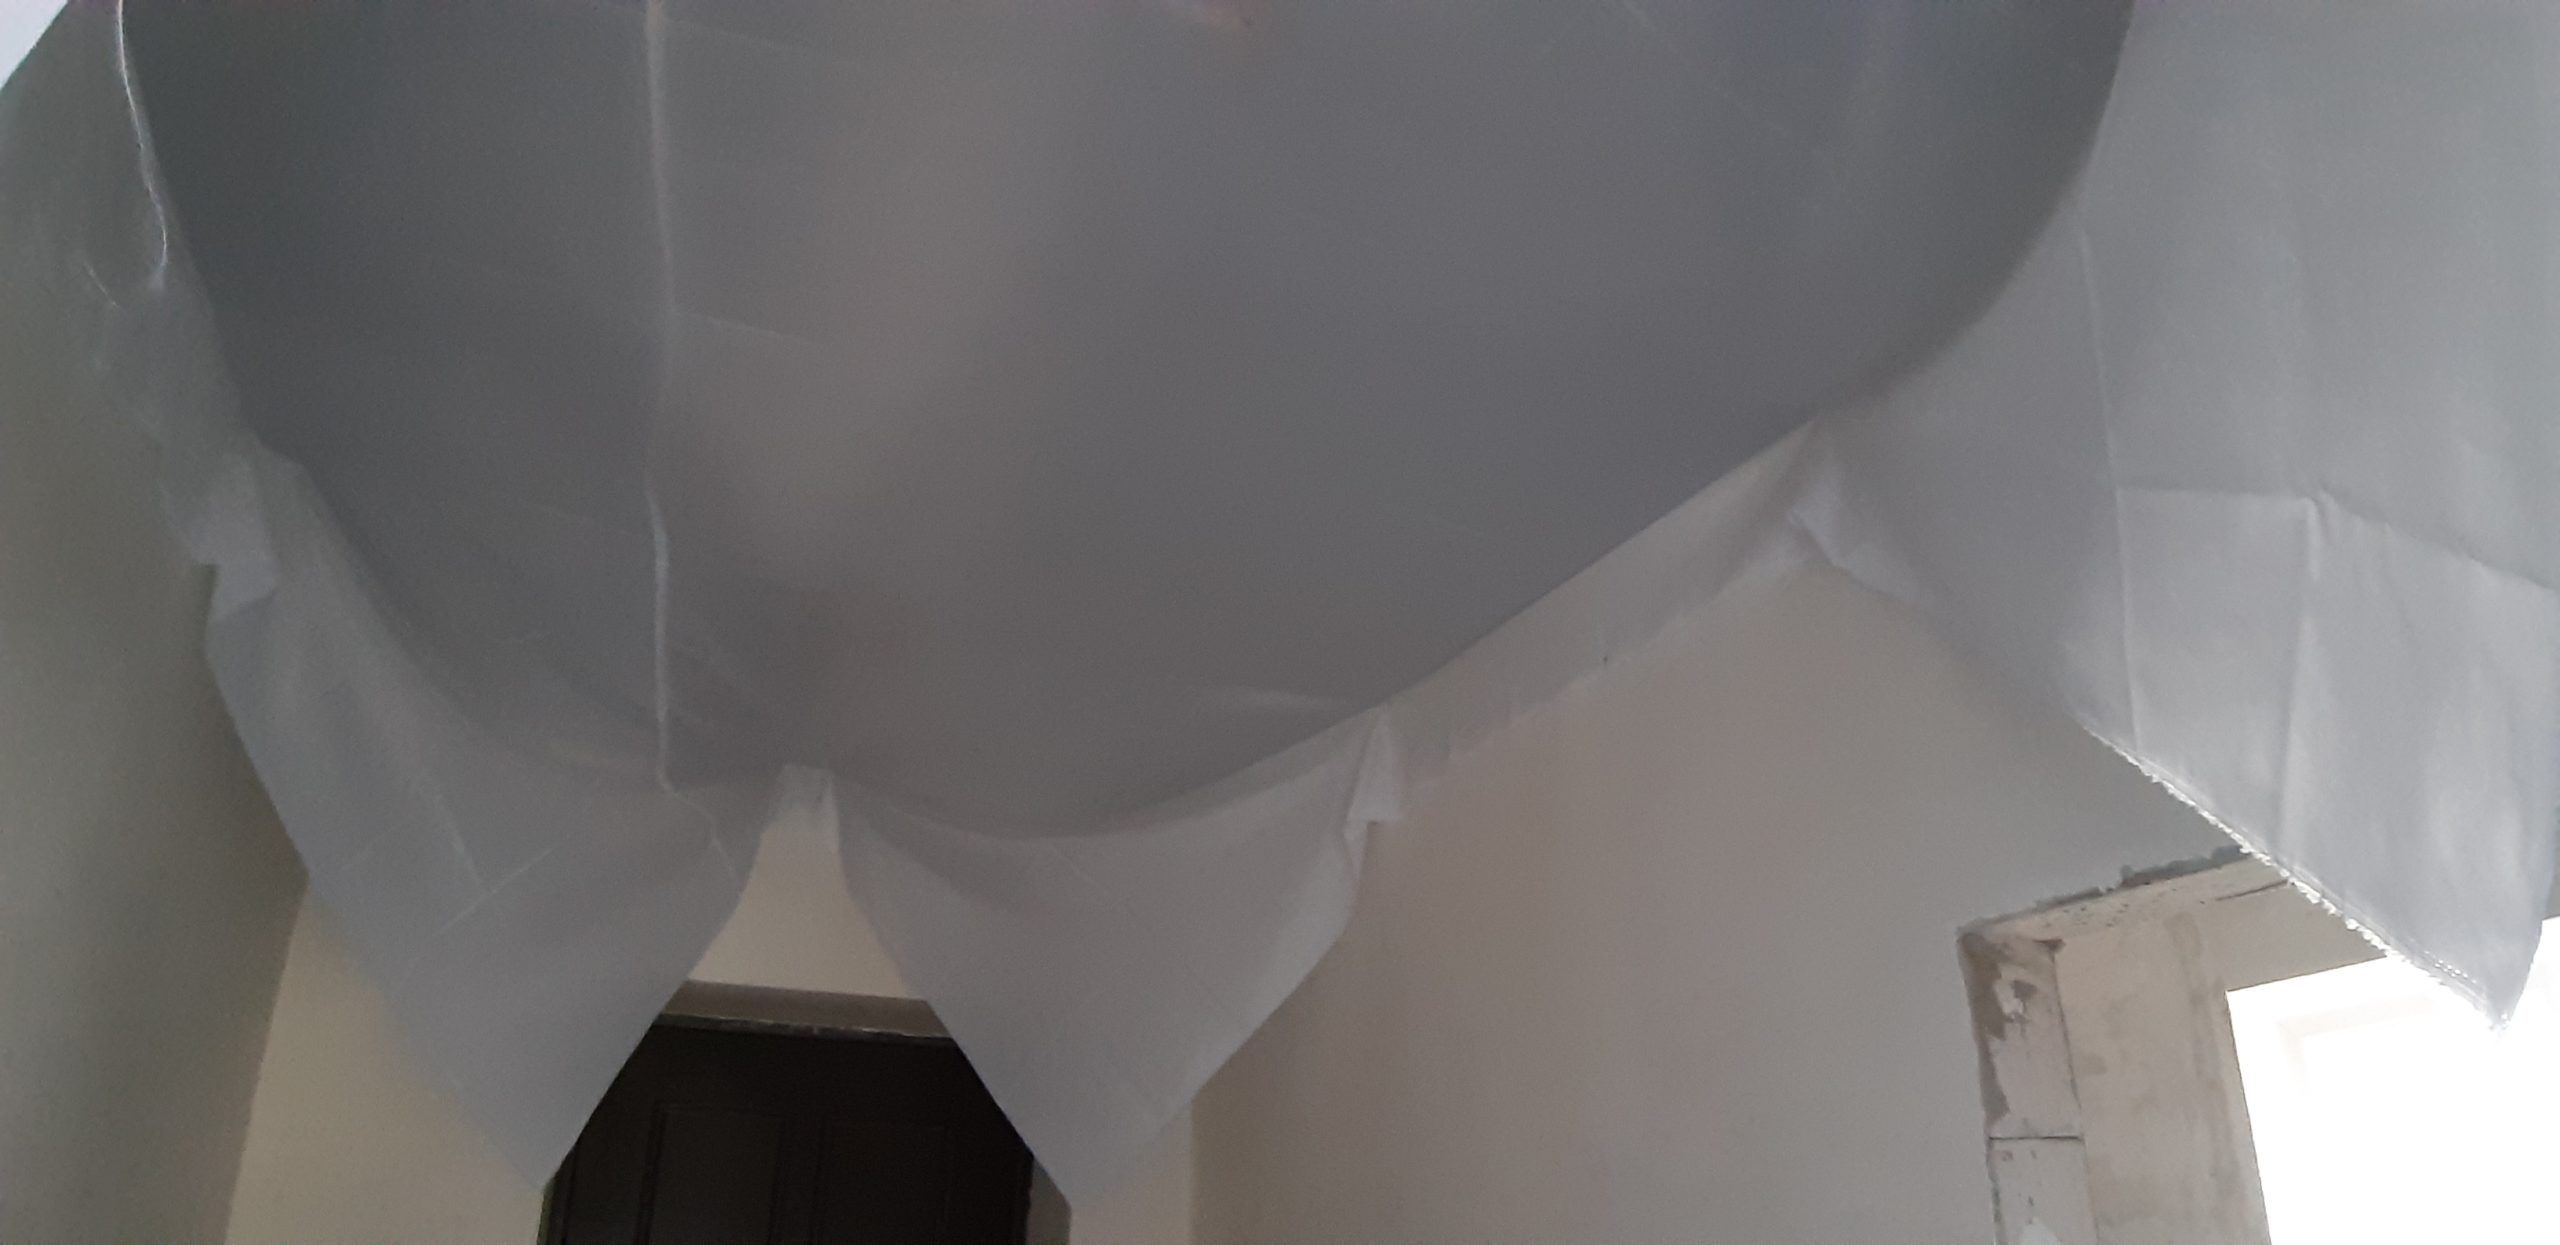
It’s okay if you don’t manage to stretch the fabric without folds on your first try. You can always pull the fabric out of the profile lock and tuck it back in. To do this, insert a spatula into the lock and roll it to pull the fabric out. However, be cautious not to overdo it, as the profile lock is not infinite.
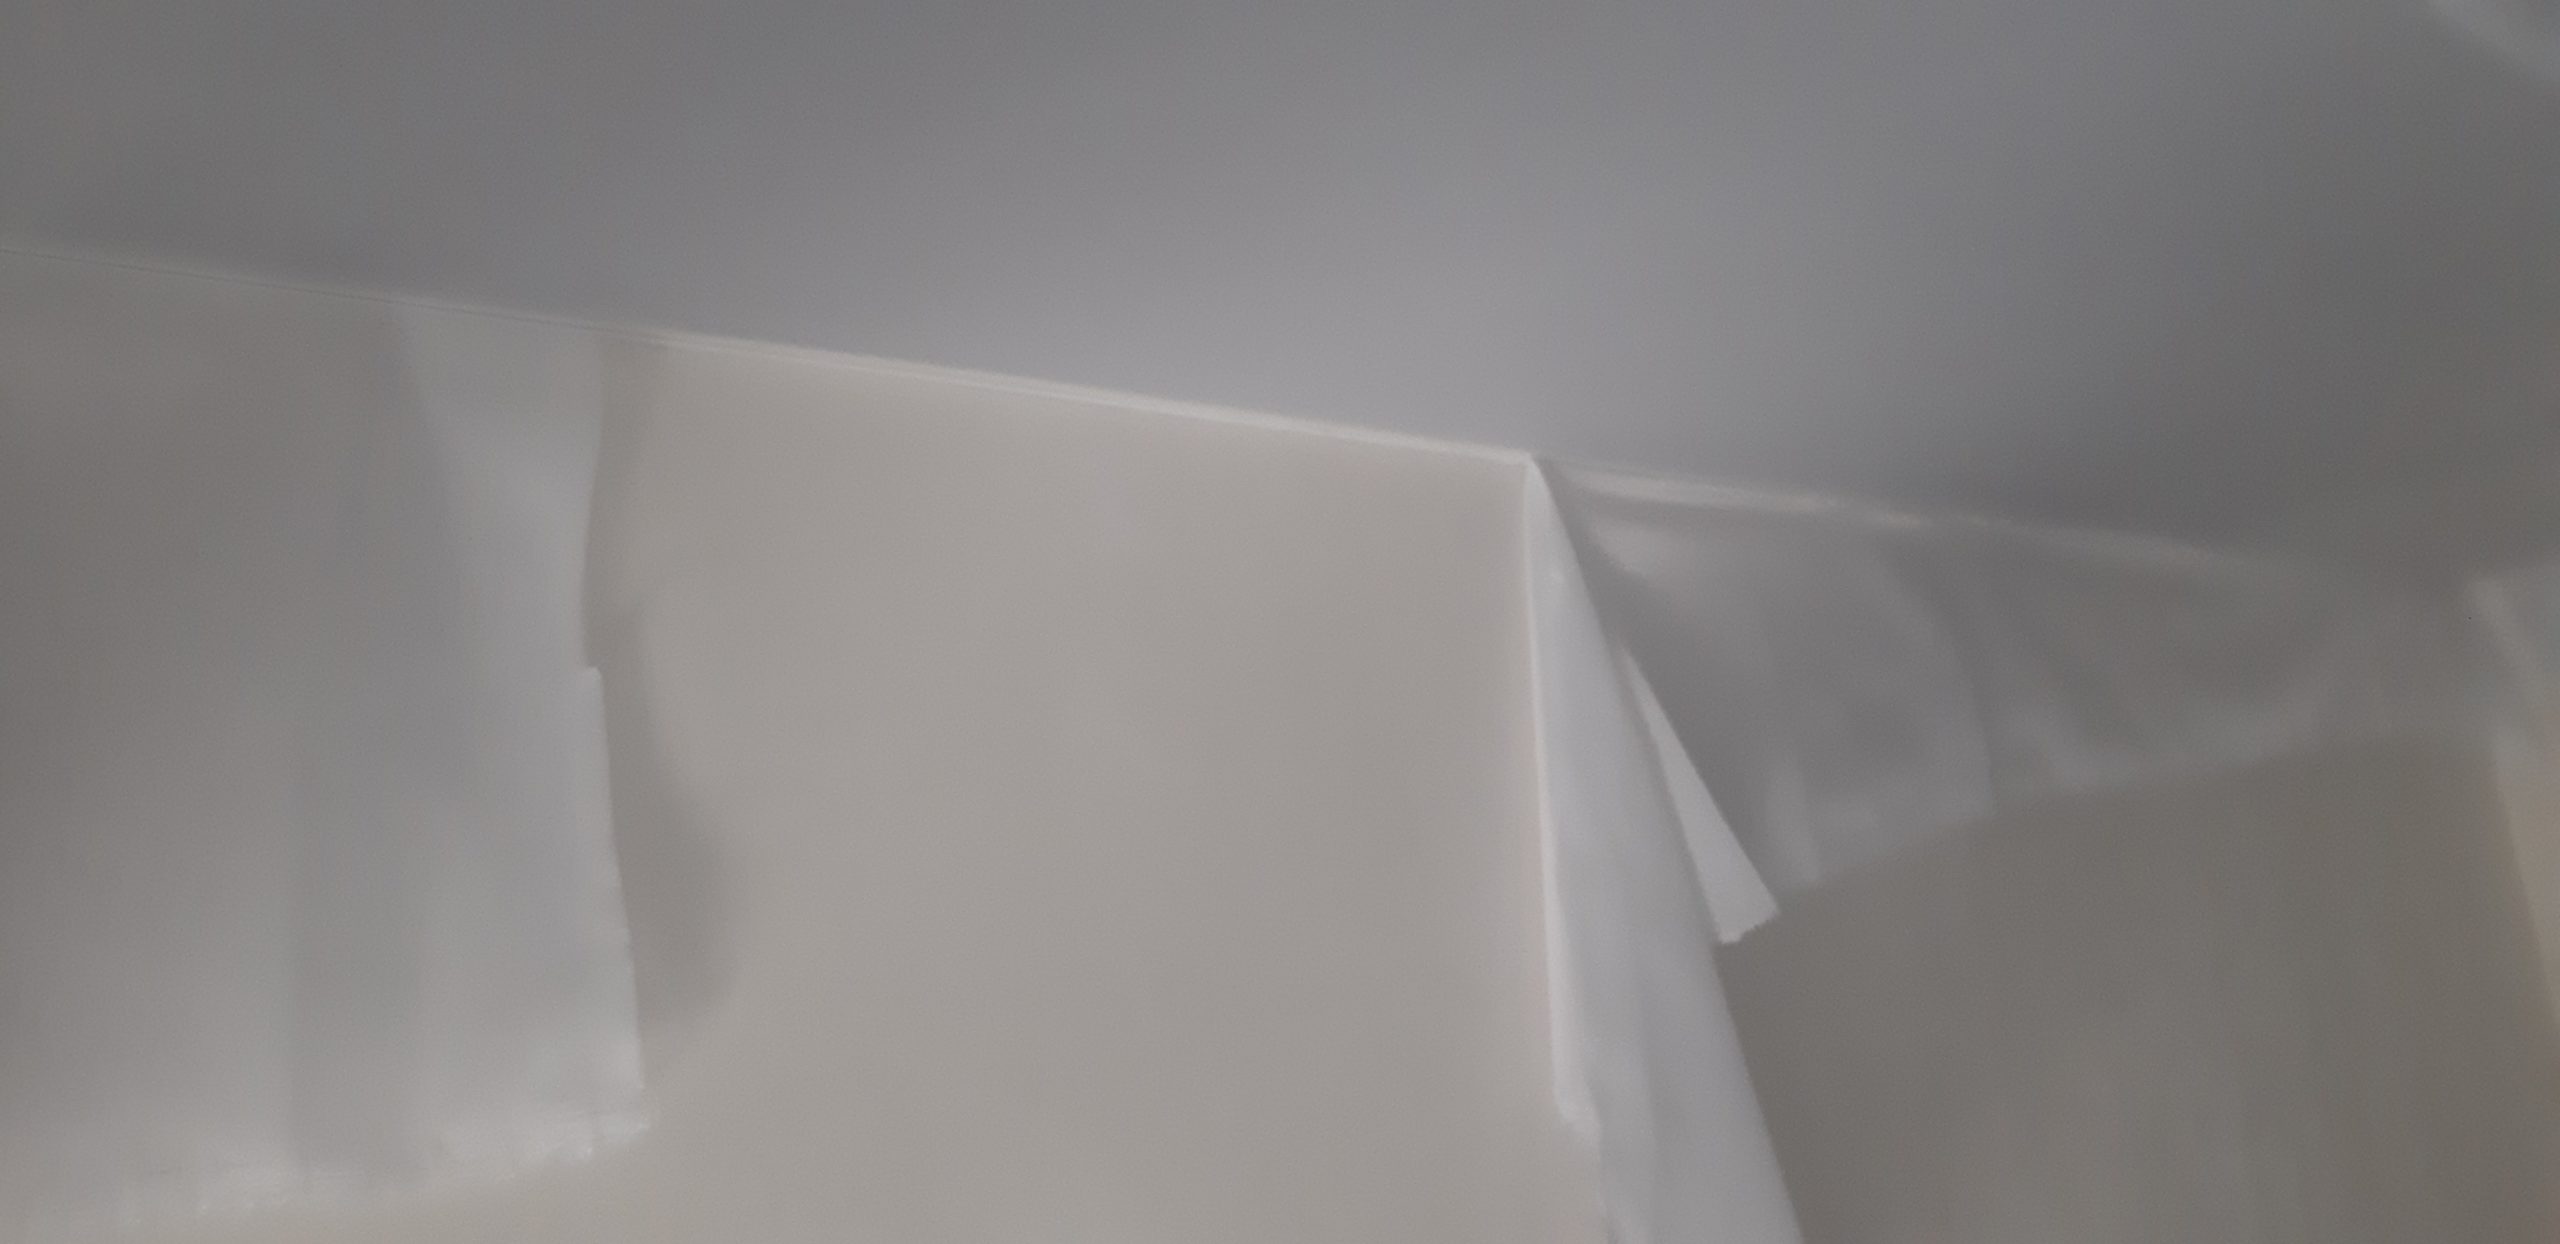
Another point to consider is when dealing with an external corner. There, the fabric is stretched up to the corner and then cut vertically downward from the corner. The key here is not to overdo it and cut the fabric too close to the profile. It’s possible that after tucking the fabric, the cut may end up not on the wall but on the ceiling. In that case, you’ll have to detach the fabric from the opposite side and redo the entire job.
If everything went well, go around the perimeter and gently tug on the fabric from the ceiling. You need to check if the fabric will come out of the profile lock and if it’s securely held in place. Of course, tuck it back in with a spatula where it sits loosely.
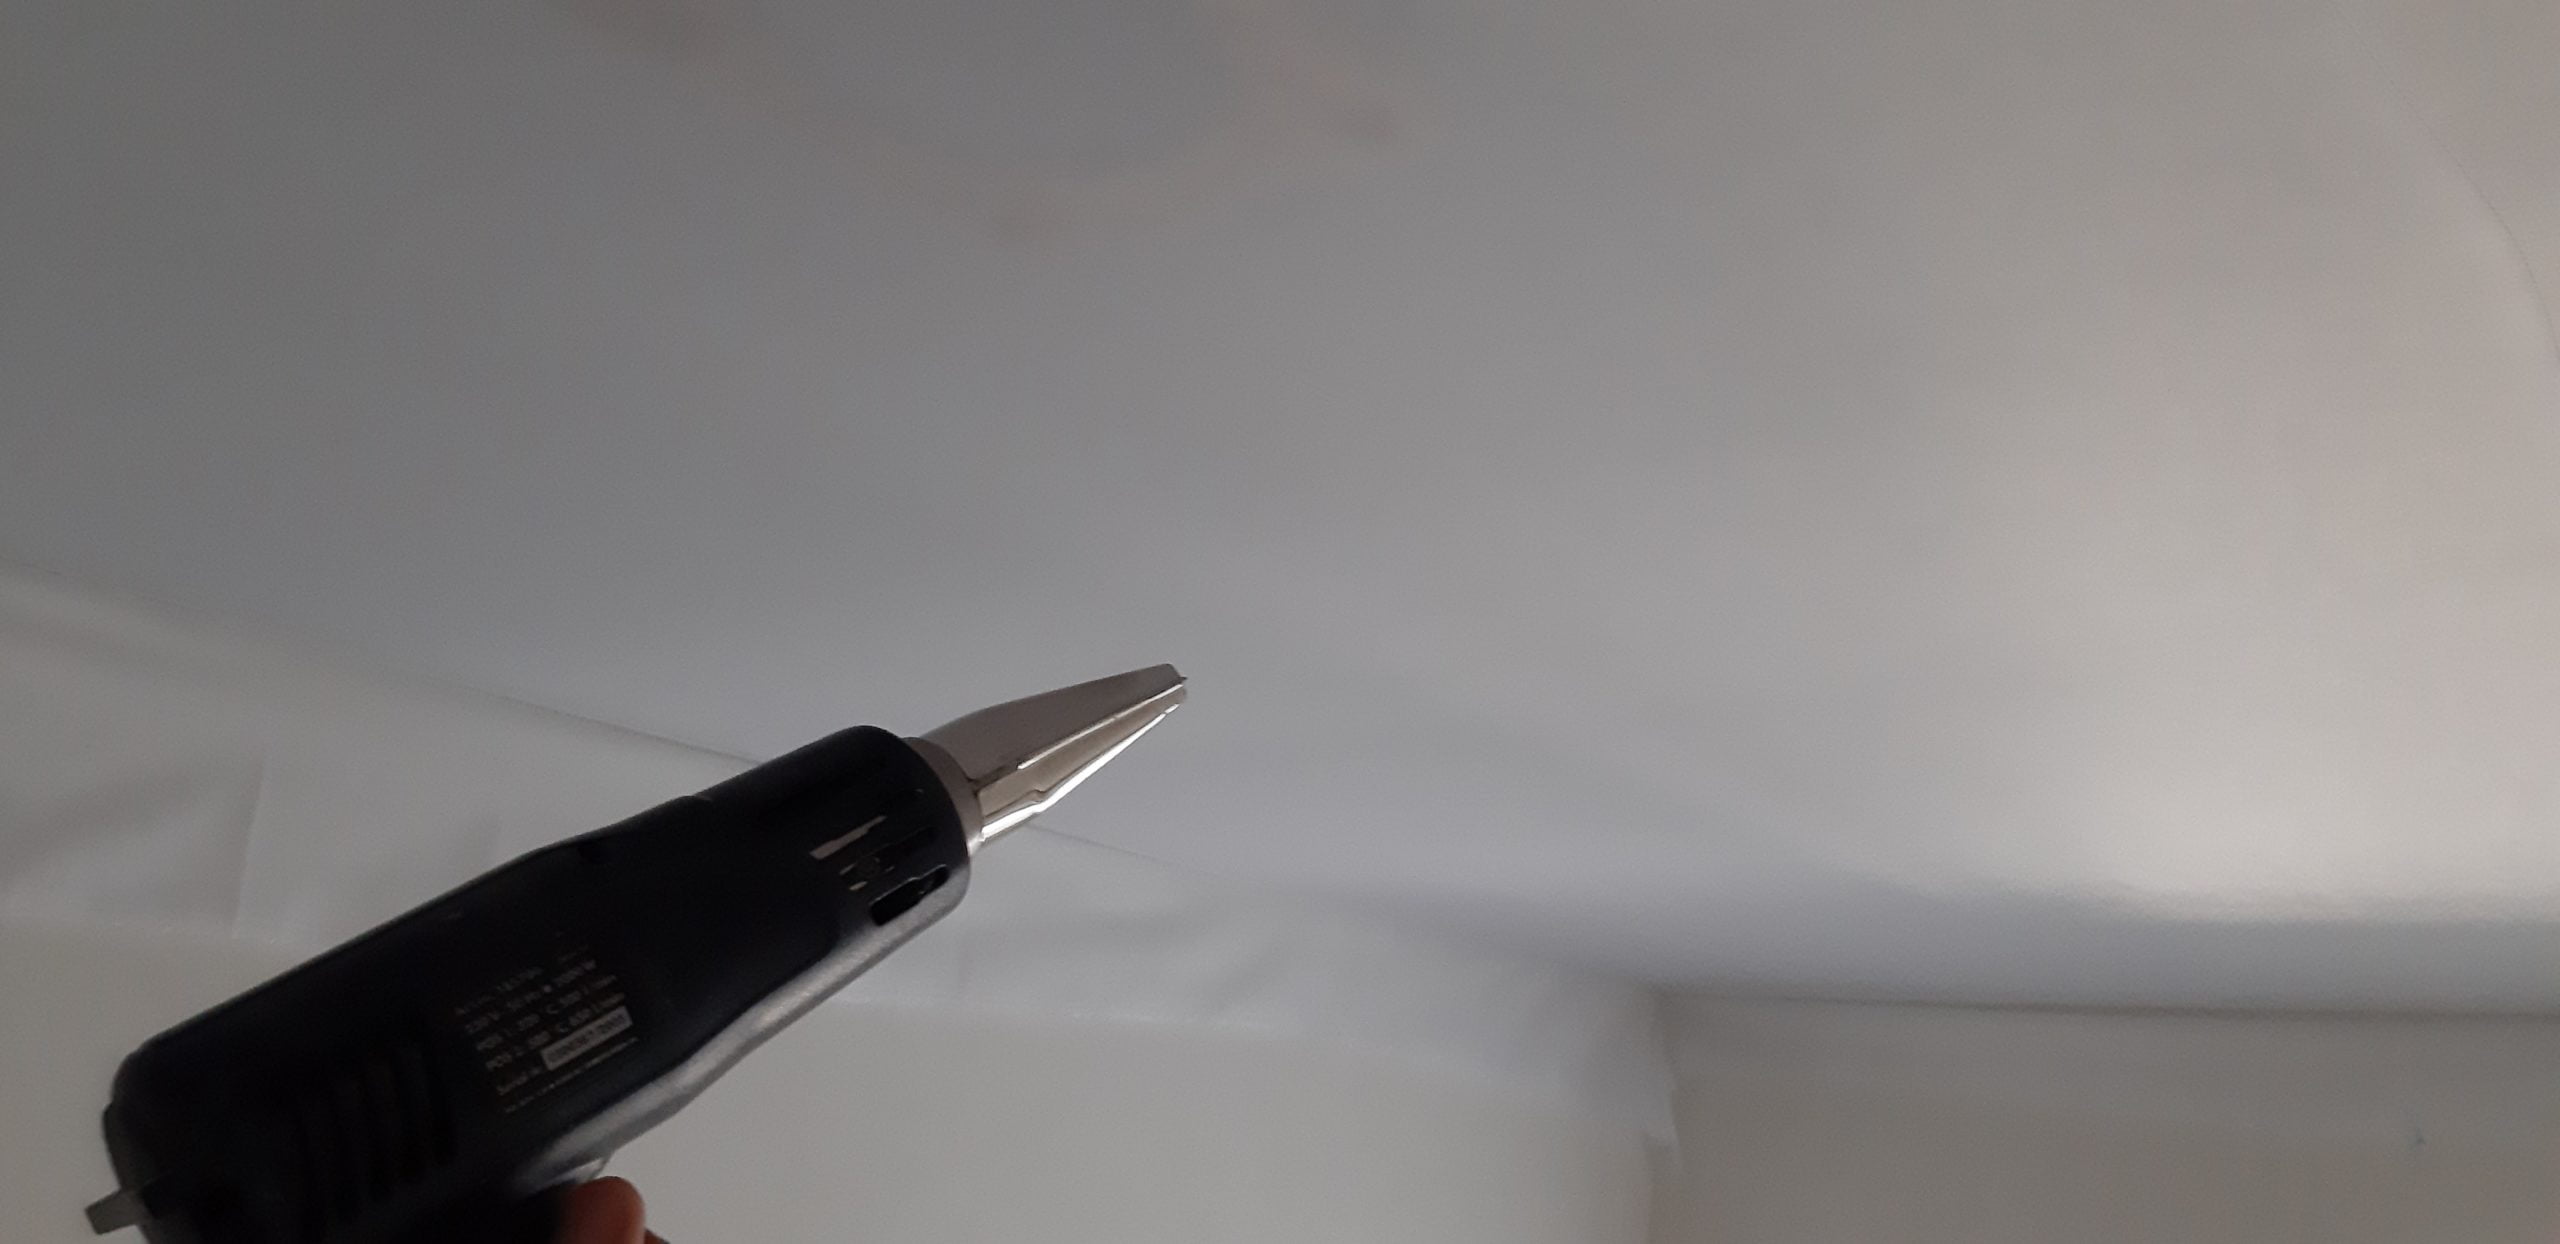
After installing the fabric, there may be small wrinkles and creases left. Rarely does anyone iron the fabric before installation. These wrinkles can be easily smoothed out using a construction or regular household hairdryer. The key is not to overheat the fabric.
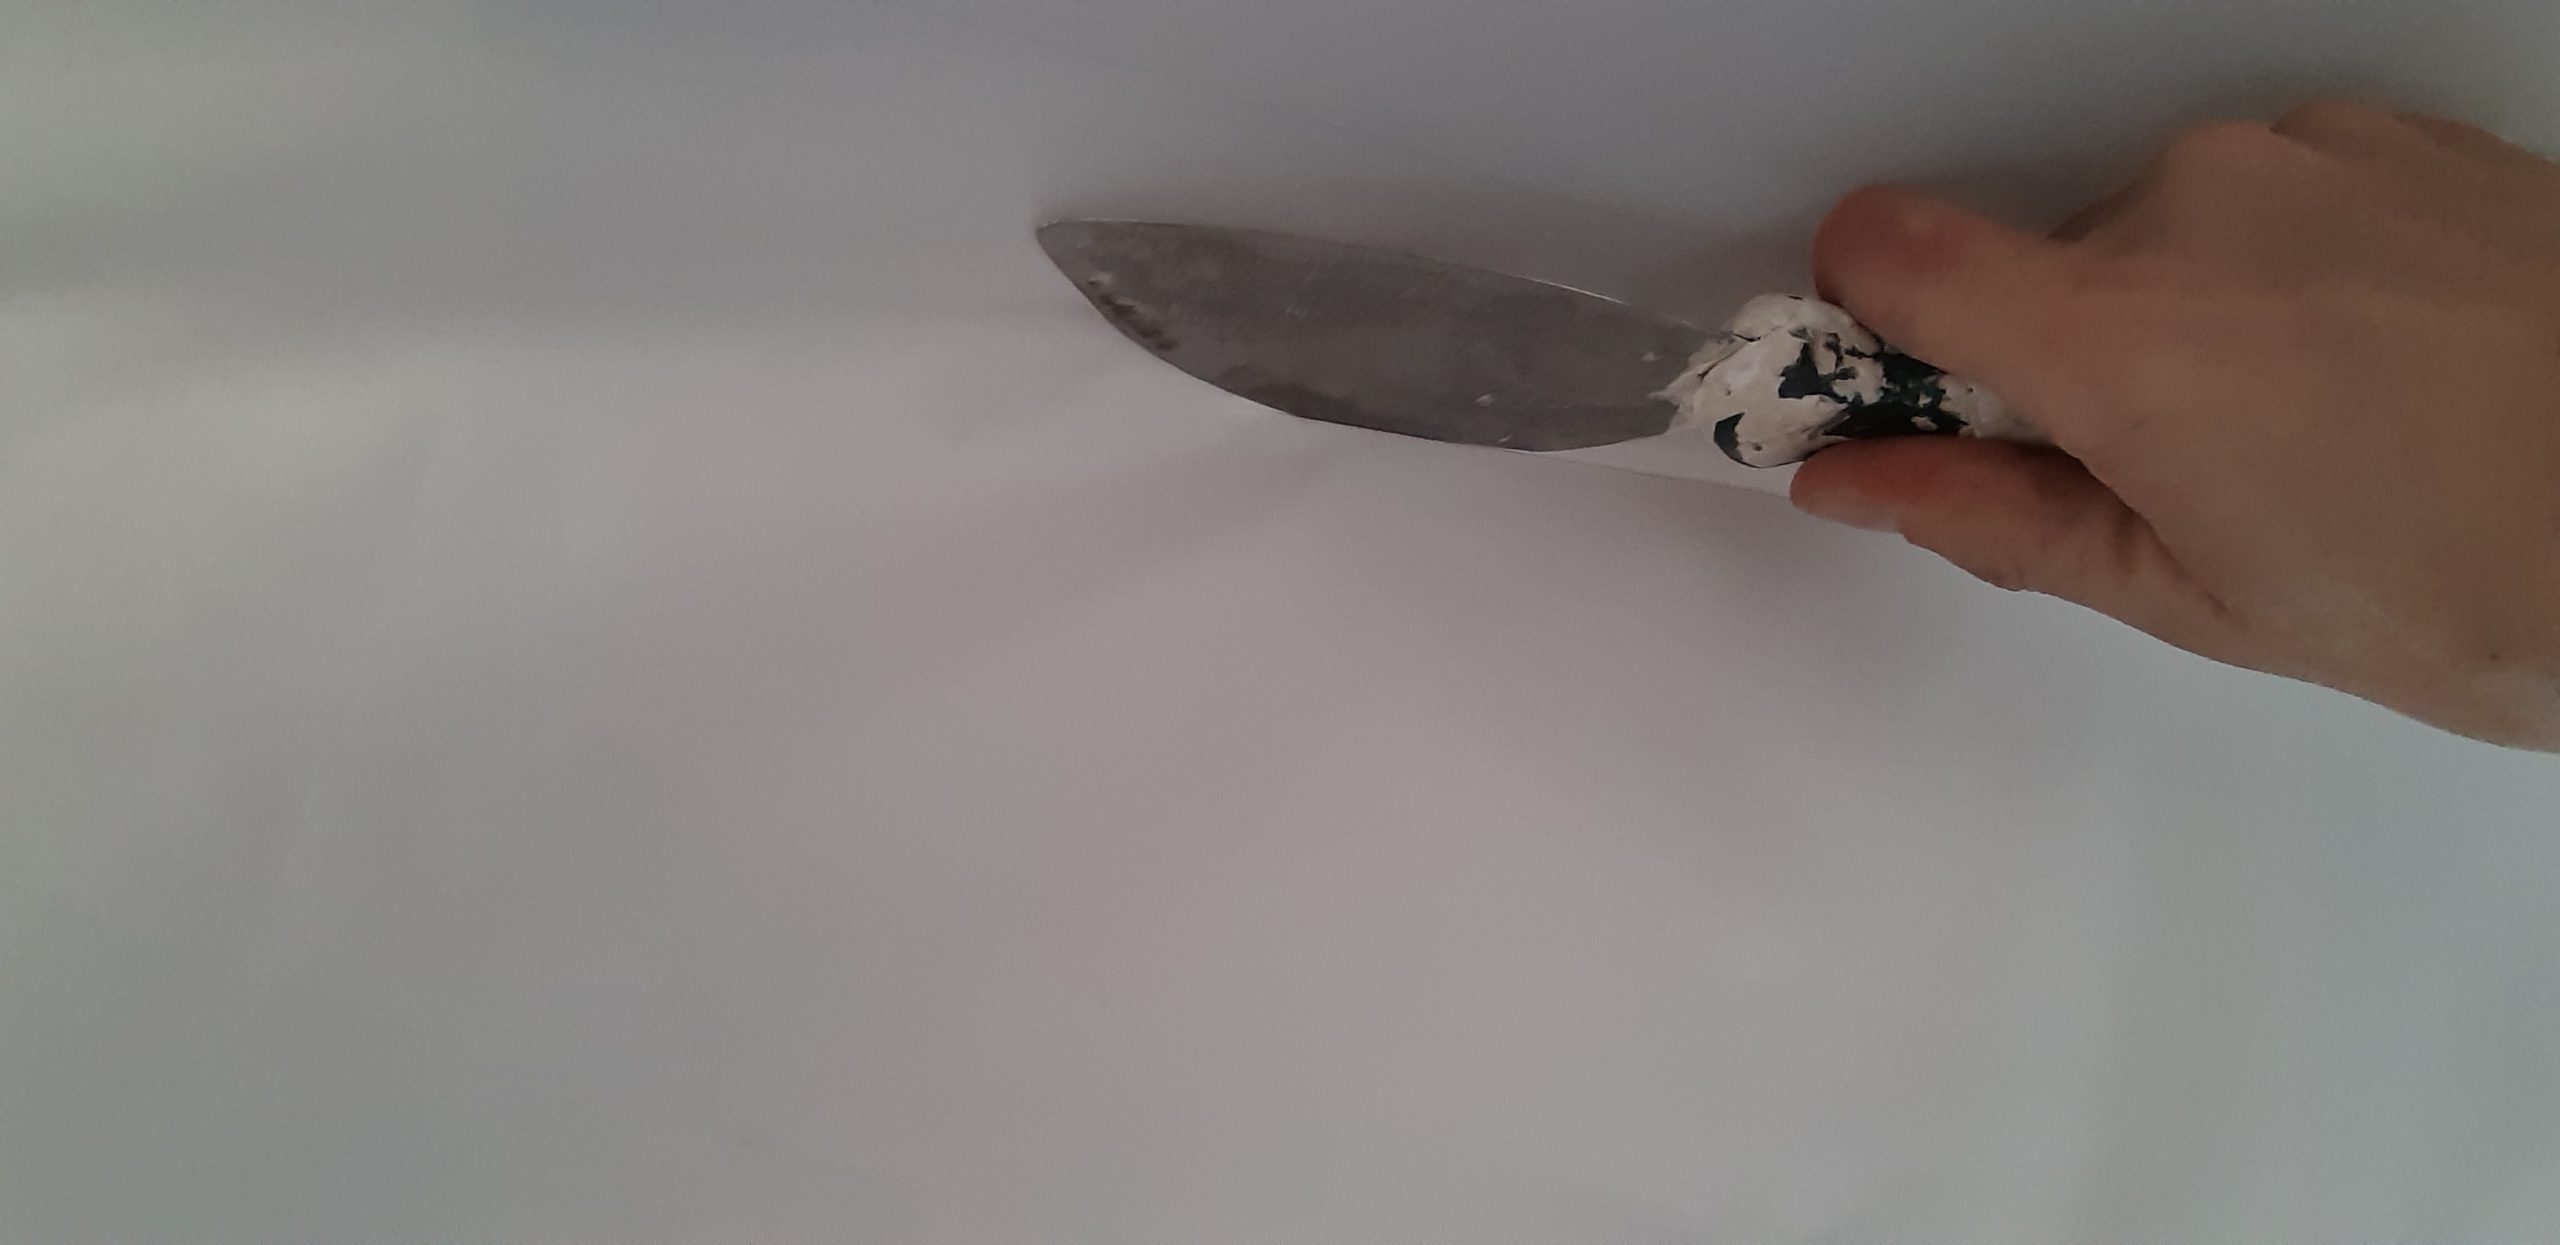
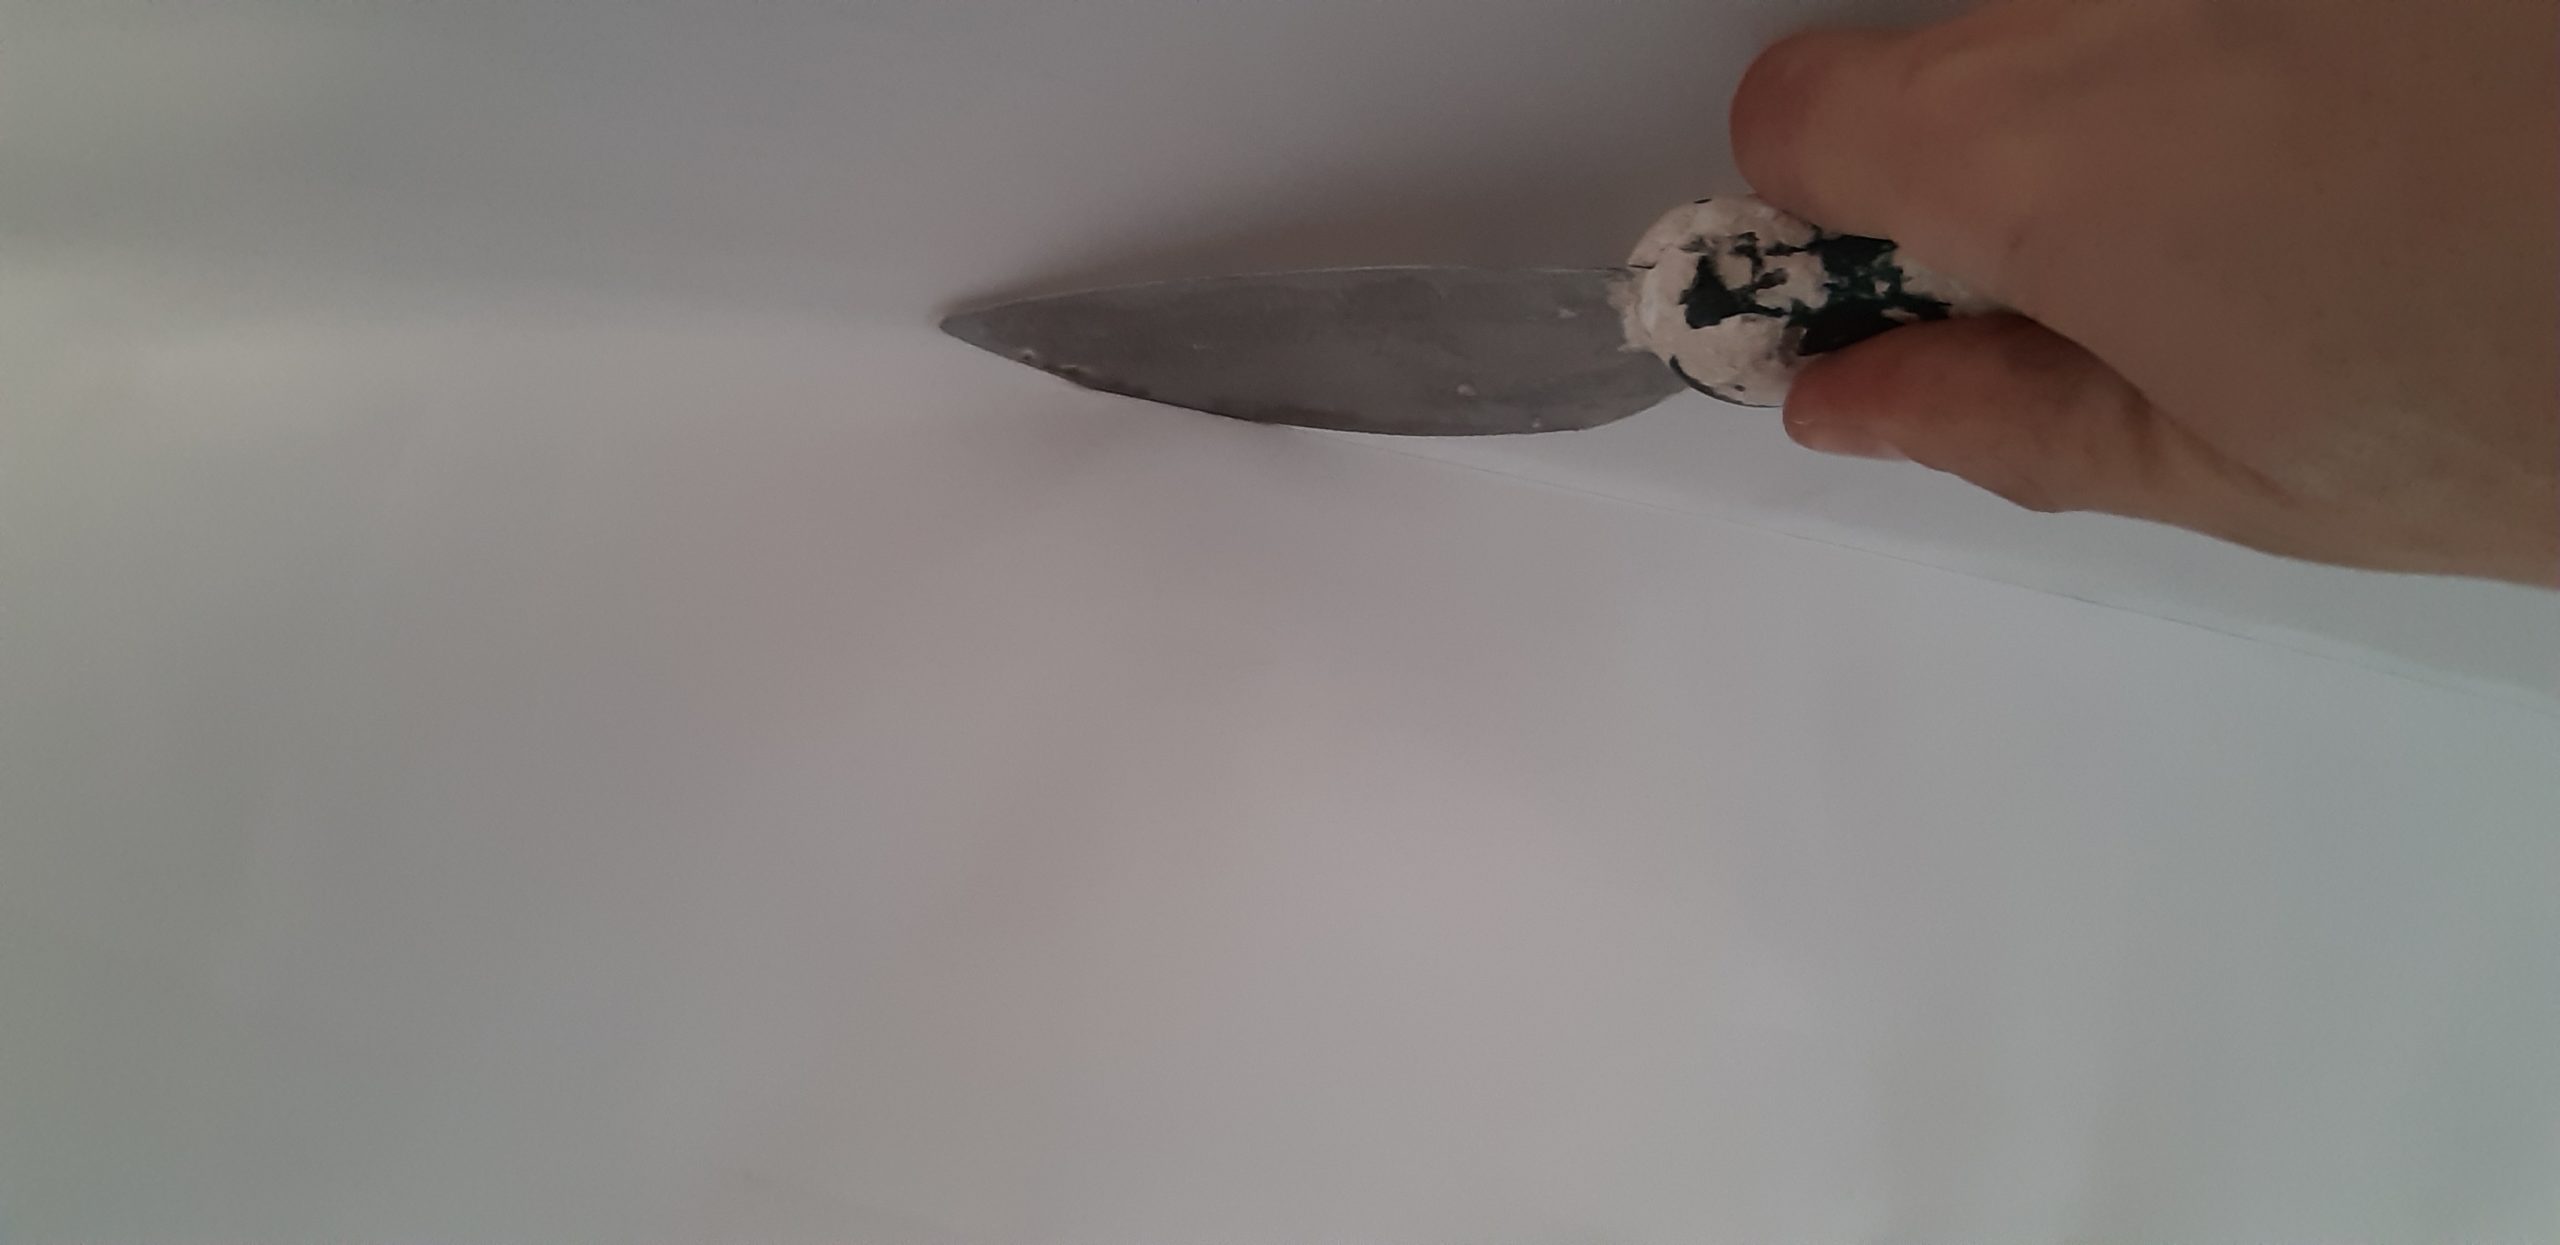
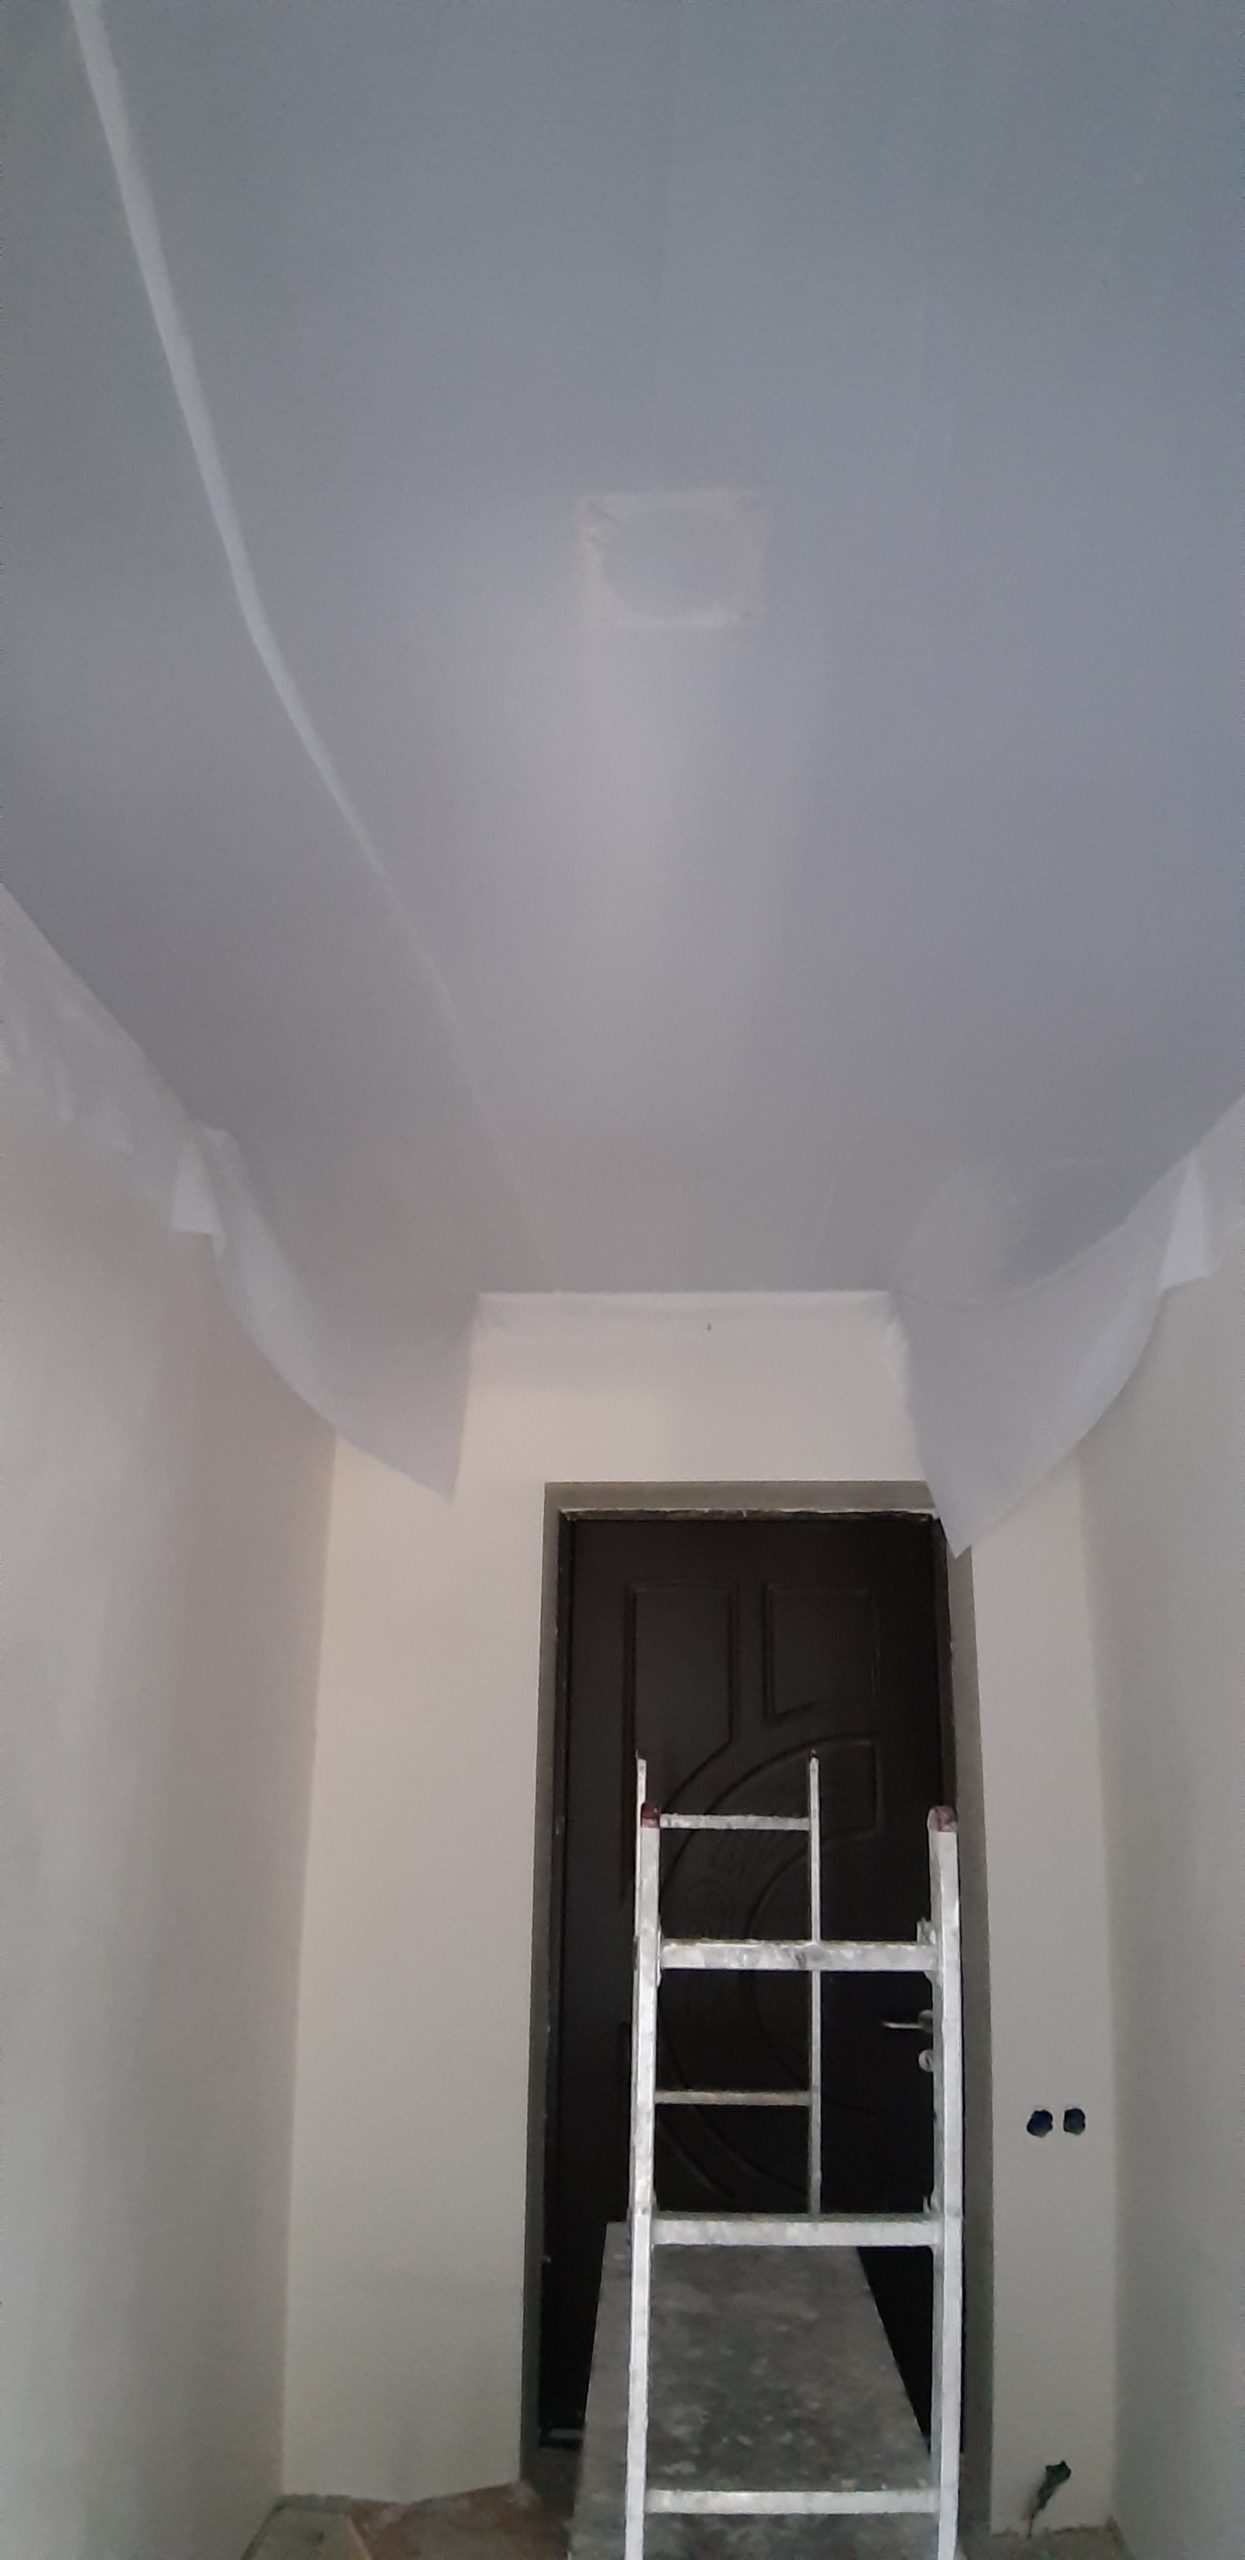
Now it’s time to trim the excess fabric. Take a wide spatula and a sharp utility knife. Place them against the profile lock and cut off the excess fabric from the ceiling.


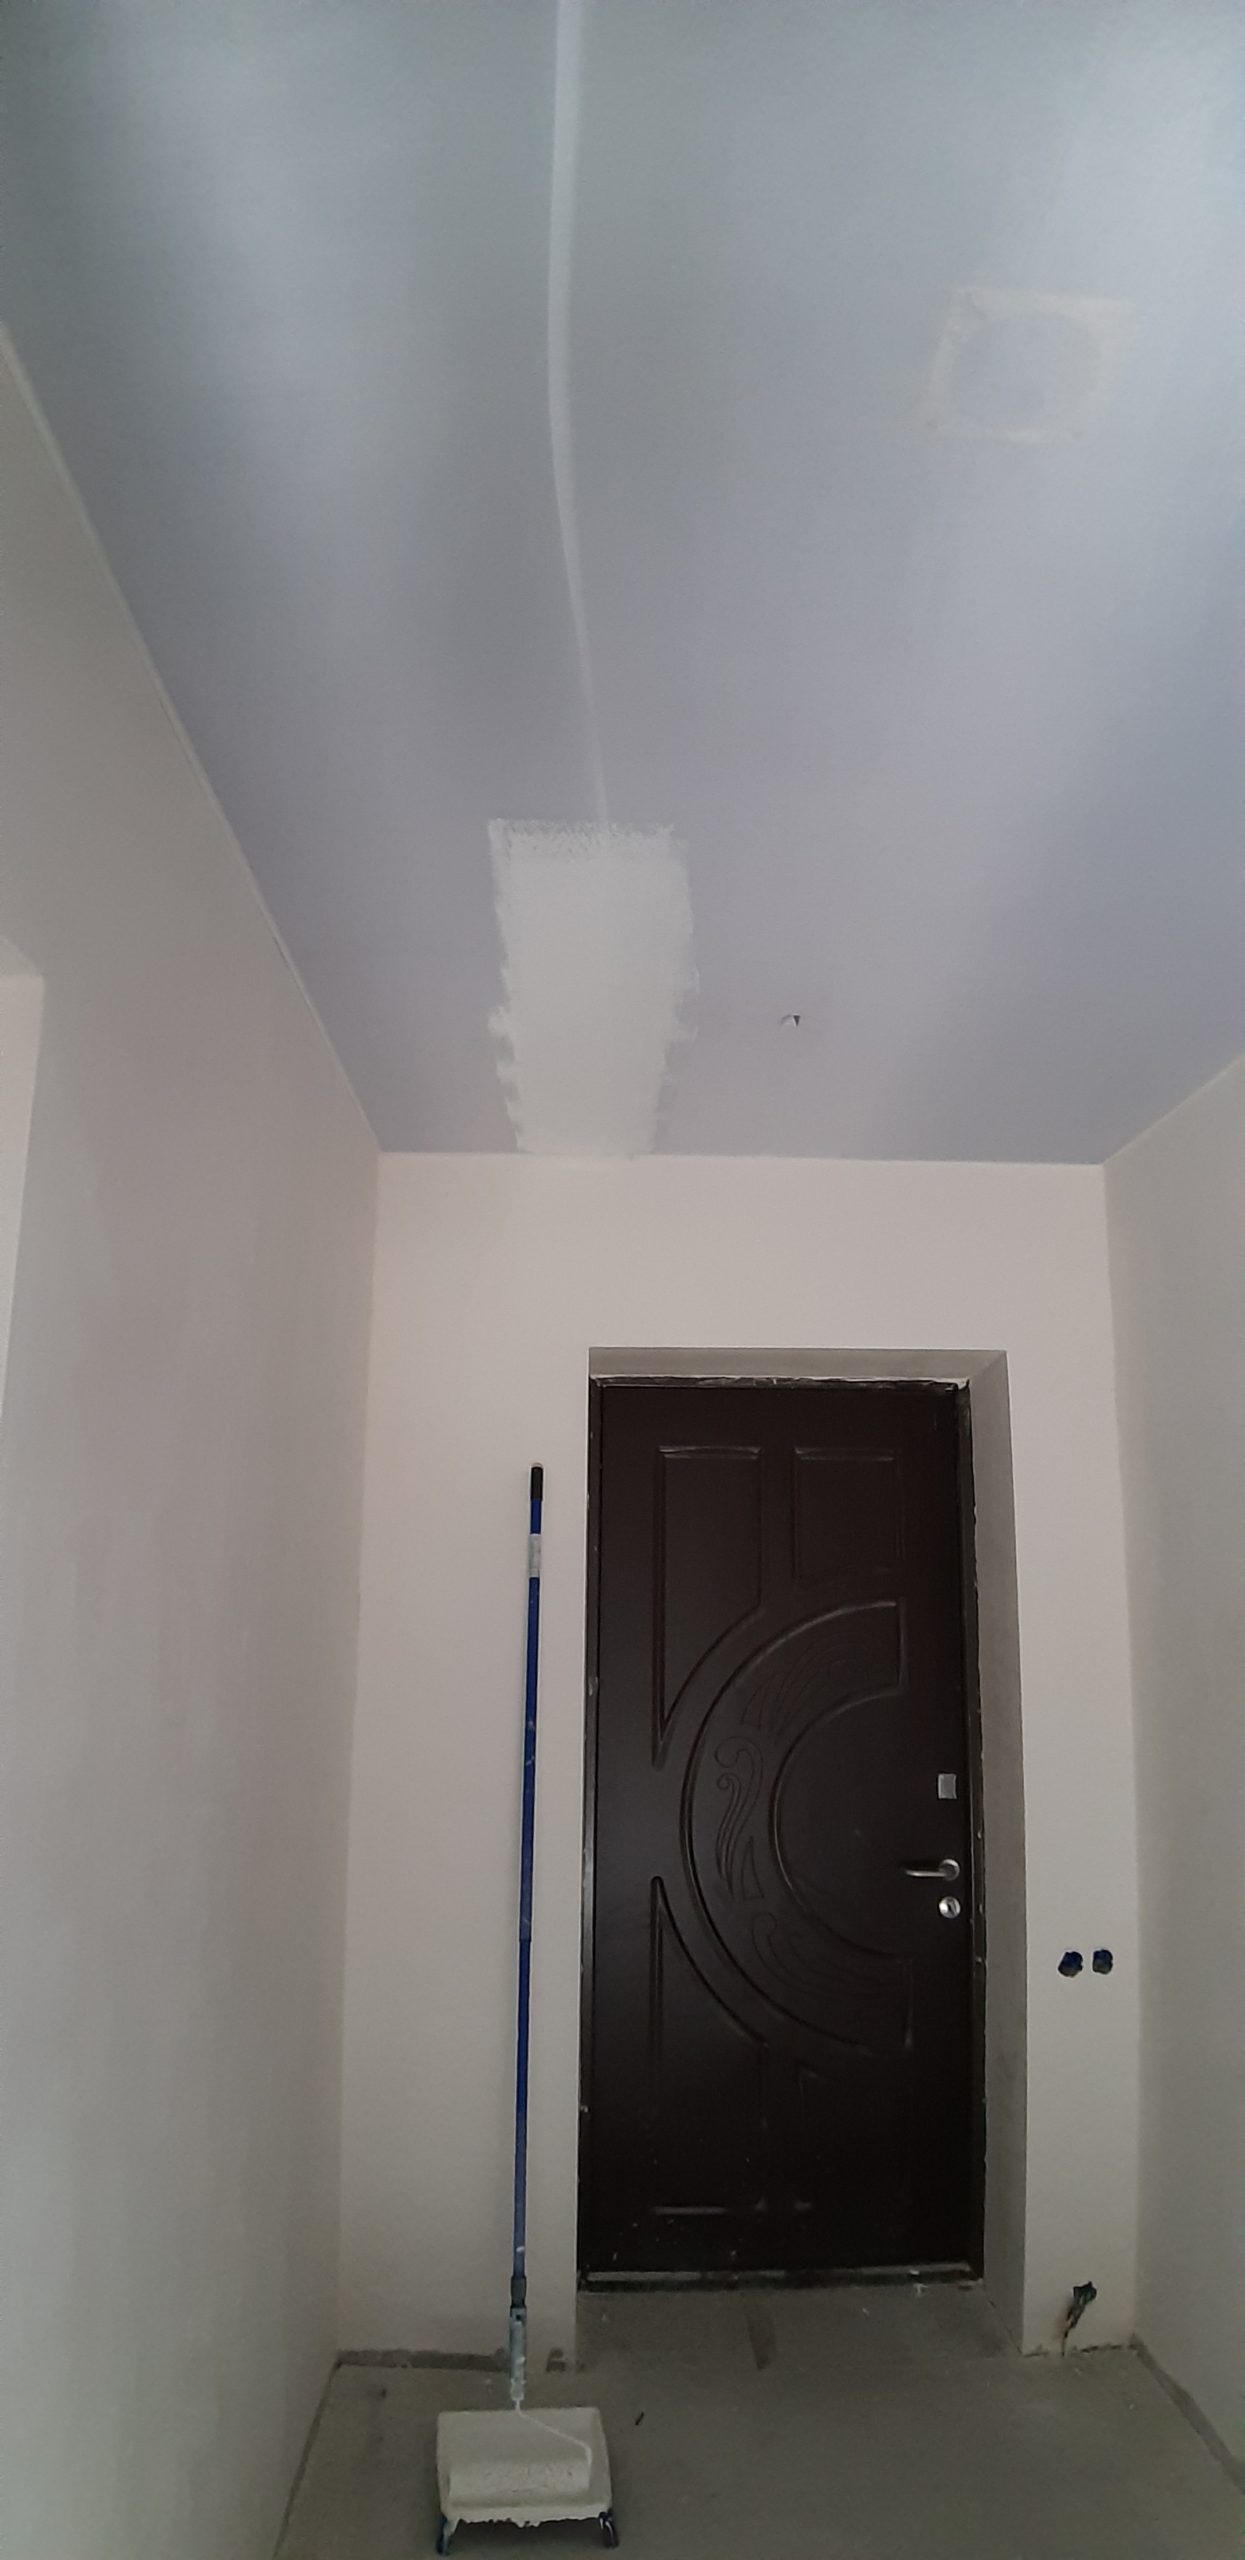
You can now proceed with painting. It’s best to choose latex paint. If you’re installing the ceiling in a wet area, then use paint specifically designed for bathrooms and kitchens.
Painting such a ceiling is best done with a fine-fiber roller. Start by painting along the seams if you have them. Apply the second layer perpendicular to the first one and finish with a third layer again perpendicular to the second one. Typically, three coats of paint are sufficient to achieve a smooth and even color.
Along the walls, you can use either a brush or a small roller.
After the paint has dried, make incisions in the areas where you’ll be attaching the lighting fixtures and then mount them. Don’t worry; the fabric won’t crack from the incision.

With this, the job is complete.