Cosmetic repair by yourself is essentially not a difficult task. You need a few supplies, the desire, patience, and everything else will come together without a doubt.
Preparing for the Repair
Before starting the work, it’s important to inspect the room. It’s essential to determine the priorities and the sequence in which cleaning should be done. Here’s an example of the sequence:
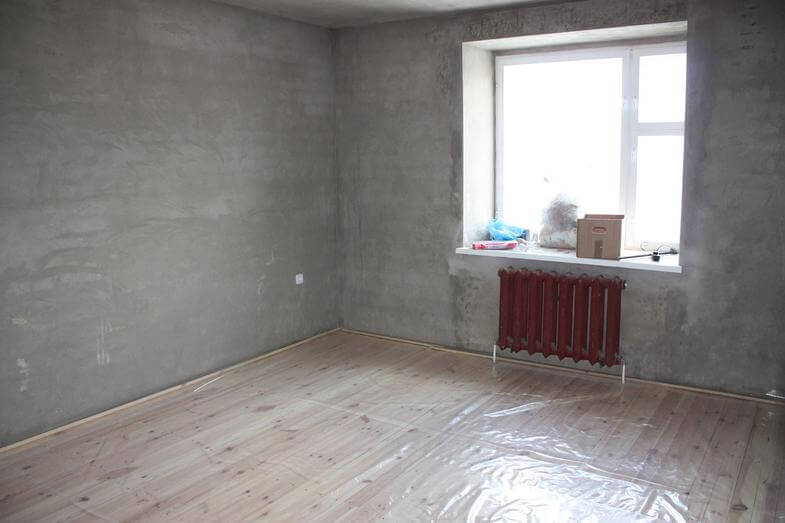
- First, remove bulky furniture. In an empty room, perform a thorough cleaning. Sweep and mop the floor diligently. Lay newspapers or cardboard on the floor and cover it with regular plastic film to protect the flooring.
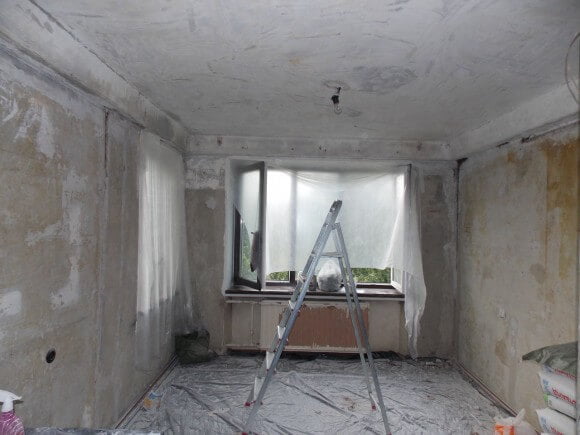
- Second, take down curtains, drapes, and sheers. To prevent window damage, use plastic film and secure it with duct tape. If necessary, cover doors with the same film.
- Third, remove shelves for books, paintings, and anything hanging on the walls. Disconnect the room or area from electricity. Remove chandeliers, wrap electrical wires with insulating tape. Remove switches and sockets, insulate electrical wires, and seal exposed boxes with masking tape.
- Fourth, prepare the ceiling and walls. If there’s chalk or lime whitewash on the ceiling, wash it off by dissolving one kilogram of salt in 8-10 liters of hot water. The solution is ready at a temperature of 40 degrees Celsius. If there’s a thick layer of whitewash, remove it with a wide spatula. To remove old wallpaper, use a bucket of hot water, a sponge roller, and a spatula, and if necessary, wallpaper removal liquid. When there’s paint on the walls, it’s better to remove it using a construction hairdryer and a spatula. The room is now ready for repair.
Repair
First and foremost, it’s necessary to prime the dry walls or ceiling with acrylic primer. After 4-5 hours, you can start puttying. After the putty has dried, which takes approximately 12 hours, apply another coat of acrylic primer. The working surfaces are now ready for the next steps. To paint the ceiling, you’ll need a roller with a wide handle and medium nap.
Wallpaper Adhesive
Choose wallpaper adhesive that matches the type of wallpaper. How to prepare the adhesive? In a container with a capacity of 8-10 liters, pour warm water (40 degrees Celsius), then, according to the wallpaper instructions, measure the amount of dry mixture needed. While stirring the water, gradually add the dry mixture, which will eventually reach the required consistency.
Wallpaper rolls are cut to the desired height, taking into account the pattern. Start pasting from the far wall towards the near one. If the edge of the wallpaper is longer than necessary, trim it with a utility knife or sharp scissors after it has dried. During wallpapering, avoid drafts, and after completing the work, let the wallpaper dry completely before any further handling.

Small finishing touches: install switches, set up sockets, hang the chandelier, bring in the furniture, and arrange it according to your preference. Enjoy the pleasant home comfort.