You all know that gypsum board is usually attached to a framework made of wooden battens or, more commonly, to a framework made of special metal profiles. But is it possible to attach gypsum board to an existing wall without using a frame? Yes, it can be done, for example, by mounting it on screws and anchors in pre-drilled holes. However, this method is time-consuming and exhausting. There is an easier way – simply gluing gypsum board to the wall.
In this article, we will explore the methods of gluing gypsum board to the wall and how they differ.
Methods of Attaching Gypsum Board to Walls. Step-by-Step Guide
The most common methods of gluing differ in the type of adhesive used. There are two: mineral (dry) adhesive, such as gypsum, or foam adhesive, which is used for attaching insulation to the building’s facade.
We will discuss which of these methods is better below, but for now, let’s go over the gluing process.
Regardless of the chosen type of adhesive, the preparation of the base (wall) is the same in both cases:
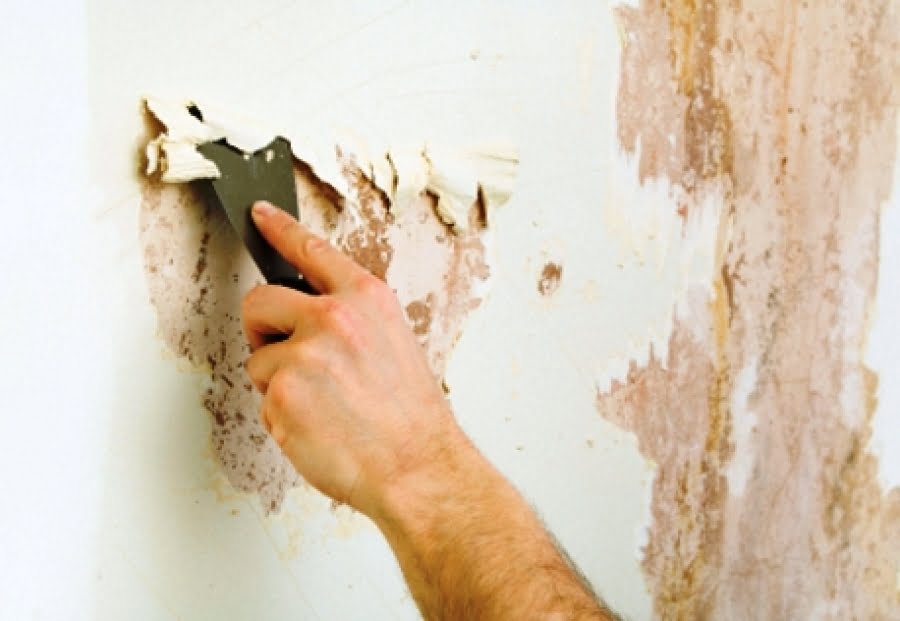
- Smooth out the surface with a spatula to remove any unevenness, bumps, and protrusions;
- Dust off the surface with a brush or vacuum cleaner;
- Apply deep-penetrating primer to the wall if you have a wall made of absorbent materials (almost all except concrete).
Next, proceed to directly attach the gypsum board.
If you’re using gypsum adhesive for gypsum board, you’ll need to mix the adhesive strictly according to the manufacturer’s instructions on the adhesive packaging. Then, proceed to apply the adhesive to the gypsum board.
You can apply it in two ways:
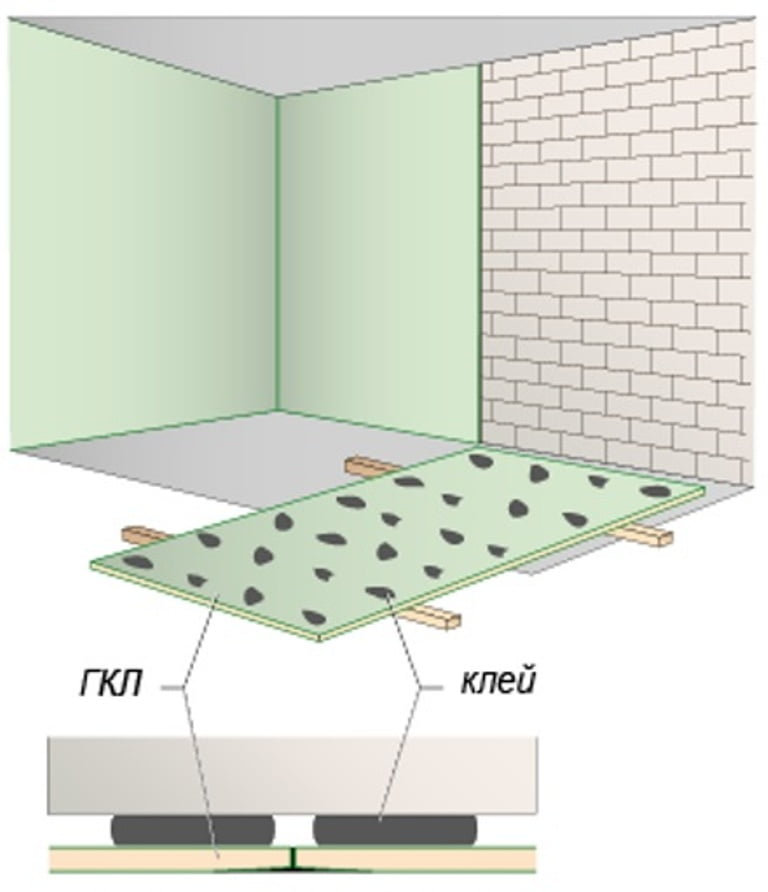
- Using so-called “blobs” – small clumps of adhesive, with the help of a trowel or a spatula;
- Or using a notched trowel, known as a “comb,” for even application of adhesive across the surface of the gypsum board.
The first method is suitable if your wall has vertical or horizontal deviations of more than 5 mm. By using this method of application, you’ll be able to level the wall reasonably well.
The second method is suitable for relatively smooth walls with deviations not exceeding 5 mm.
Apply “blobs” evenly across the entire gypsum board sheet, with approximately 30 cm intervals. The thickness of these “blobs” should be greater than the deepest wall irregularity.
With the notched trowel, apply adhesive around the perimeter of the gypsum board sheet and create crosswise “bridges” of adhesive every 30 cm. It’s not necessary to cover the entire gypsum board sheet with adhesive.
Then simply press the gypsum board against the wall, resting it on a support with a height of 5-10 mm. The gap at the bottom is necessary to compensate for the thermal expansion of the gypsum board.
Using a long plasterer’s rule, gently tap to ensure the gypsum board is evenly aligned vertically. After attaching the second sheet, tap both to achieve a level horizontal surface.
Apply the foam adhesive from a gun around the perimeter of the sheet, plus bridges in the middle with intervals of 30-40 cm. The adhesive layer should be roughly the size of a sausage, about 4-5 cm in diameter. The foam should start to set in about 3-4 minutes, then press the gypsum board against the wall.
In this case, you don’t use the plasterer’s rule to level the gypsum board; you simply tap it to improve the adhesion of the sheet and adhesive to the wall.
Modern foam adhesive can be used to mount gypsum board on walls with deviations exceeding 20 mm, but it will require some additional effort. For details on how to do this, watch the video below.
Which Method is Better for Attaching Gypsum Board?
In terms of cost, both of these methods of attaching gypsum board are roughly equal.
Using foam adhesive is significantly easier and cleaner for mounting gypsum board. You don’t need to carry heavy bags, use water, electricity for a mixer, and so on.
Therefore, the choice is clear if you have relatively smooth walls. If you have deviations of more than 3-5 mm, you’ll need to use mineral adhesive.

