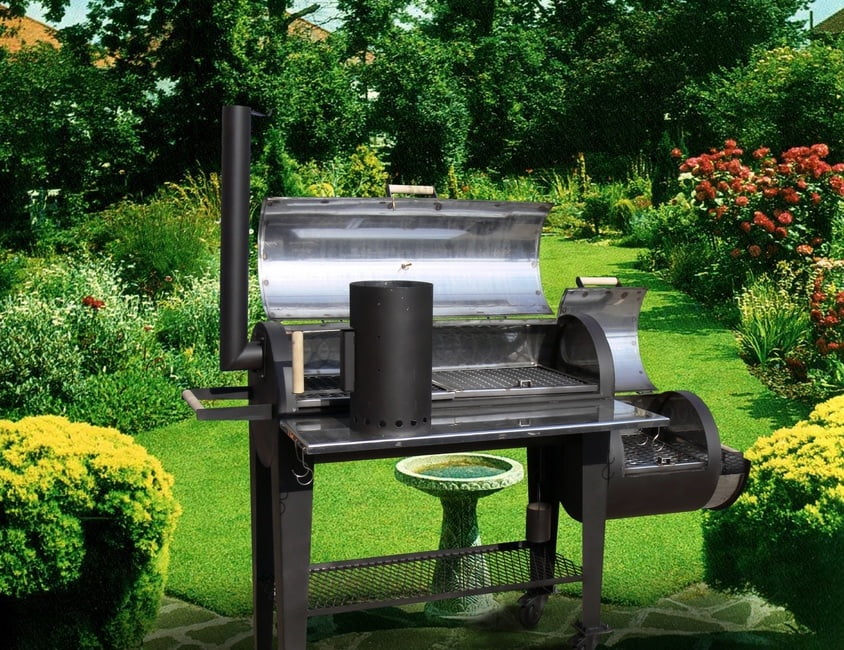
Stores, supermarkets, and markets offer a wide variety of smoked fish, meat, and poultry products. However, the attractive appearance of these items does not guarantee an extraordinary taste experience. That’s why many enthusiasts of authentic smoked delicacies, especially those who own a country house or live in a private home, eventually come to the conclusion of having their own small smokehouse.
Indeed, if you have good aromatic wood, the right piece of meat, or your favorite fish, and achieve the right temperature, you can create a true culinary masterpiece that will delight the host, their family, and guests.
Many people are deterred by the price of buying a mini smokehouse, but if you enjoy cooking and want to create something extraordinary, you can make a smokehouse yourself with minimal material costs. All you need is a bit of free time, some readily available materials, and the appropriate blueprints.
Features and Advantages of a Smokehouse
Creating a smokehouse with your own hands right at home is not difficult, and this process does not require special skills. It all depends on the type of smokehouse you want to achieve in the end.
A cost-effective smokehouse of the desired size can be assembled by yourself with minimal time and material investments, using practically anything that’s lying around the house and hasn’t been used for a while but you’re reluctant to throw away.
It’s the simplicity of construction and affordability that make DIY smokehouse assembly so attractive, especially for people who enjoy creating things with their own hands.
Types and Purpose of Smokehouses
All types of smokehouses can be classified based on several criteria.
Depending on the method of construction and smoking temperature:
Cold Smokehouse
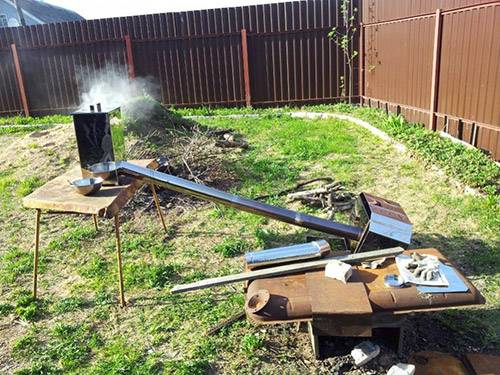
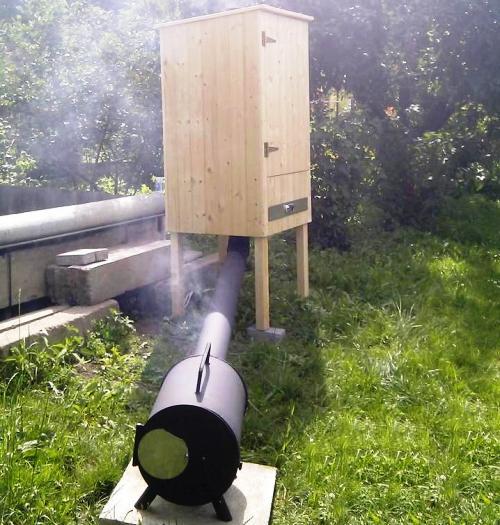
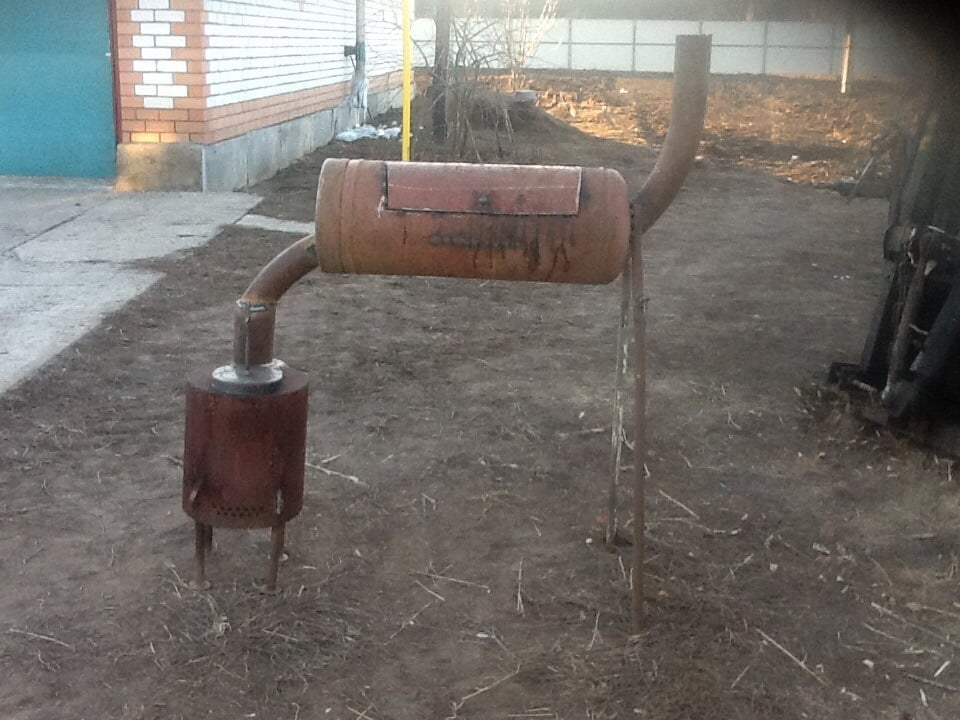
A distinctive feature of such a smokehouse is a relatively long smokestack of elongated shape. It is the smokestack that ensures 100% combustion of the smoke gases.
In a cold smokehouse model, there is also a firebox and the smoke chamber itself. When smoking food using this method, all harmful and toxic substances from the combustion of wood remain on the walls of the chimney, while the food absorbs a light smoky flavor with the aroma of the type of wood used for smoking.
One drawback of cold smoking is the lengthy preparation process, which can take anywhere from 3 to 7 days. However, a clear advantage is that products prepared in a cold smokehouse can be stored for up to 4 months.
Hot Smokehouse
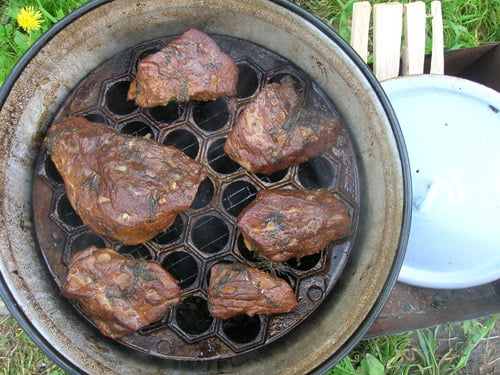
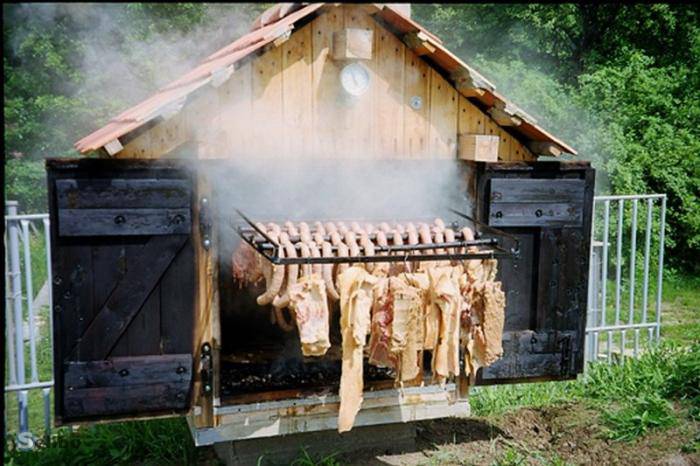
Such a smokehouse has its engineering features because the hot smoking process involves the use of special types of wood chips, not logs. Therefore, the firebox is located below the smoke chamber.
The smoke chamber should be airtight to ensure that the products placed inside it can be evenly heated.
The time required for hot smoking is comparable to baking in an oven. You can obtain the finished product in 30-60 minutes. However, the exact time will depend on the type and weight of the product, as fish, for example, requires less time to cook than poultry. Nevertheless, the shelf life of hot-smoked products is only a few days.
Universal Smokehouse
In addition to specialized smokehouses for hot and cold smoking, there are also universal smokehouses. These smokehouses provide an intermediate option between the two methods and allow you to smoke products using both techniques.
Therefore, when choosing a smokehouse, it’s worth considering the pros and cons of each type: cold smokehouses may be bulky, but the products prepared in them have a longer shelf life and a more pronounced flavor. On the other hand, hot smokehouses are compact, and the preparation of products takes less time.
Any type of smokehouse is suitable for preparing sausages, various types of meat, poultry, bacon, and fish. The taste qualities of the product will vary depending on the chosen smoking method.
In terms of mobility, smokehouses can be divided into:
- Stationary smokehouses, which are installed in one place and can be used for processing a relatively large volume of products.
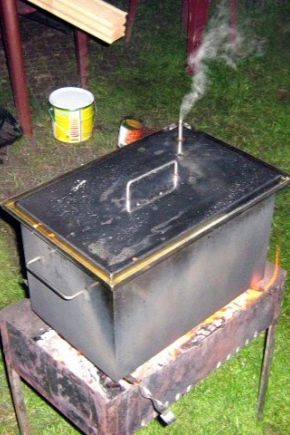
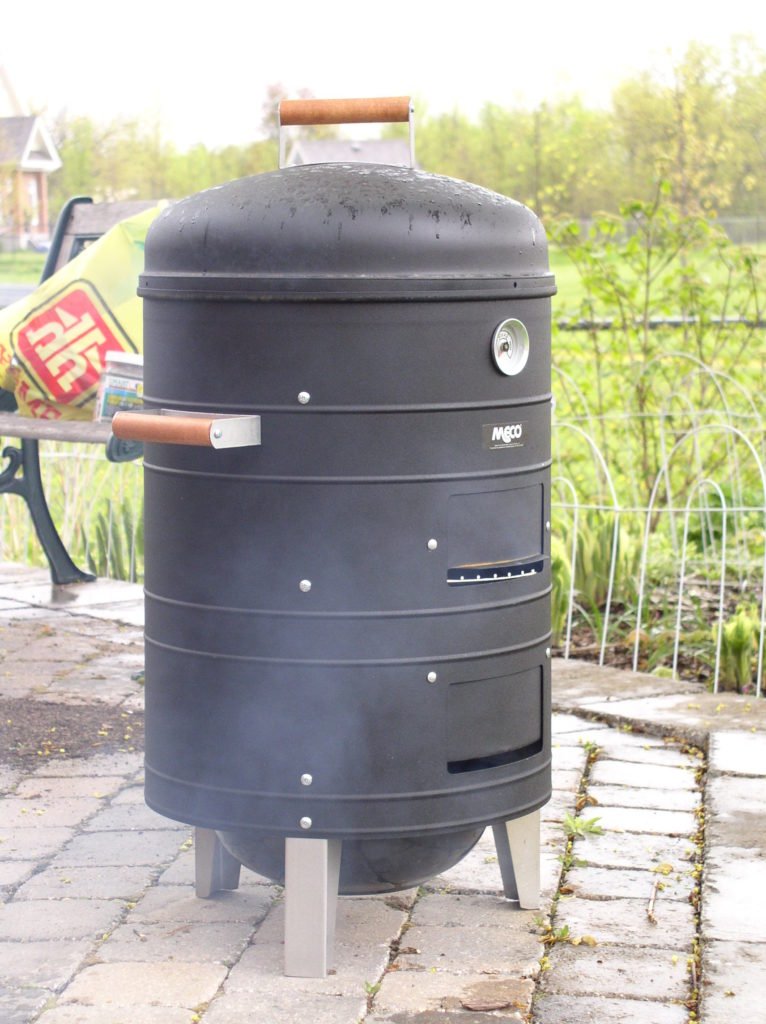
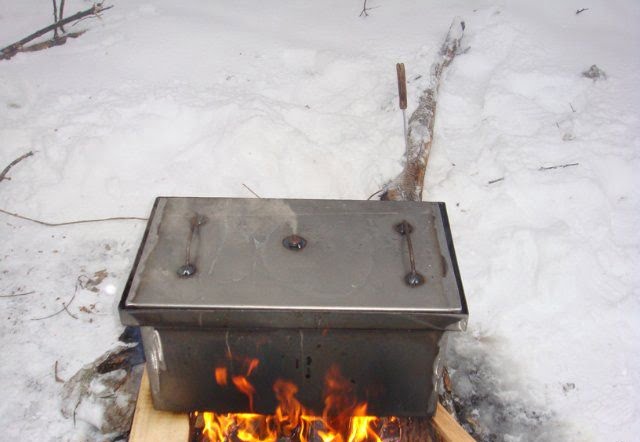
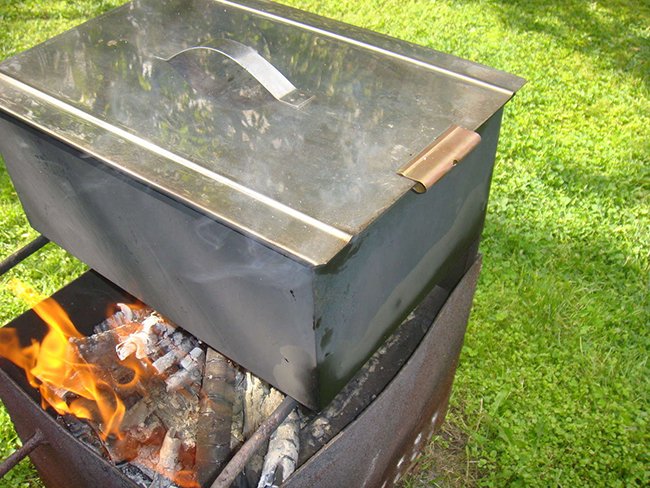
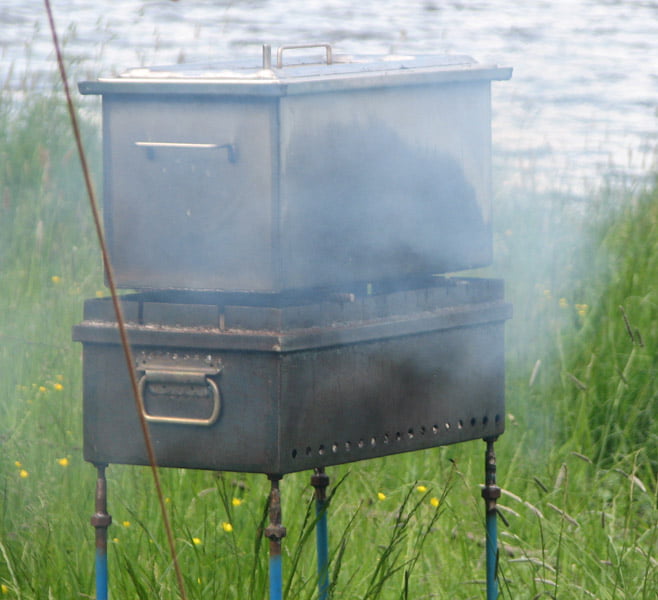
- Portable mini-smokehouses, which are small boxes that can be tightly sealed with a lid. Such smokehouses are designed for camping and outdoor activities.
What Can Be Used to Build a Smokehouse
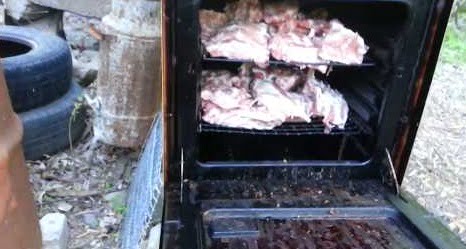
Many items that have been lying around in the garage, on the balcony, or in the shed can be used to make a smokehouse. This can include an old oven, a refrigerator, or even a simple barrel.
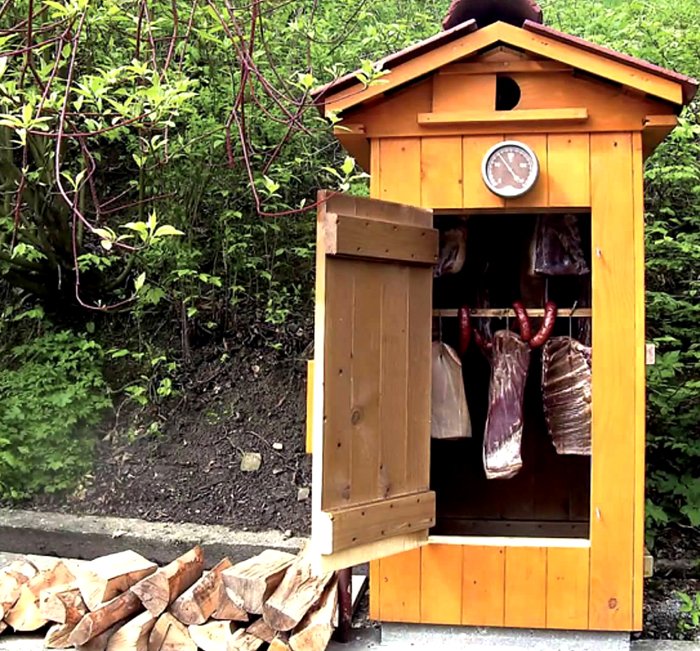
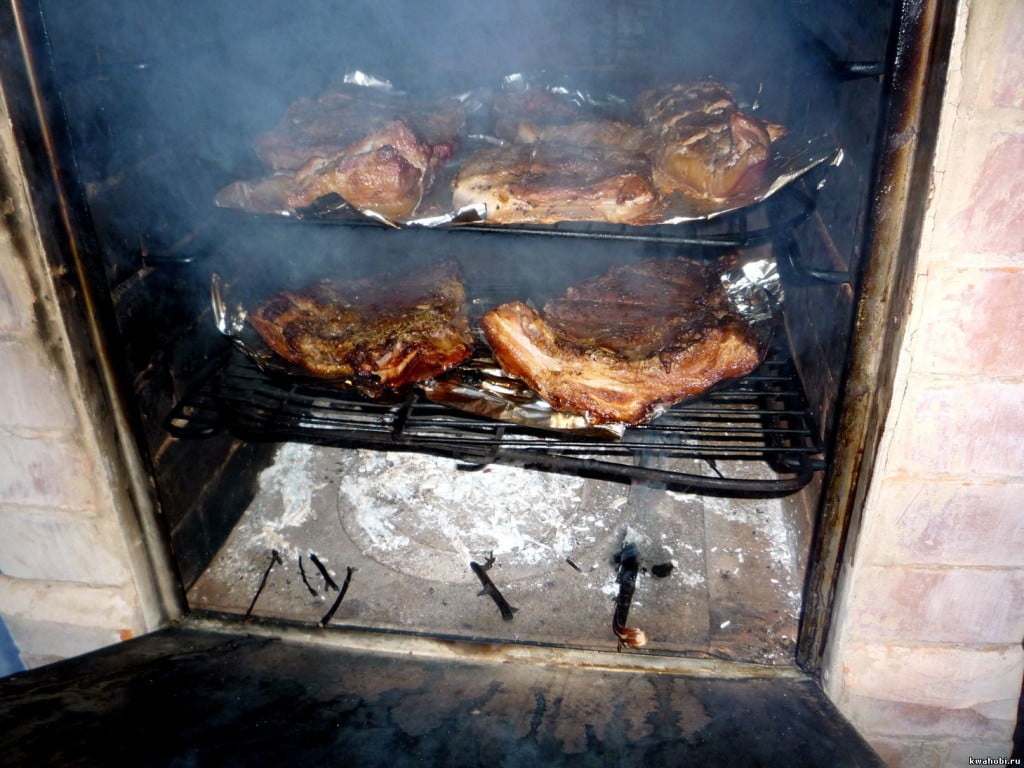
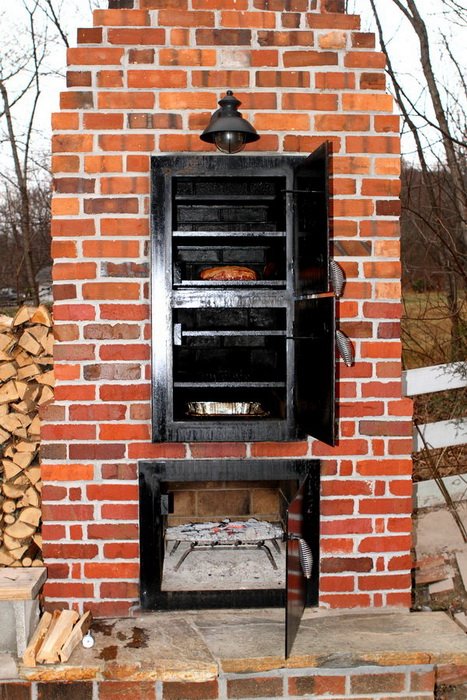
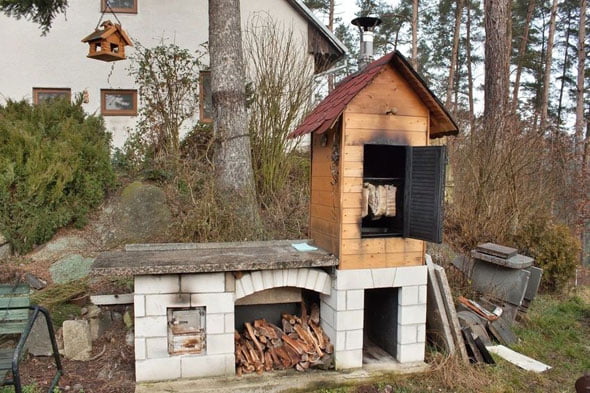
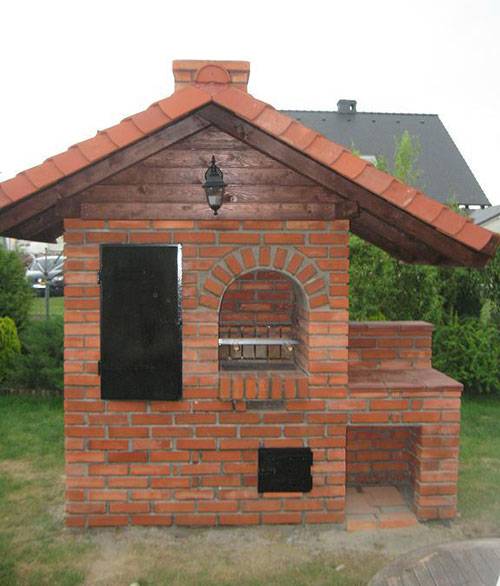
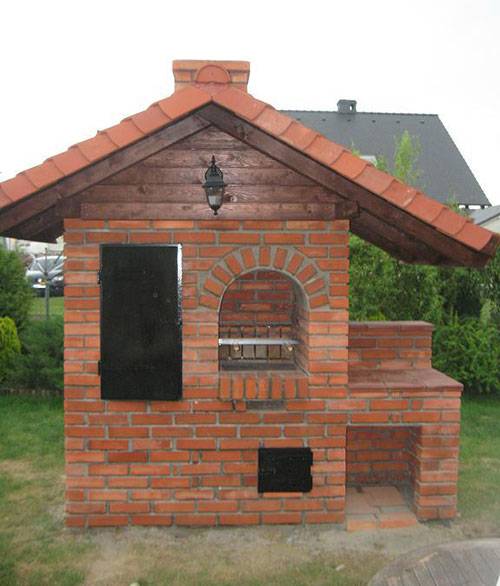
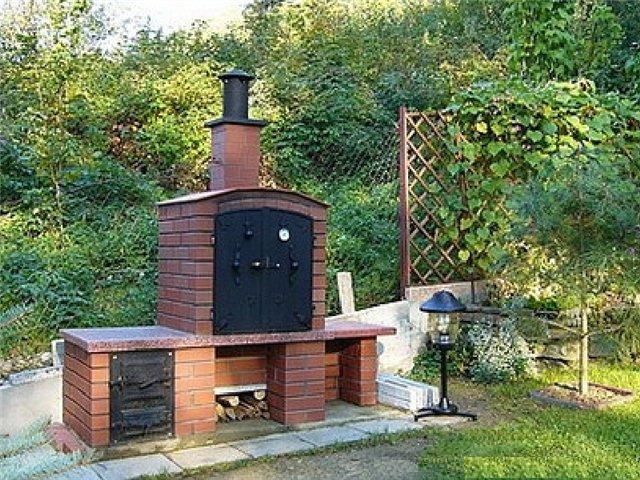
Certainly, the best option is a stationary universal smokehouse that can be constructed from bricks. In this variant, you can customize the dimensions and organize the smoke flow into the smoking chamber effectively. Heating such a smokehouse is achieved through a stove-pipe connection. Such a smokehouse can serve as an excellent and unique design solution for decorating your backyard, veranda, or guest gazebo.
For simpler or temporary smokehouse constructions, a metal box or a wooden barrel with a volume of up to 100 liters can be suitable.
Portable smokehouses can be constructed from various household items, such as pots, buckets, or fire extinguishers. Good options can also include an old refrigerator or a gas stove.
The key is to choose an item that can accommodate a couple of racks for meat and provide space for sawdust or wood chips beneath these racks.
When making a smokehouse from metal items, it’s important to use stainless steel components. Stainless steel does not corrode under high temperatures and moisture, it is resistant to the effects of smoke, and it is easy to maintain.
“Stainless steel” can become brittle with prolonged use, so over time, some of its components may need to be replaced.
How to Prepare Smokehouse Blueprints
You don’t need to be an engineer to assemble a smokehouse yourself. To understand the assembly process, you simply need to choose the material for construction, decide on the type of smokehouse, and find a suitable blueprint.
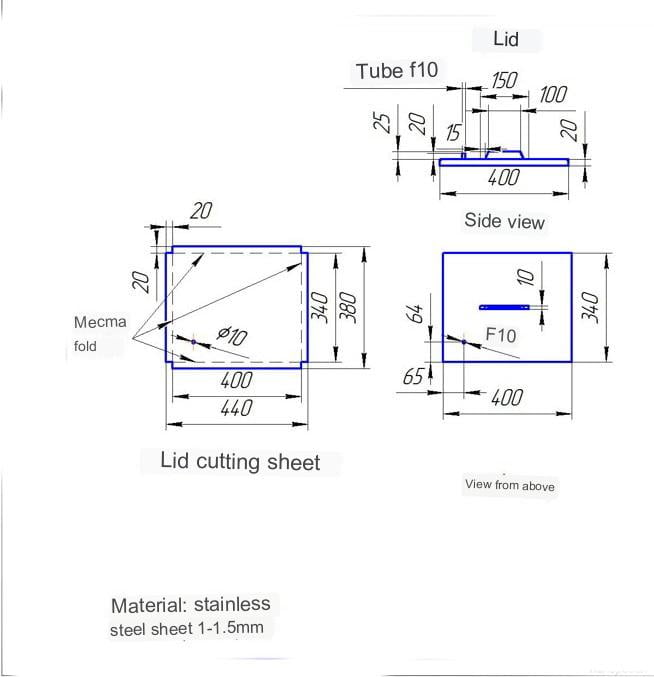
However, even with a ready-made blueprint, you may need to make some adjustments to fit the dimensions of your smoke chamber.
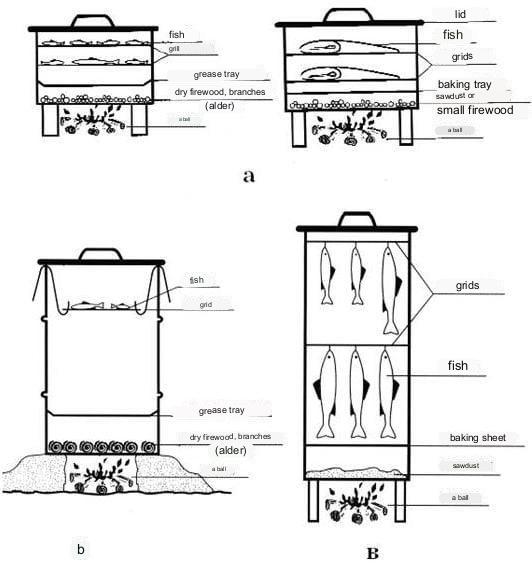
If you are considering a stationary brick smokehouse, you will need to work on the blueprints yourself or seek the assistance of professionals to develop a custom project.
What a Smokehouse Consists Of
Any smokehouse, regardless of the material it’s made from, has essential components:
- Smoke chamber: This is the foundation of the smokehouse, which should seal tightly and be nearly airtight to retain the smoke inside the chamber and allow it to reach the required temperatures;
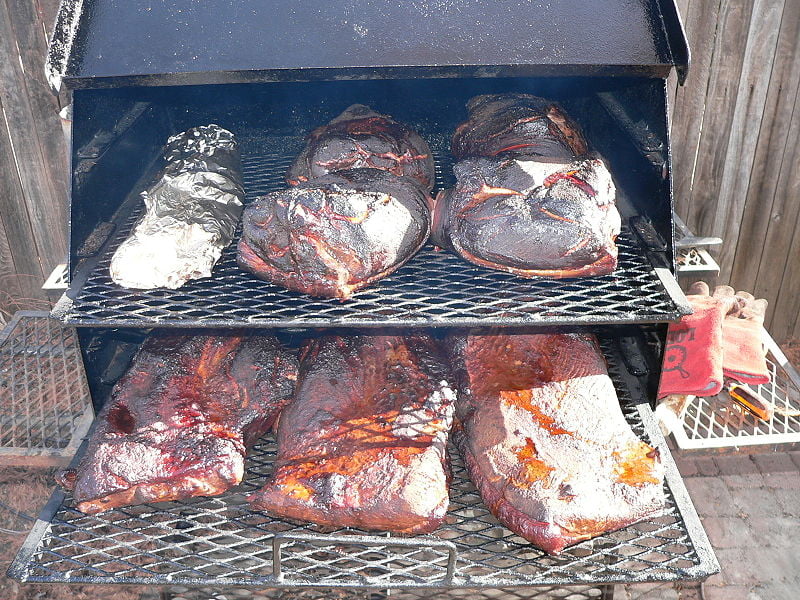
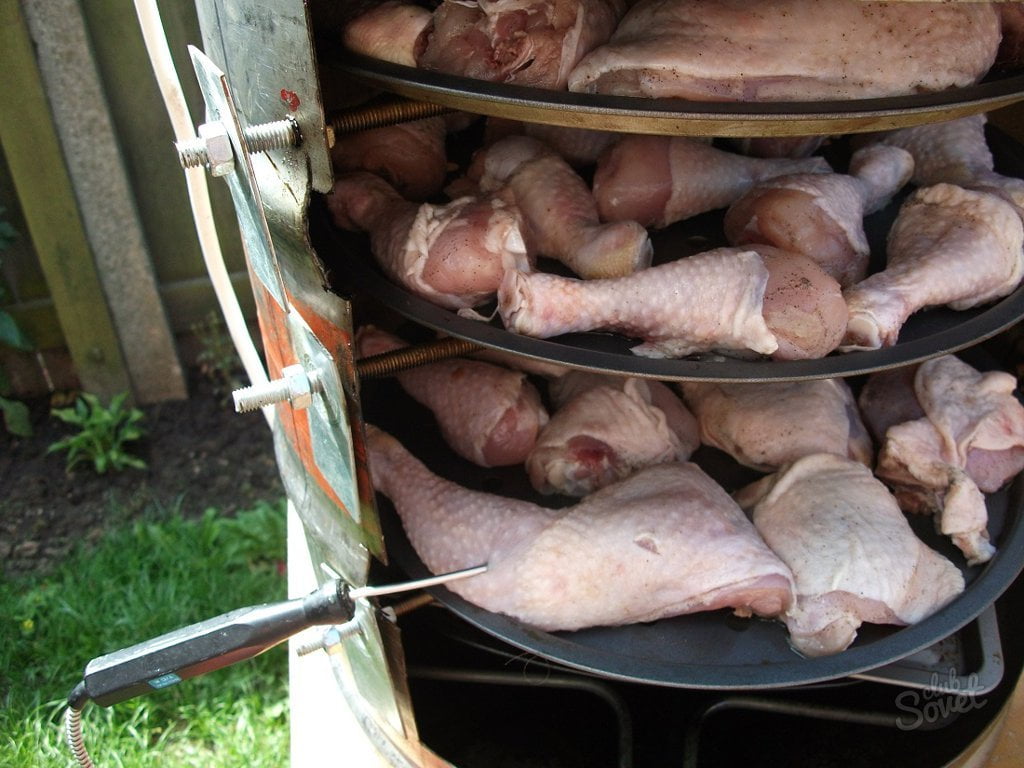
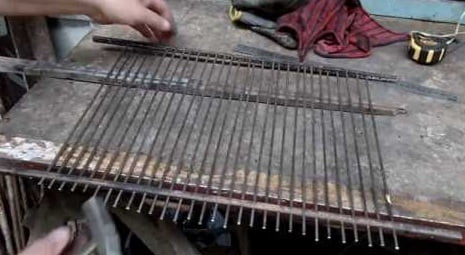
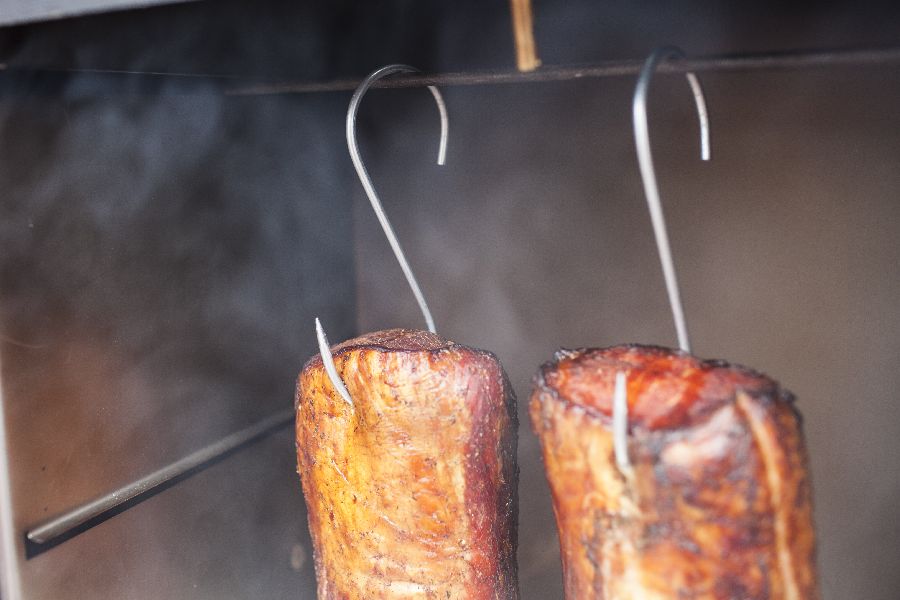
- Grate: This is the component where the products are placed and which is put inside the smoking chamber. You can install one or multiple grates, depending on the quantity of products. You can use an existing grate from an old oven, a barbecue grate, or make one yourself, for example, from thin rebar or thick wire. Hooks can also serve the function of a grate – you can hang meat or fish on them;
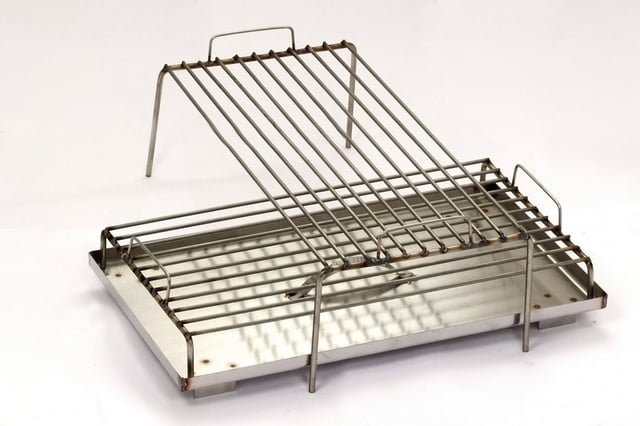
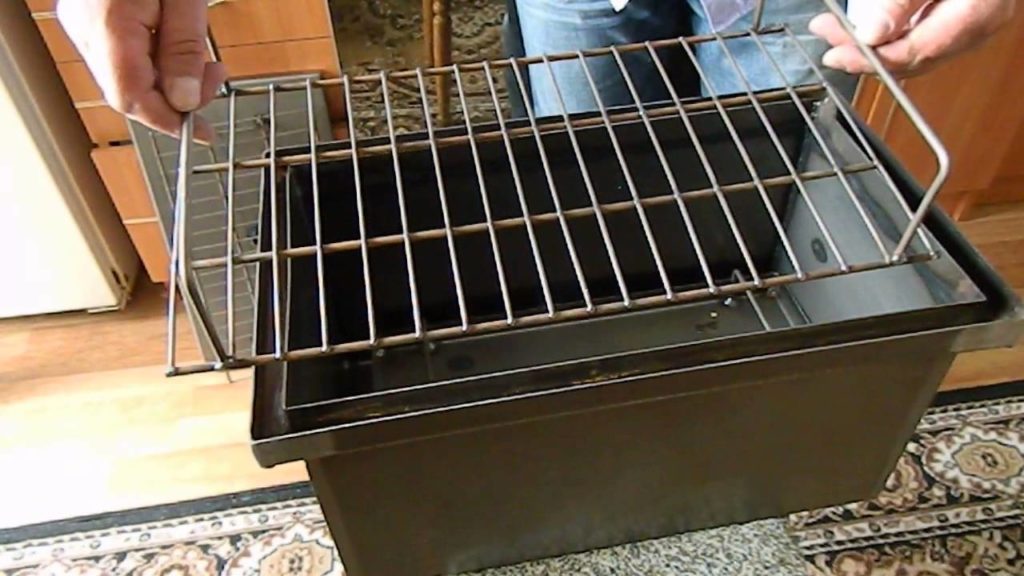
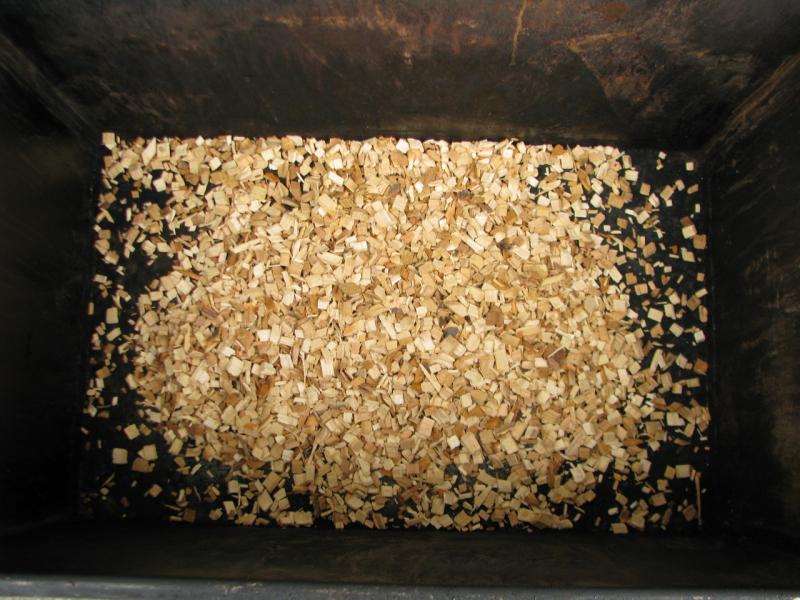
- Drip tray for sawdust and wood chips;
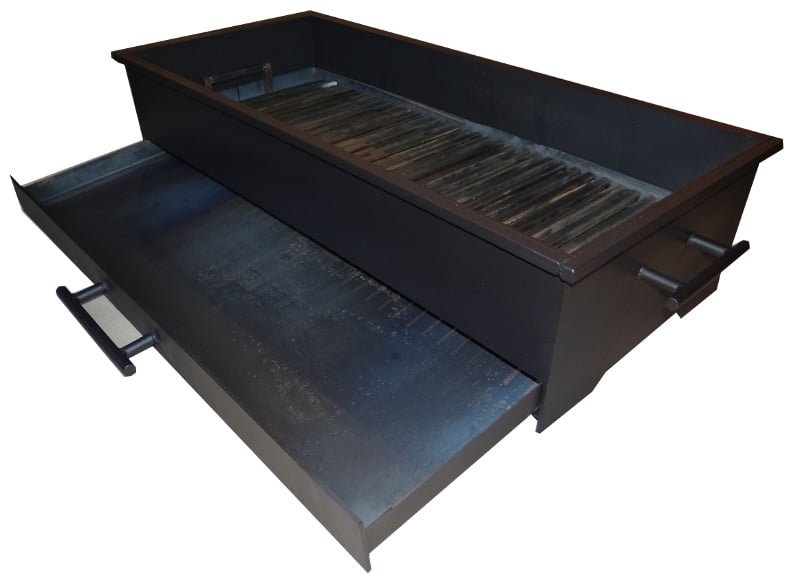
- Ash collection box;
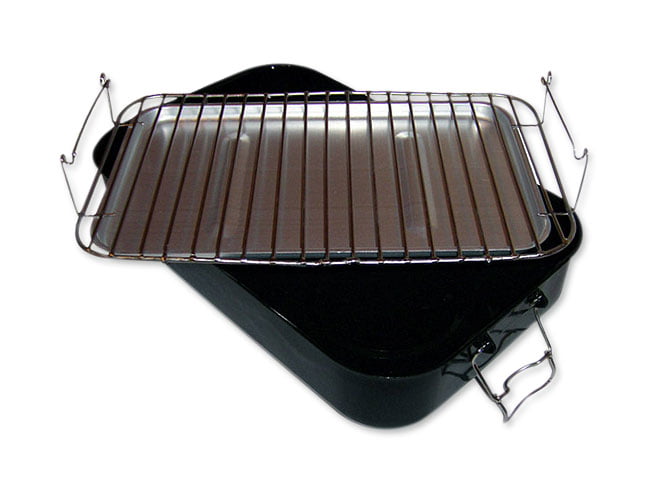
- Drip tray for collecting juices and fat that drip from the products during smoking;
- Smoke generator: In hot smoking chambers, this function is performed by sawdust that smolders at the bottom of the chamber, creating dense smoke inside. However, in cold smoking chambers, a more complex system should be installed, consisting of an electrical heating element, a temperature sensor, and a thermostat. This is because for cold smoking products, the smoke temperature should not exceed 35 degrees Celsius;
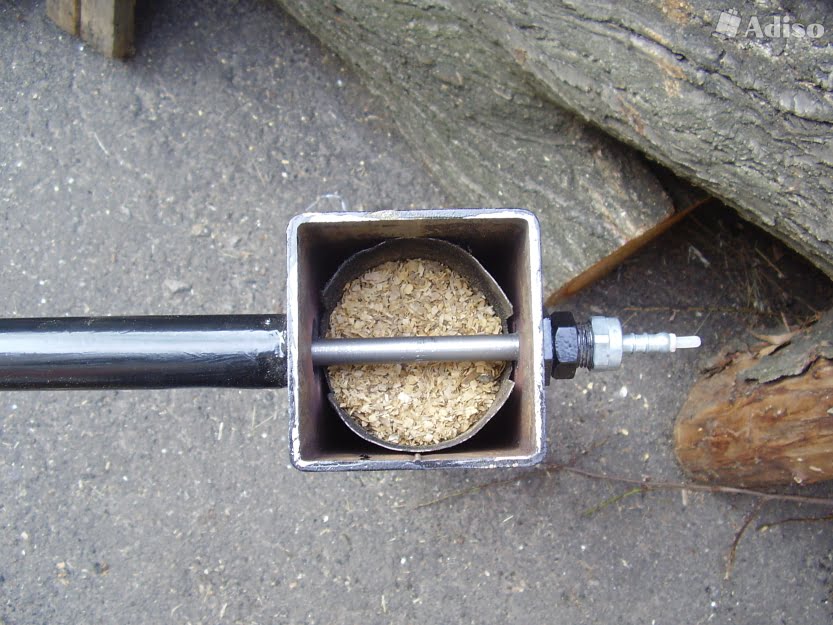
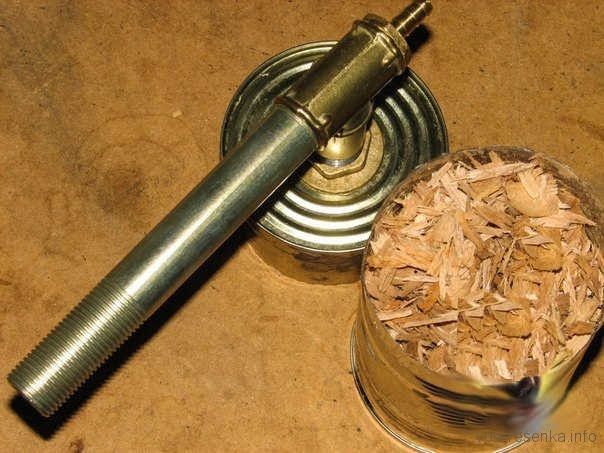
- Fan/compressor: A useful but not necessary component for a smokehouse. With its help, in hot smoking chambers, you can improve the circulation of smoke, which allows you to increase the smoking temperature and consequently speed up the cooking process;
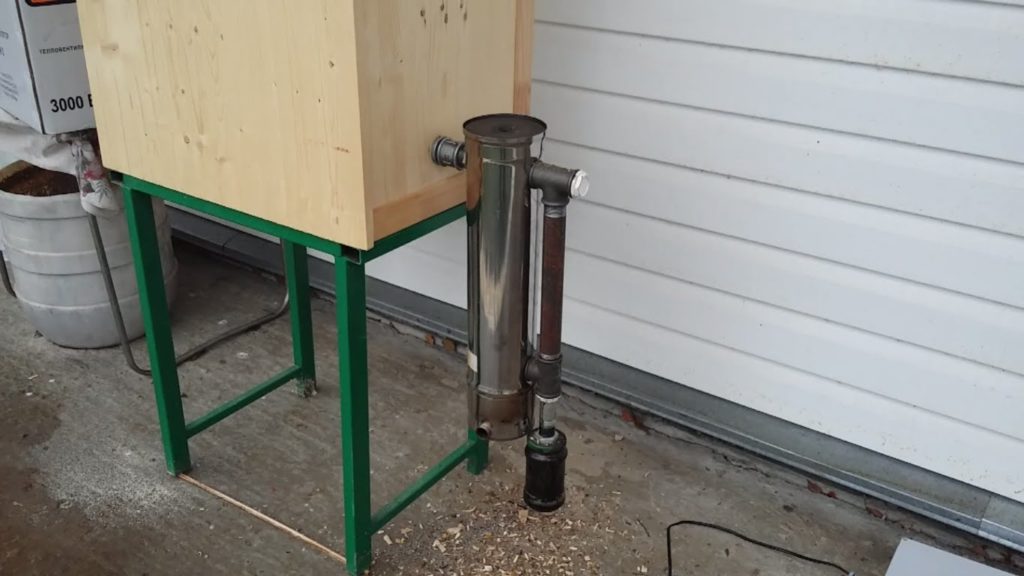
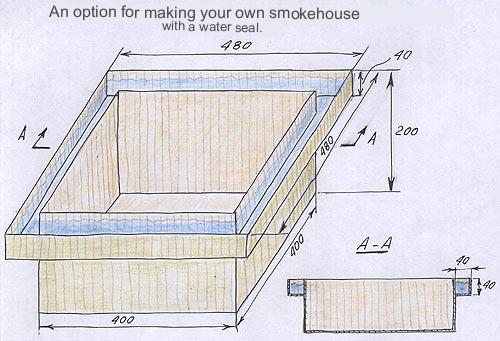
- Lid with a water seal: To improve the chamber’s sealing, you can create a groove along its perimeter and fill it with water. This prevents smoke from escaping the chamber;
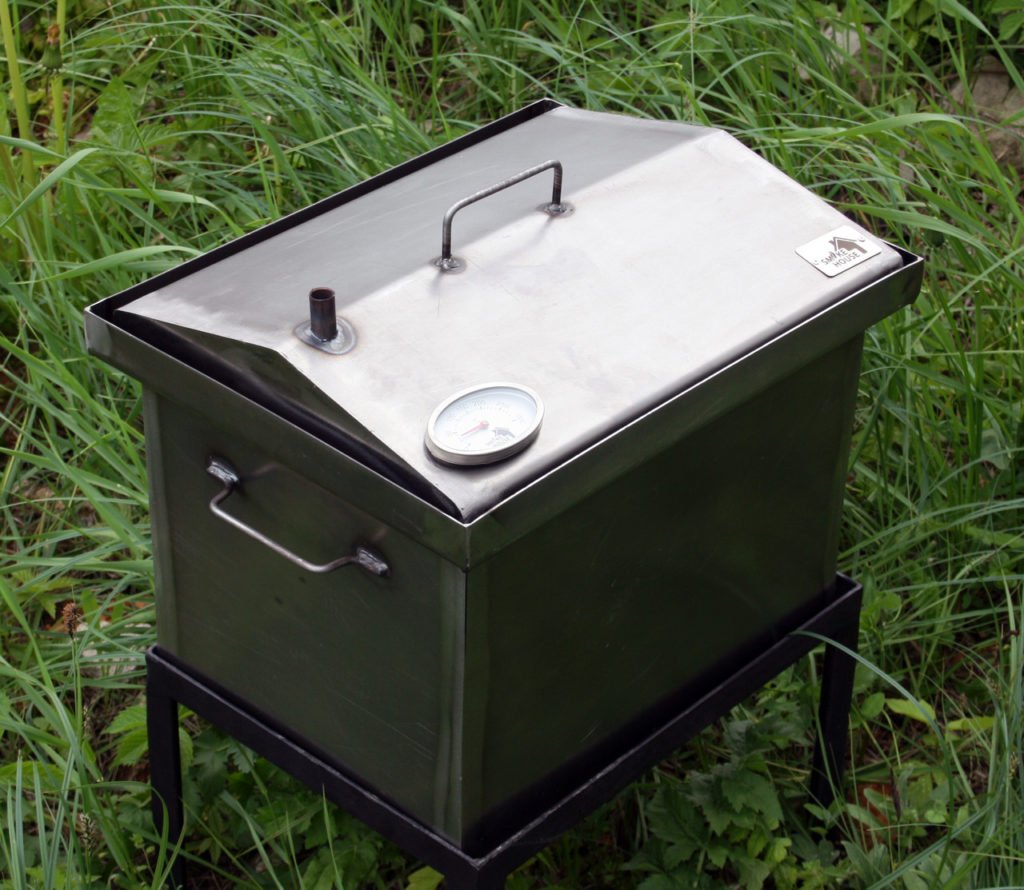
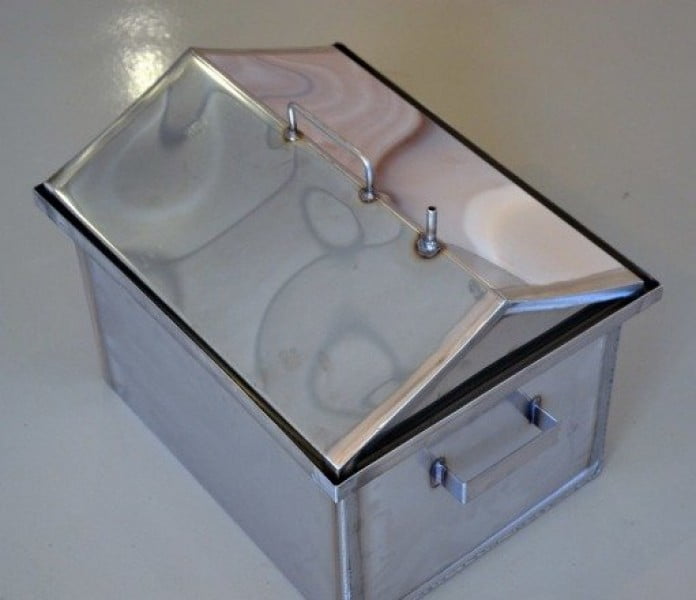
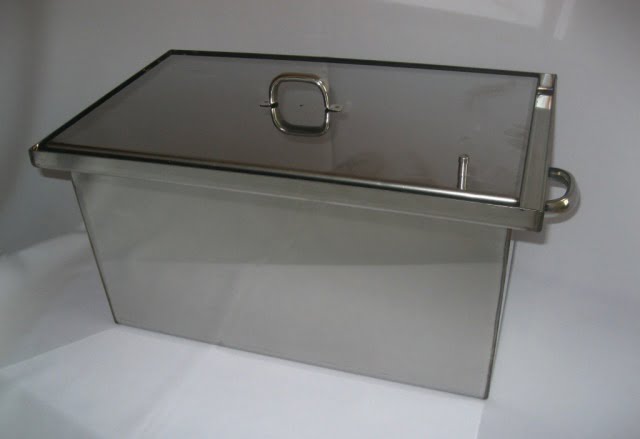
- Heating source: Depending on the size of the chamber, the heating source can be a stationary or temporary grill, an electric stove, or a gas burner.
Assembly Instructions for a Smokehouse
Understanding the process of smoking foods makes it quite easy to assemble a smokehouse on your own, come up with its design, and even develop assembly instructions. Since there are numerous items from which you can create a homemade smokehouse, there are ready-made instructions available for transforming them into DIY smokehouses.
Simple Smokehouse Design Using Polyethylene Film
A smokehouse made from polyethylene film is designed for cold smoking.
To create it, you will need:
- Approximately 2 meters of dense polyethylene film, the kind used for greenhouses or covering plants;
- Two-meter wooden stakes;
- Wooden or wire rods;
- For the work, you will need a hammer, awl or a gypsy needle, strong threads, fishing line, or thin wire;
- And most importantly, allocate a space of approximately 1 square meter for setting up the structure.
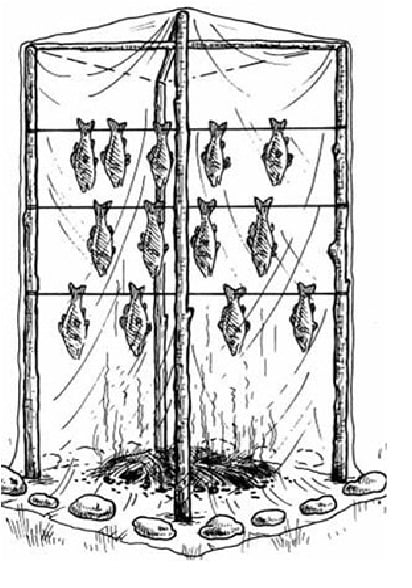
The stakes, which serve as the frame for the smokehouse, are driven into the ground and are secured together for stability with crossbars made from rods or wire. Additionally, it is advisable to reinforce the structure diagonally in several rows.
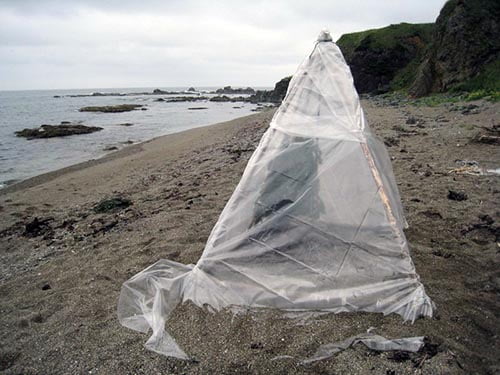
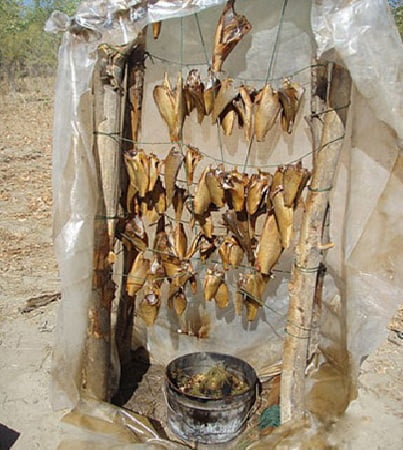
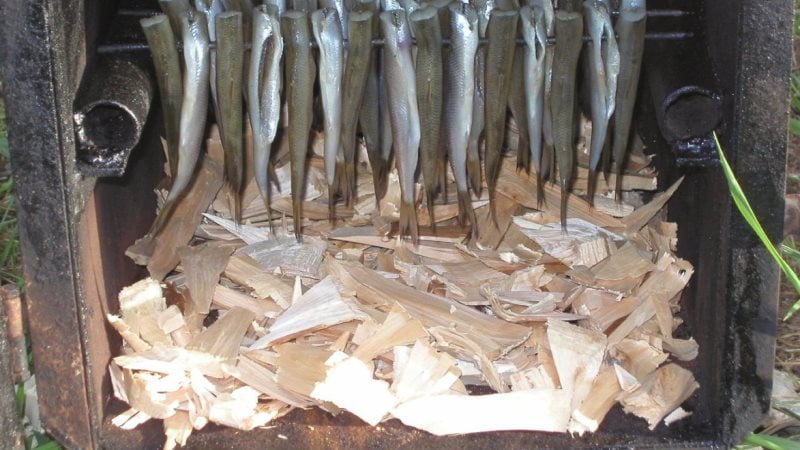
Products that will be smoked are hung on the rods or dividers at a distance from each other to prevent them from touching. The polyethylene film should be sewn together like a bag, which is then stretched over the frame with the products hanging inside. The bag should not touch the ground, leaving some space between it and the ground.
The space is left to fill with hot coals. On top of the coals, a layer of grass is placed, and the smoldering grass will create the smoke for smoking. Afterward, the bag is stretched down to the ground. To ensure better sealing, the edges of the bag should be secured around the perimeter with stones or any heavy objects at hand.
If you plan to smoke fish, chicken, or sausages, the smoking process will take about 3 hours. For denser meats, you may need to repeat the smoking procedure.
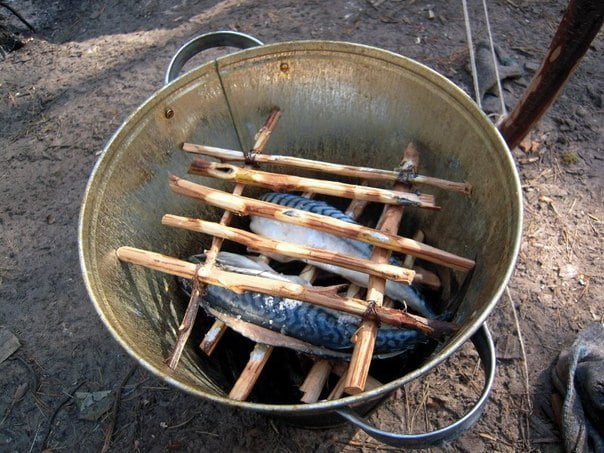
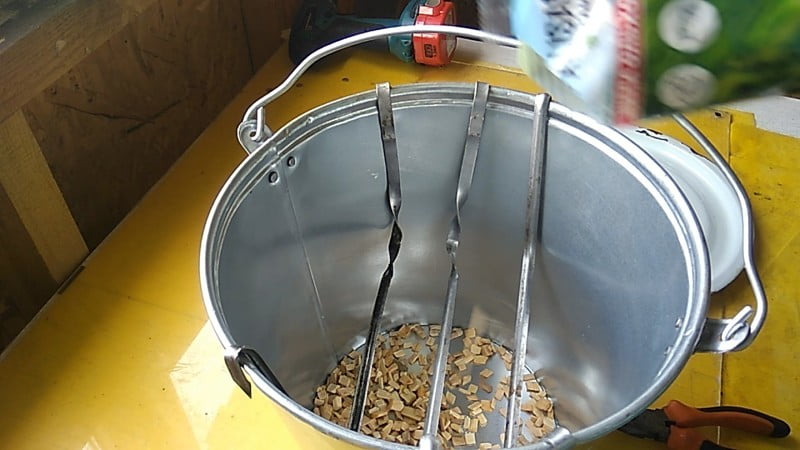
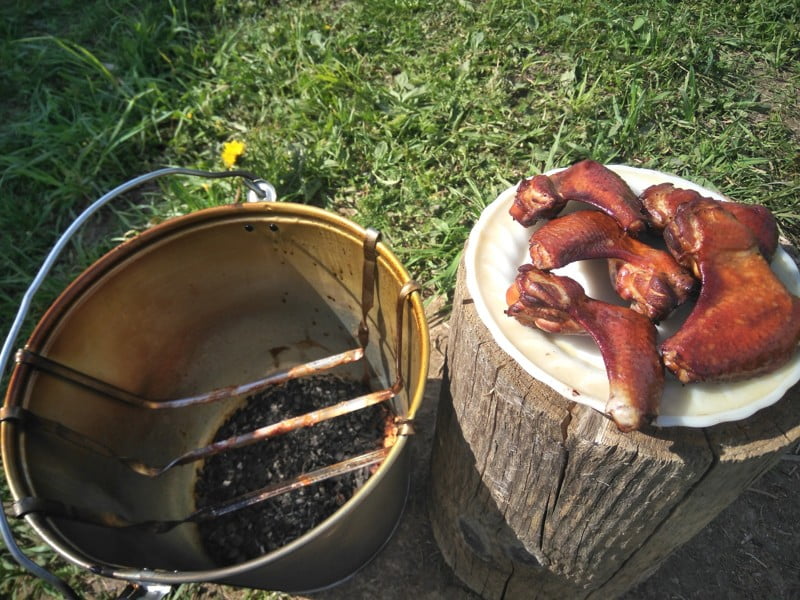
A smoker made from a bucket
For such a smoker, you can use any old, unused bucket with a lid and a couple of stainless steel grates of different sizes.
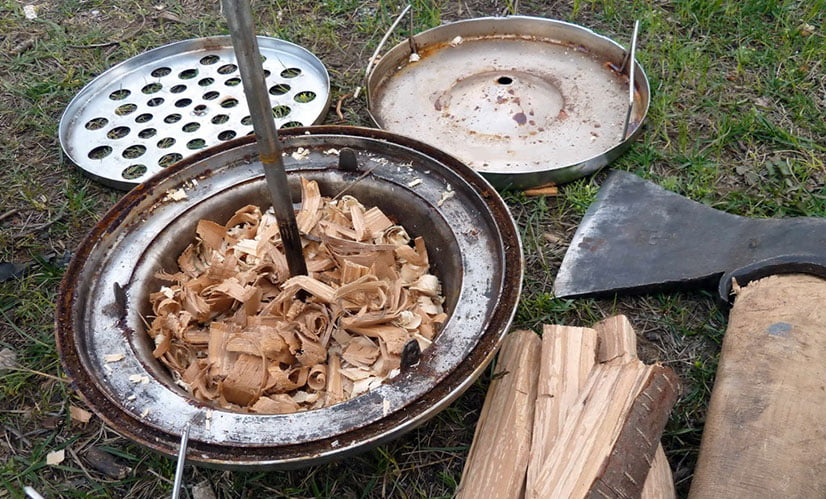
The bottom of the bucket is filled with sawdust or wood shavings. Then, a smaller-sized grate is secured 10 cm above the bottom, and above it, you can place a second grate (you can also use just one grate if you have a small quantity of food to smoke).
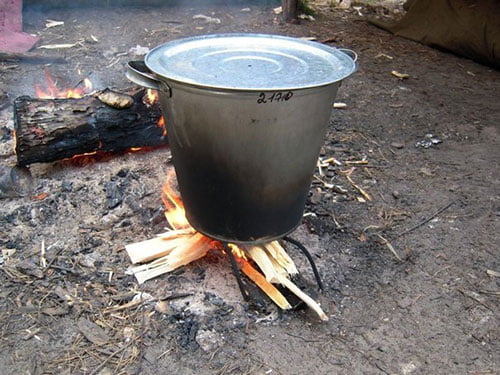
The products are placed on the grates, and the smoking bucket is placed over a fire with the lid closed to keep the smoke inside the smoking bucket.
Smoking Barrel
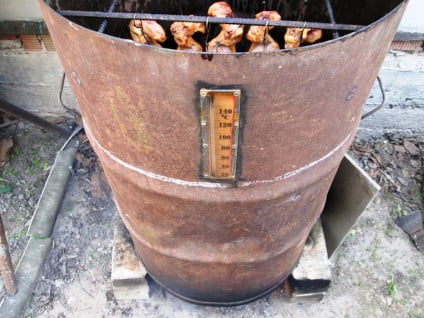
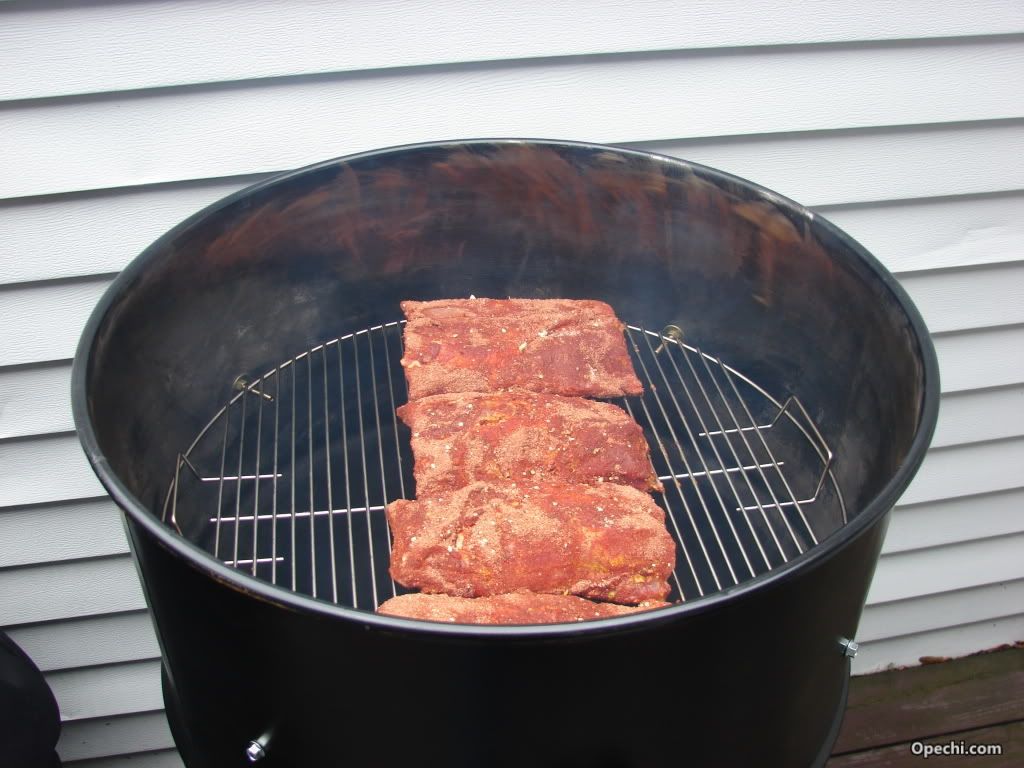
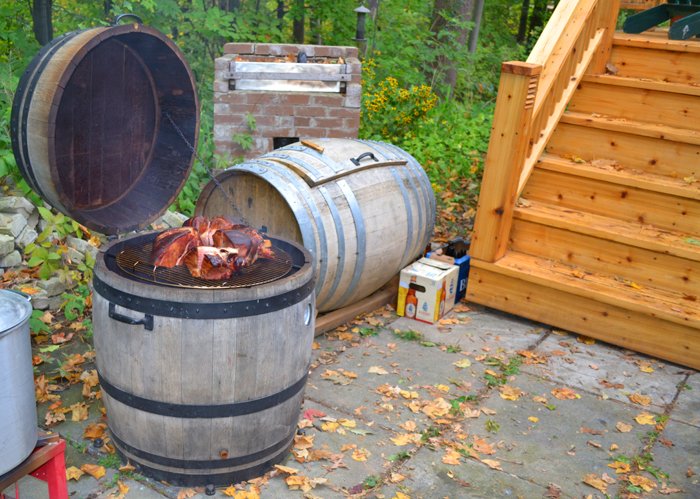
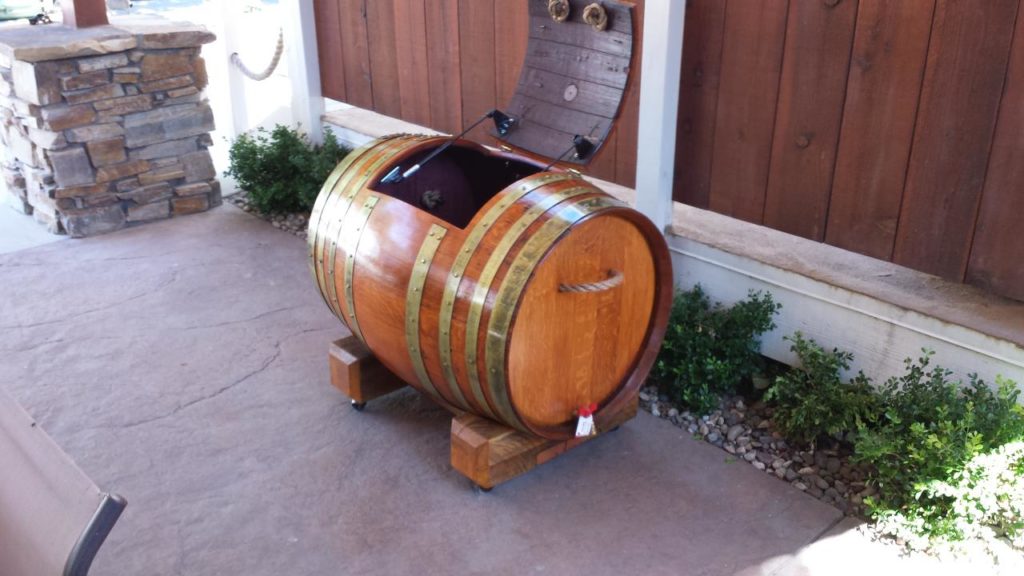
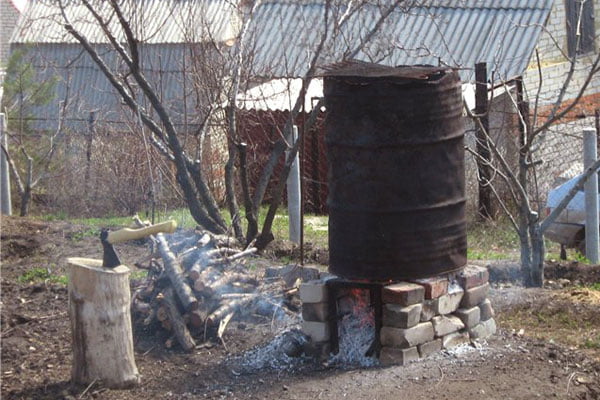
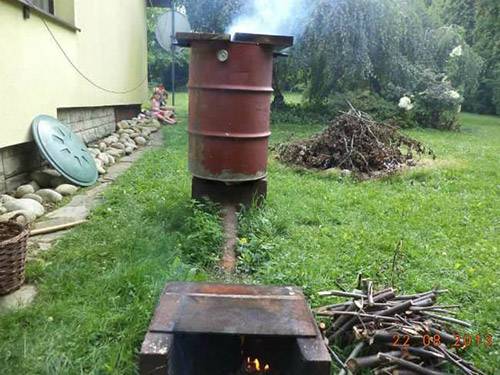
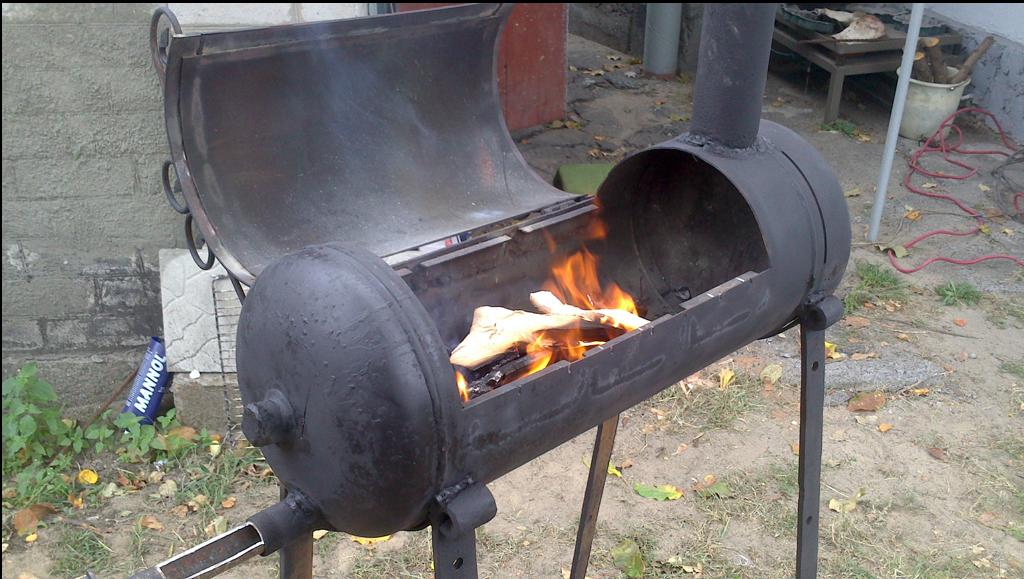
A homemade smoker from a barrel is the most popular option. It can be made from either a wooden or a metal barrel. In terms of structure, a barrel smoker is similar to a bucket smoker. However, the larger size of the barrel allows for the use of hooks for smoking.
As the base for a smoker, a barrel is versatile and can be used to create various types of smokers:
- A barrel smoker for hot smoking typically involves having the heat source located beneath the barrel itself;
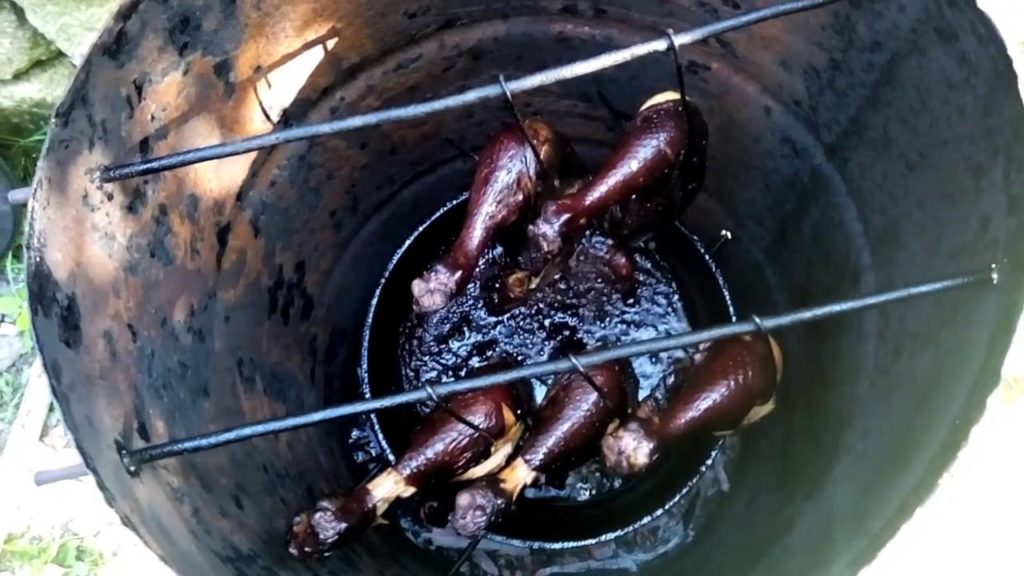
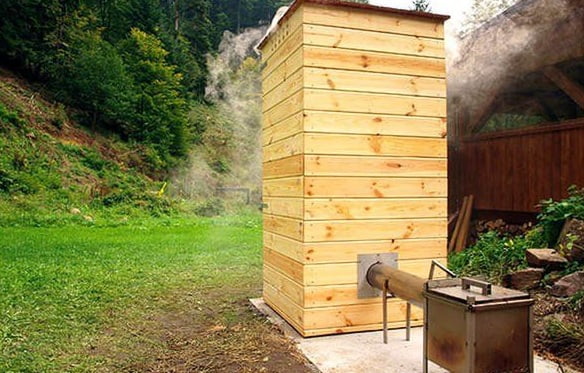
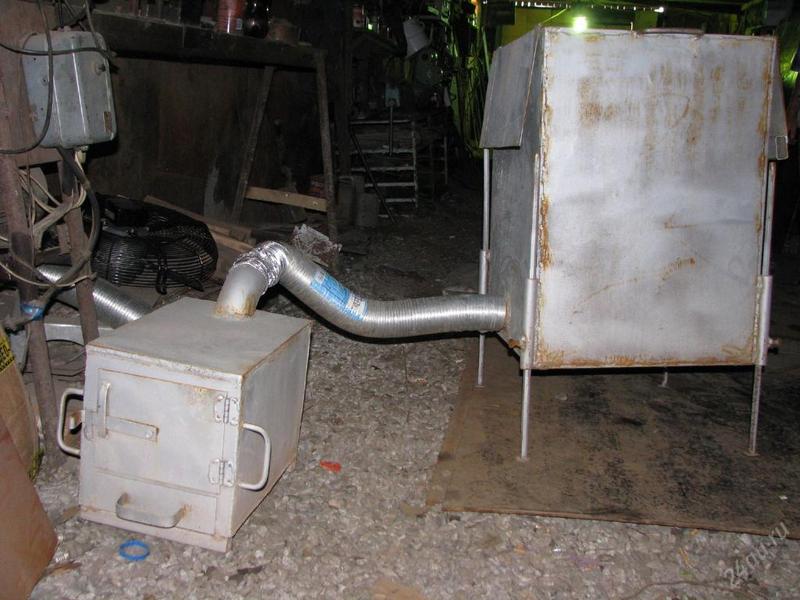
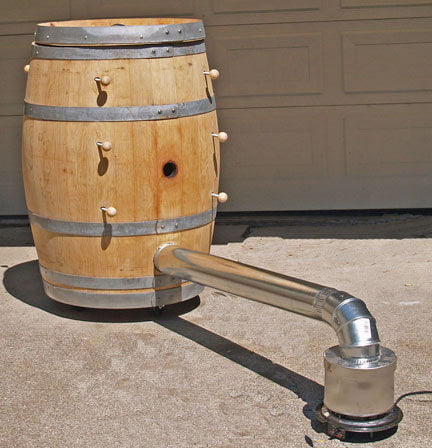
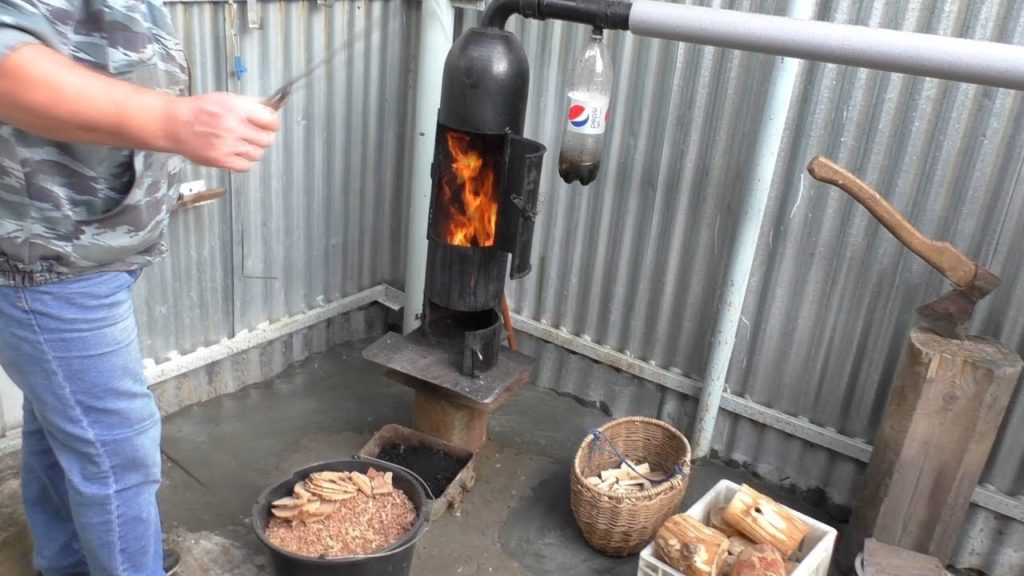
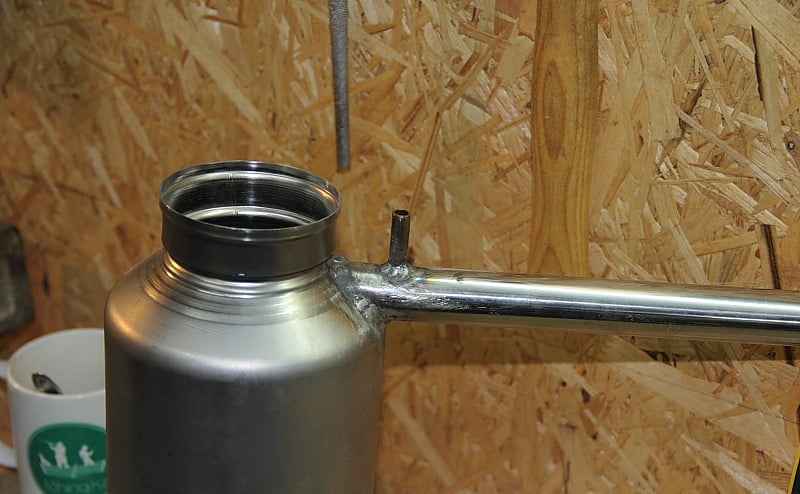
- A barrel smoker for cold smoking would consist of a separate standing barrel and a 2-meter smokestack connecting it to the heat source;

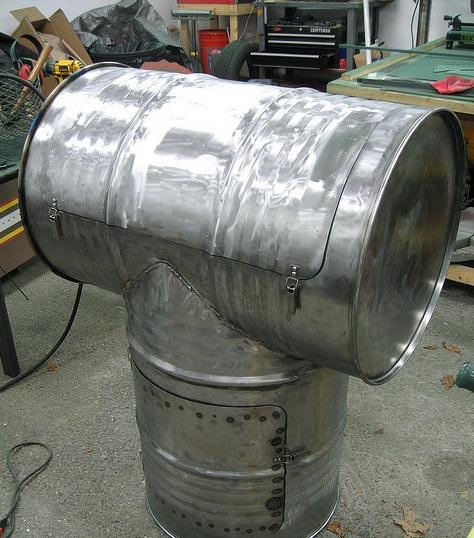
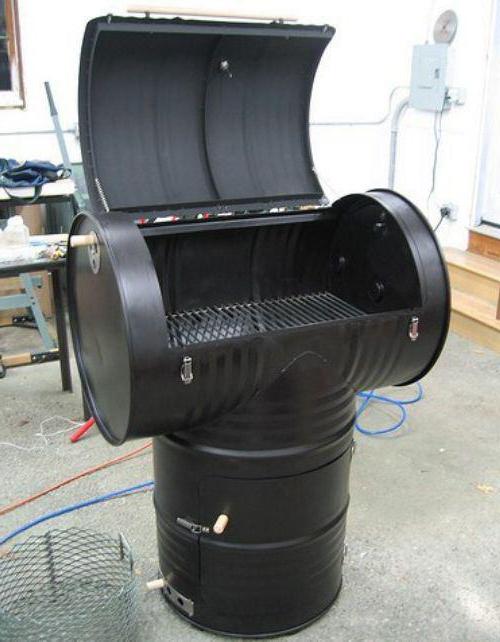
- A versatile, multi-functional barrel smoker made from two barrels (about 200 liters each) is a great idea. The two barrels are joined together to form a “T” shape, and if they are made of metal, welding them together would be the best option. The upper barrel serves as the smoking chamber, where you can place grates, hooks, and a drip pan for collecting fat. The lower barrel is where you set up the firebox, with a pan for holding wood chips or sawdust. The heat source is the fire beneath the lower barrel. On the convenient side of the lower barrel, you should cut an opening and install a door with a latch for controlling the fire and regulating the flame. This type of setup can be used not only for smoking but also for baking, reheating, barbecuing, and even grilling.
A smoker made from an old refrigerator
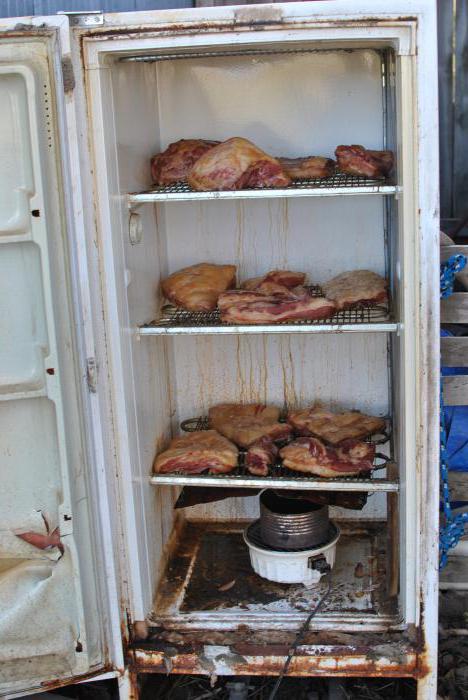
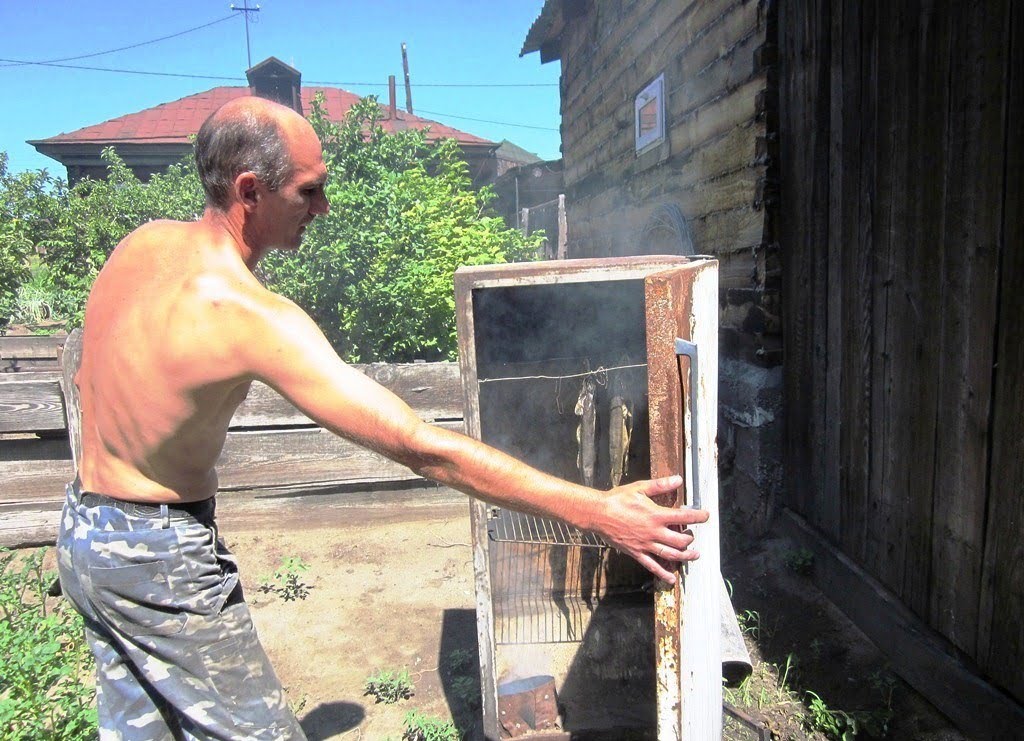
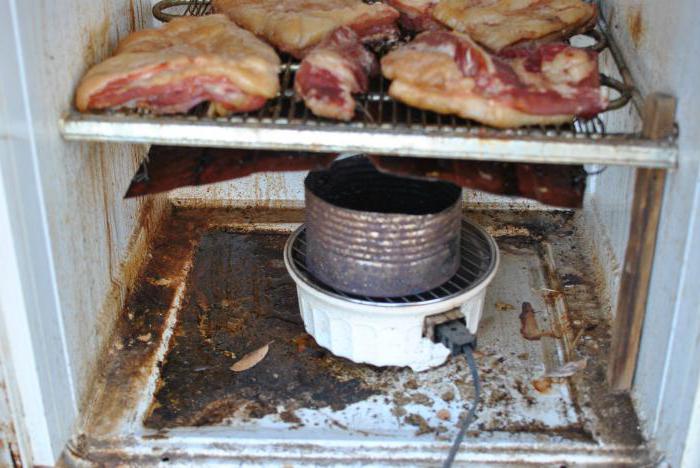
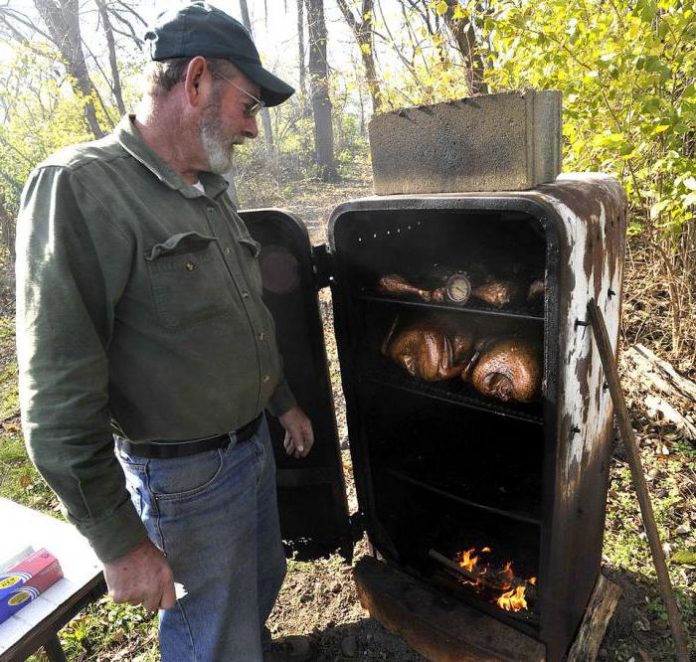
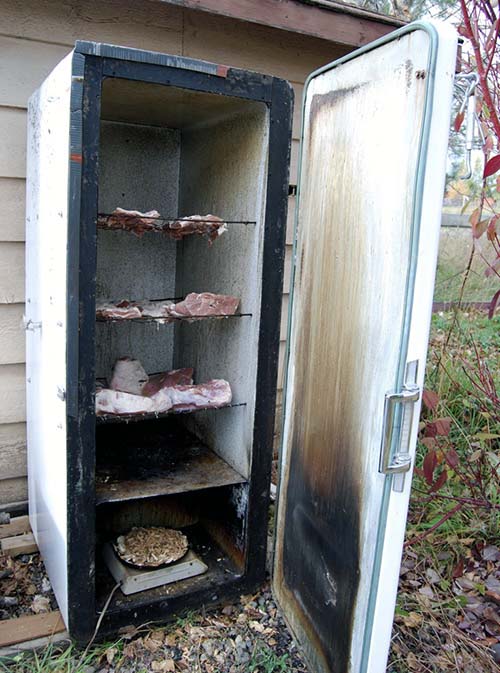
A very successful option for a homemade smokehouse is an old refrigerator. This non-functional appliance should not be discarded or sold as scrap metal. It is enough to remove its electrical components, and the refrigerator’s chamber can easily be transformed into a smoking chamber.
To do this, inside the refrigerator, you can install grids and hooks for smoking using brackets, a drip tray for collecting fat, and at the very bottom, a tray for sawdust. A small hole is made in the ceiling of the refrigerator for the installation of a smokestack. Since an old refrigerator chamber is used, it’s important to ensure the door seals tightly for airtight smoking.
Smoker Made of Metal
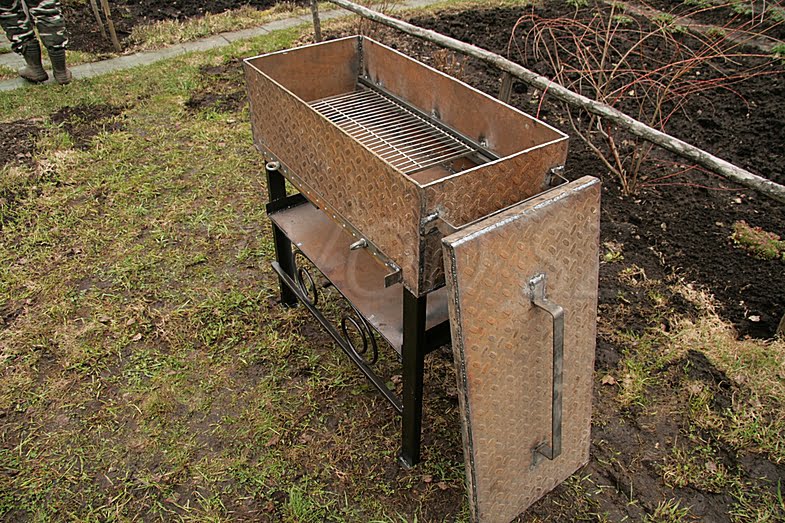
A more convenient and practical model of a smoker can be made from metal. However, this will require certain skills and a specific set of tools, namely a welding machine and an angle grinder with a metal cutting disc.
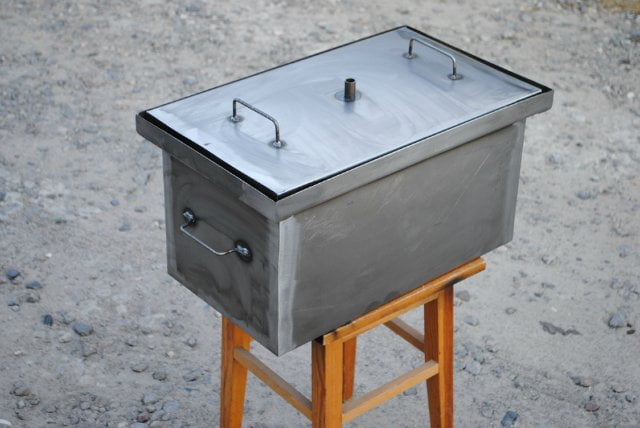
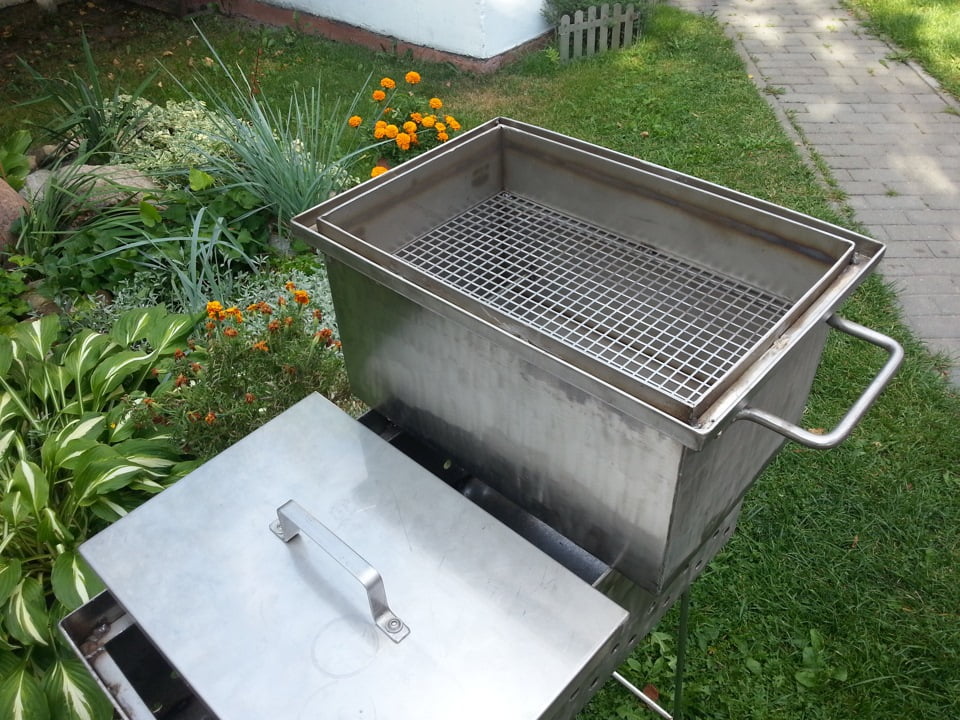
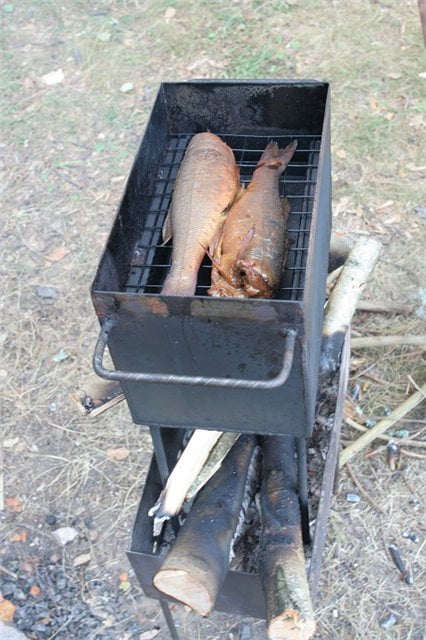
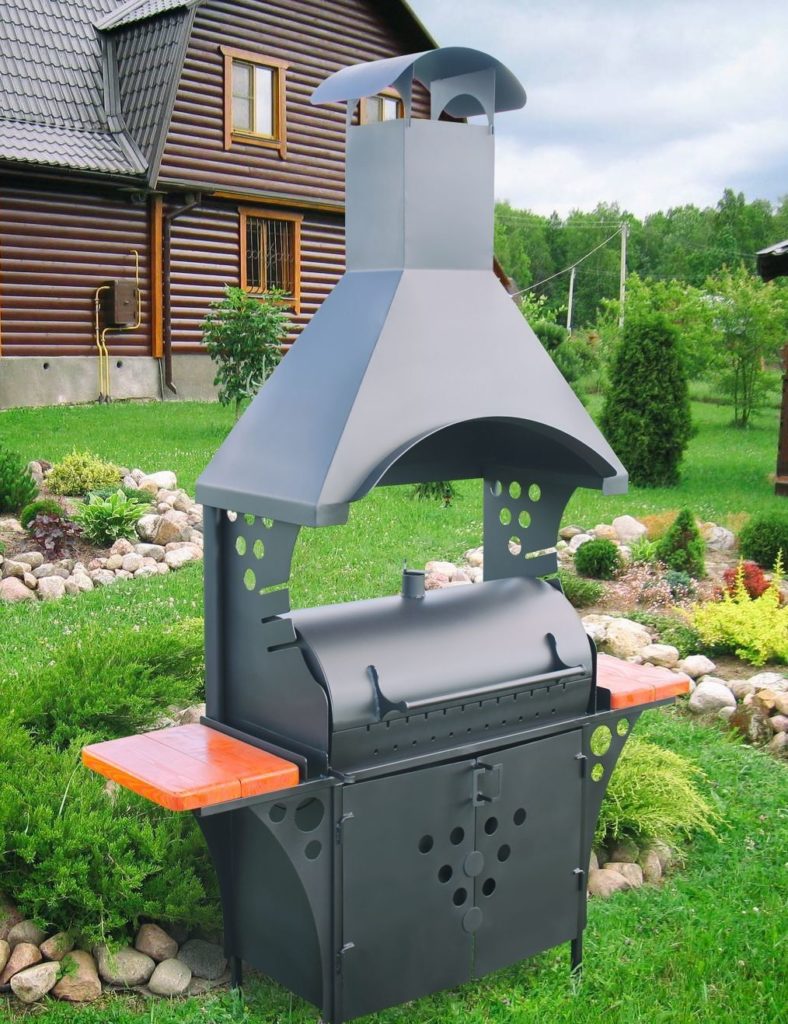
The simplest and most functional form of such a smoker is a square or rectangle, meaning you need to create a box in which all the elements of the smoker are integrated.
As for the metal, you can use stainless steel (optimal for durability, but challenging to weld) or cold-rolled steel (light and easy to work with, but prone to oxidation and less durable).
The size of the smoker depends solely on personal preferences.
Once you’ve determined the shape, size, and material, the metal sheets are cut using an angle grinder according to the chosen parameters. Using a carpenter’s square, the sheets are welded together at a 90-degree angle to create a box. It’s essential to weld the joints of the structure both on the outside and inside for better airtightness of the smoker.
After creating the body, the bottom of the smoker is cut out and welded to it, also with double-sided seams.
To make the lid, a sheet is cut to the size of the smoker box, along with four narrow strips for the edges of the lid. All these components are welded together using double-sided seams.
For the convenience of carrying the smoker, handles can be welded to the sides.
Inside the smoker, you can install brackets for mounting grates, hooks, and a tray for collecting grease.
Such a smoker can be heated either over an open fire or with an electric stove.
Smoker Made from a Gas Cylinder or Fire Extinguisher
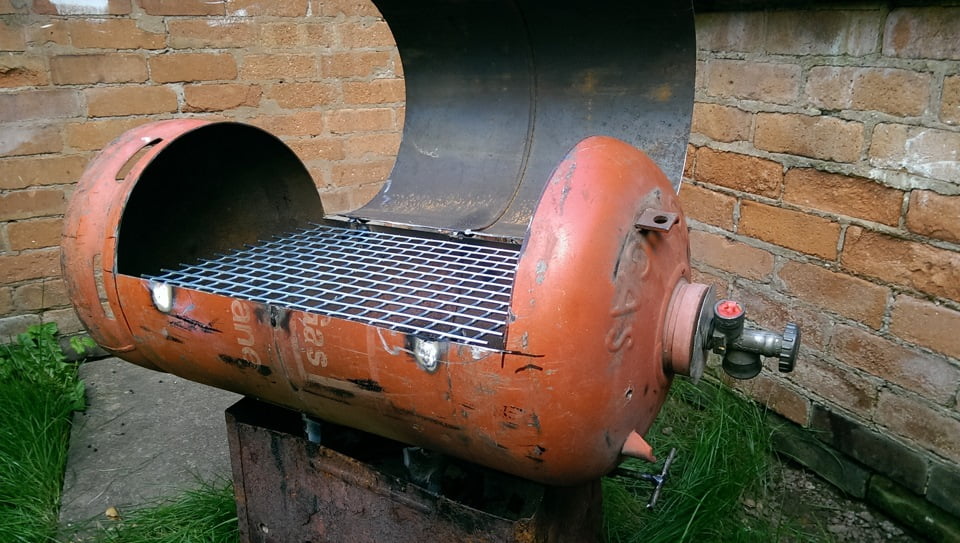
An unused gas cylinder can also be adapted for a homemade smoker. However, besides specific skills in working with an angle grinder and welding machine, safety rules must also be considered.
Before starting the work to make the smoker, you’ll need to perform some preparatory steps and “decommission” the gas cylinder. To do this, you should open the valve and allow time for any remaining gas to completely dissipate from the cylinder. Afterward, the valve is cut off. Anything left inside the cylinder should be drained into a separate container, and the cylinder should be thoroughly cleaned and dried.
From a portion of the same gas cylinder, a door is cut out (for loading products inside), which is attached to hinges and securely fastened to the cylinder.
To create the firebox, the bottom of the cylinder is cut off, and a firebox is fabricated from separate sheets of metal, which is then welded to the cylinder.
Upon completing the work, to ensure the safety of cooking products, the structure needs to be thoroughly heated.
Afterward, you can install grates, hooks, and trays inside the cylinder chamber.
Brick and Stone Smoker
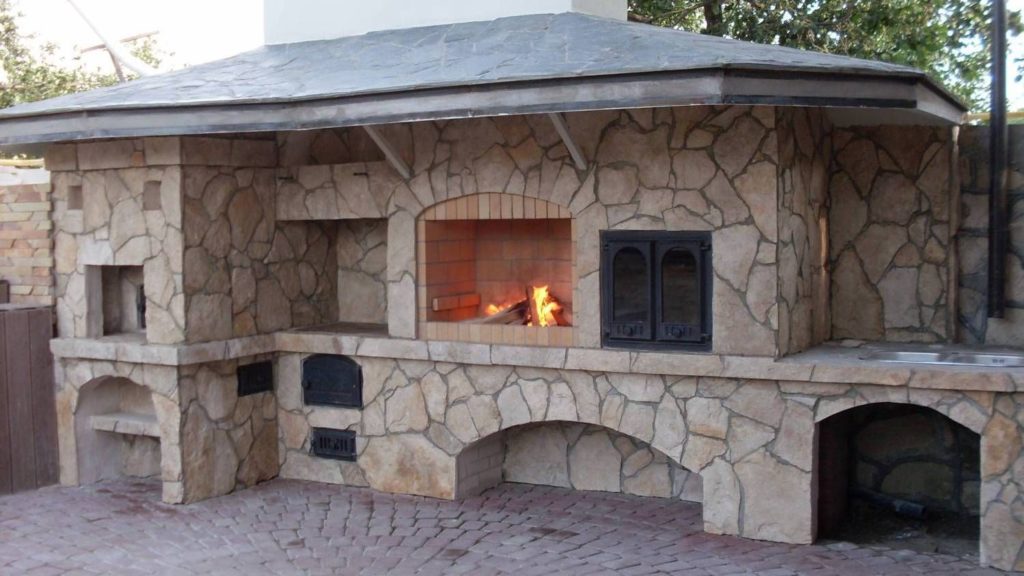
In this section, we will discuss a versatile stationary smoker for hot and cold smoking, which also serves as a grill, barbecue, Russian oven, and oven.
A brick smoker is not only a sophisticated cooking device but also a highly decorative element for your backyard.
The construction of such a smoker is quite complex, so it’s advisable to consult with architects or find ready-made designs online. In either case, when building such a structure, it’s important to adhere closely to the construction plan, drawings, and instructions, as failing to do so could render the smoker entirely unusable, resulting in a waste of time and money.
The first step is to decide on the location of the smoker: whether it will be a standalone structure, part of a veranda, or a gazebo.
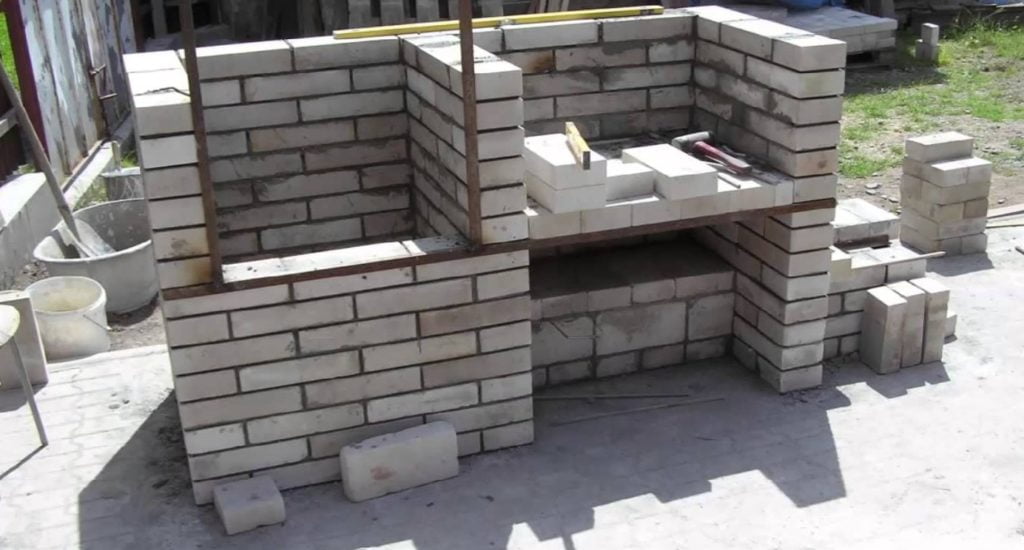
For any permanent structure, including a brick smoker, the foundation is crucial. If you start construction on open ground, the weight of the stones and bricks can cause the ground to settle, leading to structural damage. Therefore, it’s important to reinforce the foundation with reinforced concrete or a rebar grid and allow some time for the foundation to gain strength.
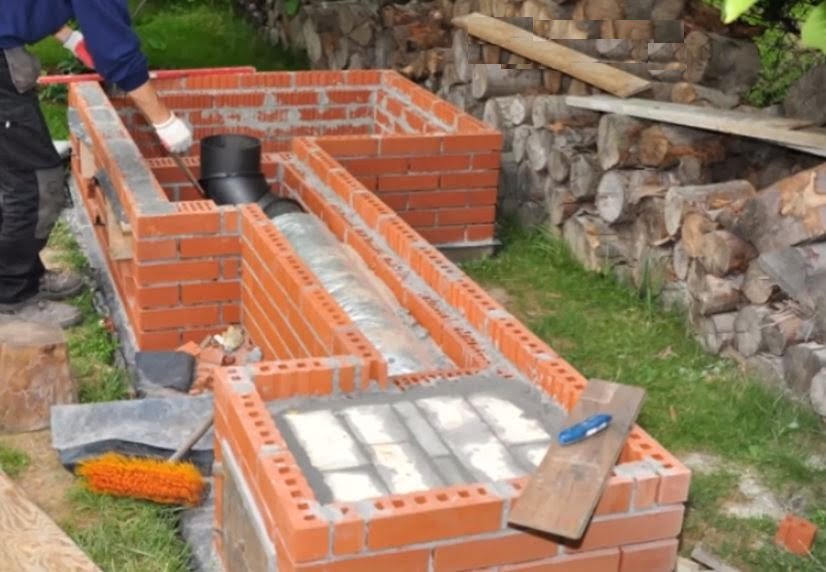
Above the foundation, you’ll start building the lower belt of brick or stone walls, taking into account the tunnel-type chimney, which is approximately 2 linear meters long. To make the smoker versatile (for both cold and hot smoking), it’s advisable to insulate the chimney pipe with any mineral insulating material.
Before laying the walls of the second belt, the first one is filled with a thin concrete screed and reinforced. A ready-made concrete slab can also be used to separate the wall belts.
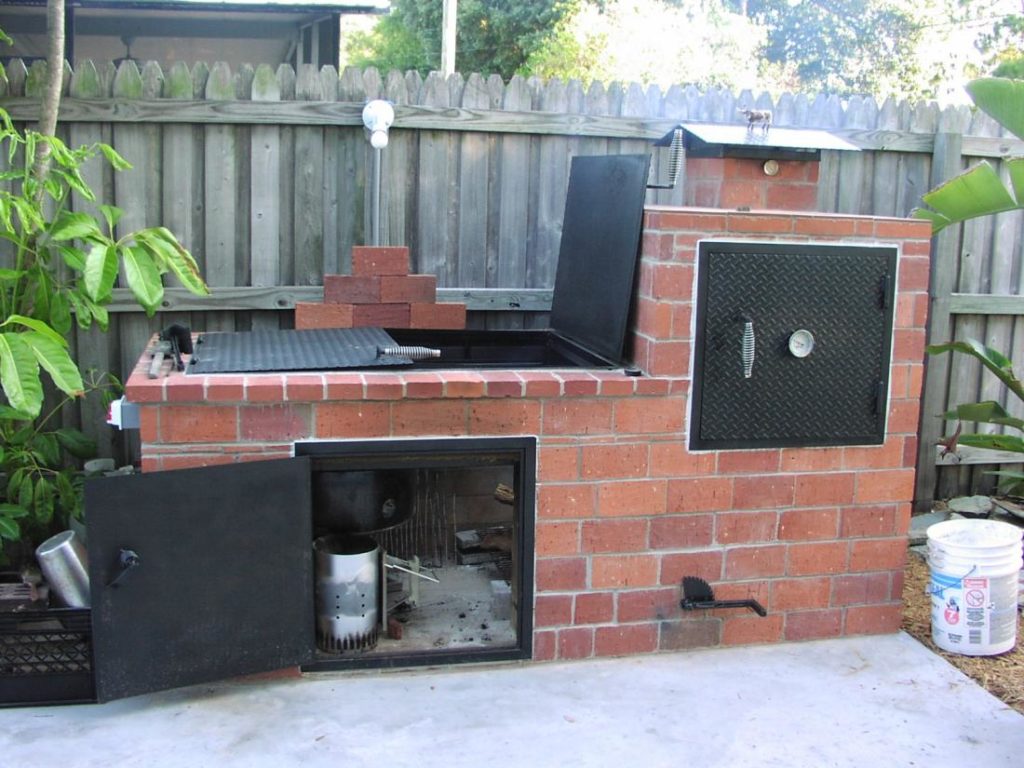
The design of a brick smoker typically includes two chambers: one is the smoking chamber itself, and the other is a furnace that can be used independently for cooking various dishes and serves as a heat source for the smoker. The furnace chamber should be built exclusively from refractory bricks.
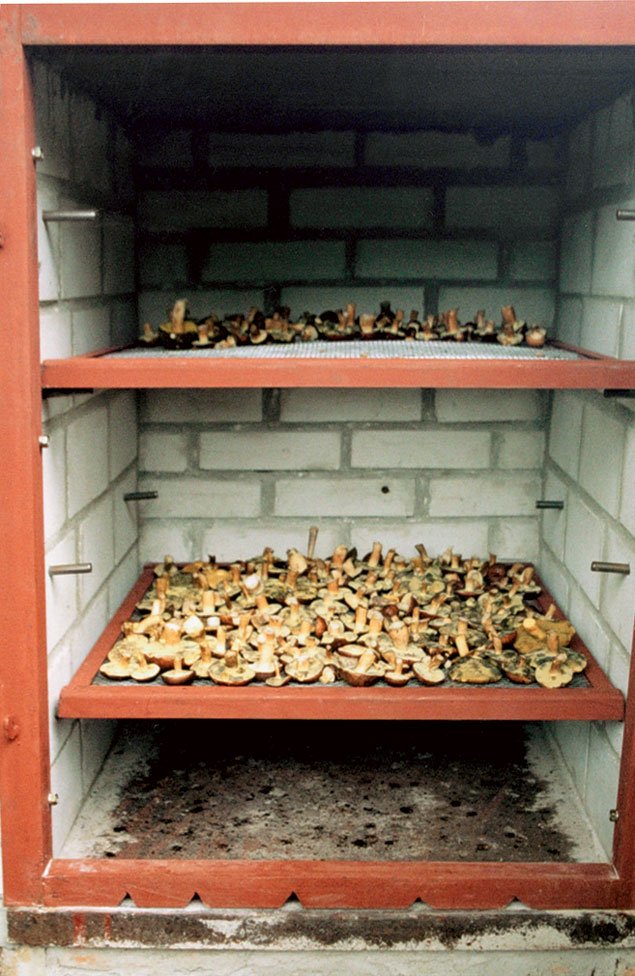
Closer to the chimney, you’ll build the smoking chamber. In this chamber, there is no open flame and excessively high temperatures, so any type of brick can be used, and no internal finish is required. To ensure airtightness, you should install a tightly closing door on this chamber. For stationary brick smokers, wooden doors made from fruit trees (apricot, cherry, apple) are often preferred. Such a door adds a rich aroma to the smoked products.
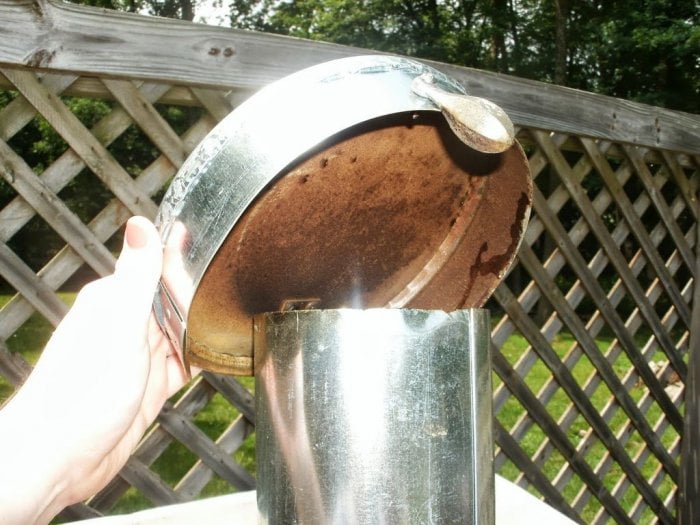
A smoke exhaust pipe is installed on the smoking chamber to control the smoke draft, thus regulating the intensity of sawdust smoldering and, consequently, determining the type of smoking:
- For hot smoking, the sawdust combustion is increased while reducing the smoke draft;
- For cold smoking, the fire is reduced, and the draft is increased, which cools the smoke down to a temperature of 35 degrees Celsius.
The chamber of a brick smoker is also equipped with grates, hooks, and trays. Another advantage of such a smoker is that it can be used as a storage chamber for kitchen and outdoor accessories.
Smoker Chimney
The chimney is a crucial part of the smoker, and its construction should receive special attention.
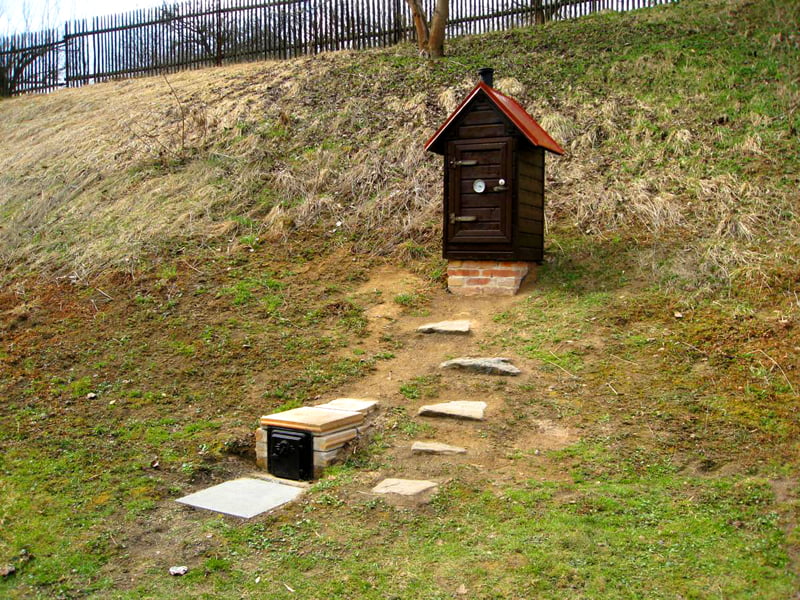
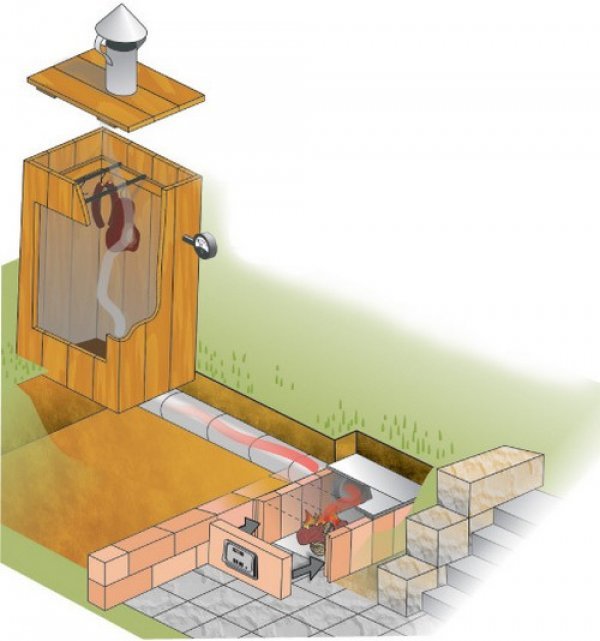
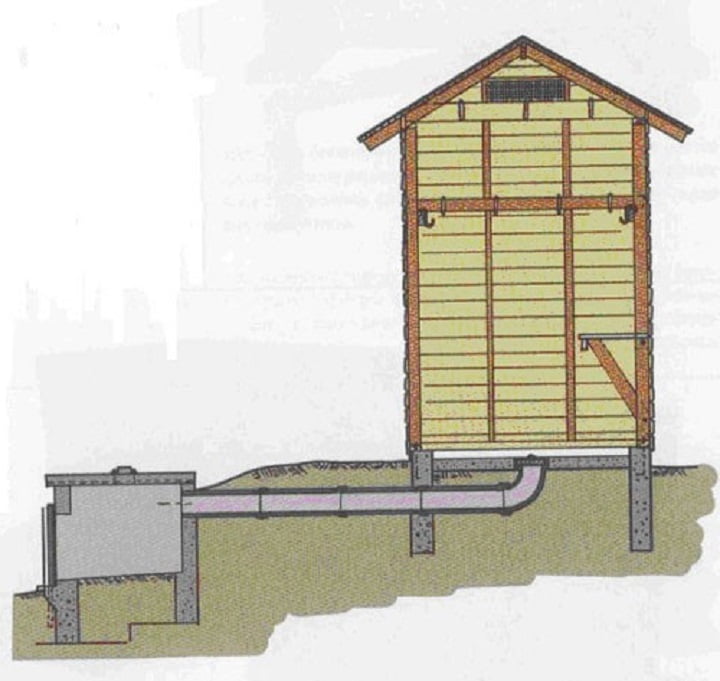
In the case of a stationary smoker, you can bury the chimney in the ground. This design is particularly suitable for cold smoking, as it allows the smoke to cool more quickly, and any potentially harmful combustion byproducts settle in the soil and are processed by bacteria. Additionally, any condensation is absorbed by the ground.
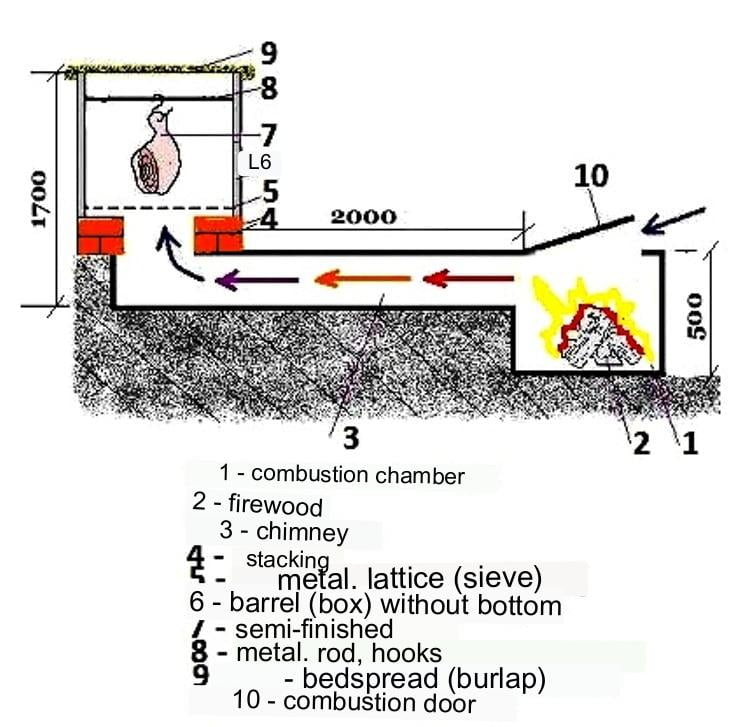
To set up a smoker with such a chimney, you’ll need to find a location with a slight incline. Depending on your property’s landscape, this incline can be natural or artificially created, specifically for the smoker’s chimney. The slope is necessary to ensure good draft for the smoke.
On top of the slope, dig a shallow trench that matches the length and width of the smoker’s chimney. Then, install a pipe or simply lay regular metal sheets over it. To provide effective thermal insulation, cover the chimney with a dense layer of soil. This setup allows the smoke to cool and provides a good smoking environment for your food.
The heat source for the smoker, known as the firebox, is placed at the bottom of the slope, while the smoking chamber is positioned at the top. These two components are connected by a chimney.
Metal is the best material for a chimney. However, this type of chimney requires regular maintenance as soot can accumulate on its walls, which needs to be cleaned.
It is not advisable to make a chimney from porous materials like bricks without additional finishing. Such a chimney would absorb moisture and smoke, including dangerous carcinogens, which would negatively affect the quality and taste of smoked products in the future.
Smokehouse from a Barrel. Video Tutorial
Where is the best place to locate the smokehouse?
In this article, we discussed options for both stationary and mobile home smokehouses. However, choosing the right location for installing any smokehouse is crucial, as the smoking process takes time and involves the release of a significant amount of smoke. Therefore, using a smokehouse indoors is not possible.
Harmful substances from the combustion of products can also be detrimental to vegetation and outdoor domestic animals.
Therefore, when choosing a location for a smokehouse, it’s important to consider many factors and select it with the safety of people and nature in mind, as well as the specific characteristics of your garden or recreational area.
As for the storage of portable (mobile) smokers, after use, you can store them in a garden shed, garage, or basement. Ready-smoked products can be kept for quite a while in any cool and dry place.
Maintenance and Operating Tips
When starting the work on building a smoker and throughout its operation, it’s important to consider some straightforward rules and principles:
- To ensure quality smoking, any smoker chamber construction should be airtight.
This is necessary for even smoking of the products.
- To ensure that smoke penetrates all layers of the products, it’s advisable to equip the smoker with a smoke generator.
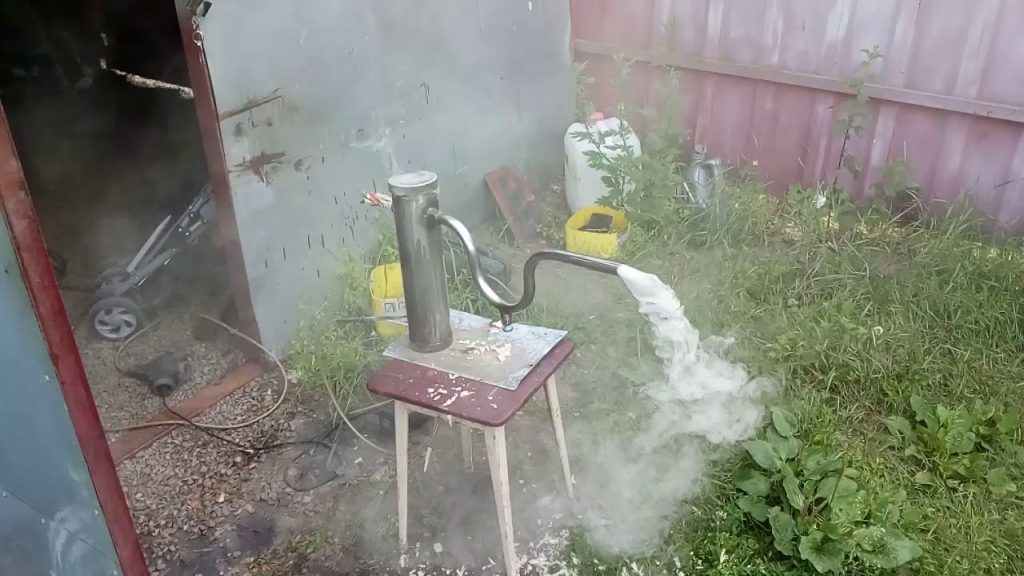
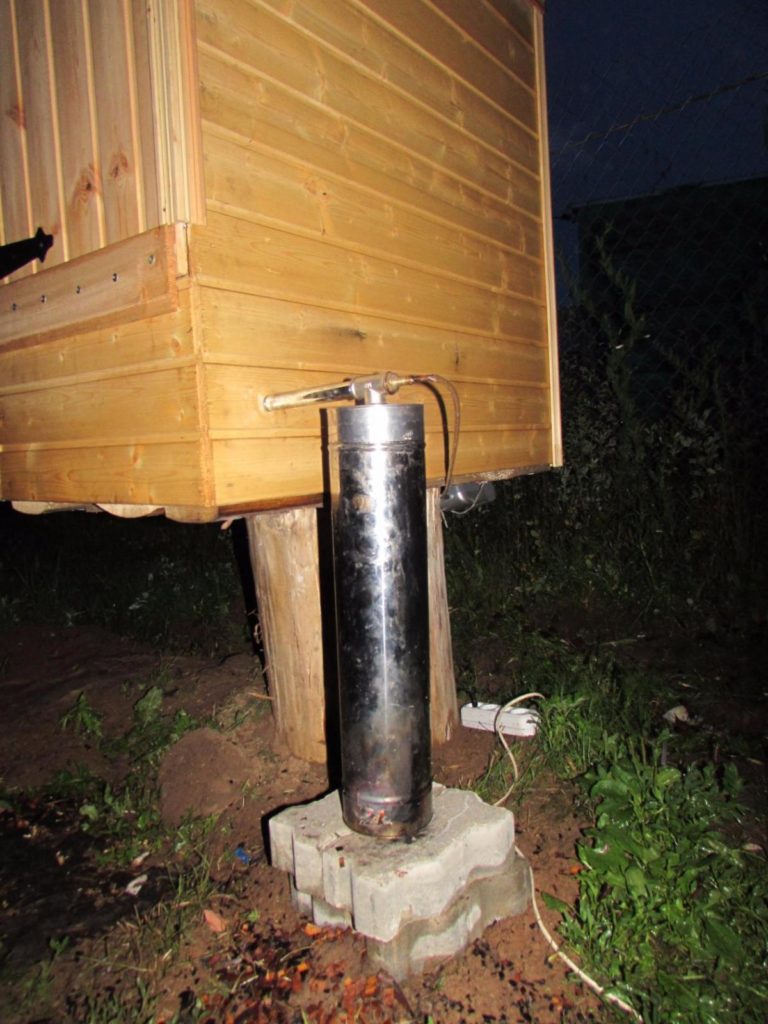
You can purchase one or make it yourself: the body of the smoke generator is any metal barrel or cylinder, one part of which is closed with a lid, and the opposite end is used for igniting sawdust and wood chips (for this, you’ll need to drill a hole in the lower part of the barrel).
You can use a computer system cooling system – a cooler (heat sink and fan) from an old desktop computer as a compressor. This cooling system consists of a ready-made radiator with a fan. The construction can be soldered together using hot air welding and then attached to the smoker.
This device is interesting because when you ignite the wood chips and turn on the compressor, the cooler will not suck air in but instead push smoke out, ensuring even smoking of meat products.
- The smoking chamber must provide products with even smoking and heating, so good airflow is essential.
Simply placing the products in a smoked chamber without proper airflow can lead to drying instead of smoking, as all the moisture inside the products will evaporate. This is a common mistake in cold smoking.
To generate more smoke, you can moisten the wood so that it is damp, but be careful not to soak them for an extended period. Prolonged soaking can result in steam rather than smoke, causing the products to become overly moist, leading to an unpleasant taste and quicker spoilage.
After the wood turns into embers and smoldering of the wood chips begins, you should close the chimney damper to maintain the desired smoke volume.
To maintain a good flame, oxygen is required, but avoid forcefully stoking the fire. The wood and wood chips should smolder slowly throughout the smoking process to continuously produce smoke.
The smoking process should be monitored from start to finish, especially if you are smoking products with varying characteristics and sizes. To prevent them from over-smoking, drying out, or burning, it’s essential to regularly check and remove finished products and extend the smoking process for those that haven’t smoked enough by adding more wood chips to maintain the desired temperature. You can add wood chips not only to the tray but also directly onto the coals. While this can speed up the smoking process, it also carries the risk of products burning, so this method requires extra attention and control.
- The smoke for smoking should be non-toxic and light.
You can vary the taste, color, and aroma of smoked products by choosing different types of wood, wood chips, and natural wood additives. When selecting wood, consider the type of product you will be smoking.
During smoking, avoid using wood containing resins and tar. Softwood tree species like pine, spruce, and even maple contain these substances. The smoke from such logs is highly toxic, and products exposed to this smoke will have a bitter taste. Consuming such products can lead to severe poisoning. However, if you want to impart a mild resinous flavor to the finished product, you can add a few juniper branches to the wood, which will add an interesting flavor without harm.
Undesirable wood types for smoking include birch and willow. While their wood is not toxic, it contains resins that can make products taste very bitter. These trees can be used for kindling and charcoal but in small quantities and after removing the bark from the logs. However, the specific bitterness from such wood pairs well with the taste of large game meat like bear, deer, or wild boar.
The most commonly used and acceptable wood type for smoking is fruitwood. They are entirely harmless, don’t impart bitterness, and instead add pleasant aromas and flavor notes to the products. Considering that the smoker is typically set up in a backyard, such wood is readily available after pruning fruit trees.
These can be thick branches from apple, apricot, cherry, pear, and peach trees. Additionally, cherry or raspberry leaves can be added as a “spice” to the wood, imparting unique flavor notes to the products. Softwood varieties like apple and cherry are ideal for smoking vegetables, nuts, fruits, and cheeses.
Alderwood is versatile and suitable for any products. It is harmless and does not affect the color, smell, or taste of the product, meaning that when using alderwood, the products retain their natural flavor.
Oakwood is excellent for game or red meat.
Also, you can use wood to give products a particular color. Fruitwood imparts a yellow-gold hue, oak and alder make products dark yellow, and cherry and peach can make them red.
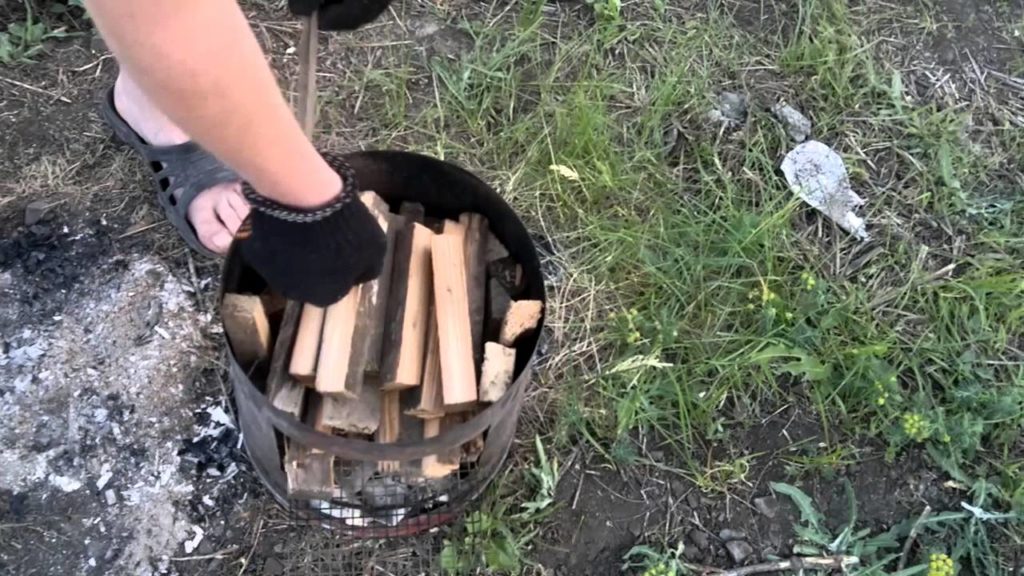
To facilitate the quick charring of the wood chips, they should be no more than 10 cm long. Therefore, it’s better to use small branches or split logs into chips.
You can purchase various types of logs, sawdust, and wood chips in supermarkets, stores, and markets.
Maintaining the required temperature is also an integral part of the smoking process. For cold smoking, it should not exceed 35 degrees Celsius, while for hot smoking, it can range from 60 to 120 degrees Celsius.
Ideally, the smoking chamber should be equipped with a thermometer, but the heating level can also be manually adjusted. To do this, a small pot or jar of water is placed on or near the smoking chamber, and the temperature is considered suitable for smoking if the water does not boil.
Products intended for smoking should undergo preliminary preparation to increase their shelf life. Before smoking, they need to be rid of excess moisture through a drying process. This can be achieved with a homemade drying cabinet. Any box with a lid can be used for this purpose, and a regular fan is placed inside. Pre-salted products (depending on the quantity and type) are placed inside for several days.
To expedite the smoking process and ensure the elimination of parasites and bacteria, products like meat, bacon, and sausages can be boiled in salted water, with optional spices added according to preference.
However, fruits, vegetables, cheeses, and nuts can be smoked without any prior treatment.
Preparing the products will depend on the recipe, temperature regime, and the type of smoking you intend to perform.
When putting a smokehouse into operation, it’s essential to “season” it. This means that before smoking any products, the smokehouse should be run once without any food inside. This procedure allows the chamber to absorb the smoky flavors, which enhances the taste of the products.
